December 22, 2017
How To Install A Tap
Now that you have bought all your major kitchen appliances, it’s time to add the finishing touches. This, of course, means getting your hands on a new tap. Whether you are replacing an old tap, or installing one in a brand new kitchen, it is important that you install it correctly. Here is your essential guide on how to install a tap.
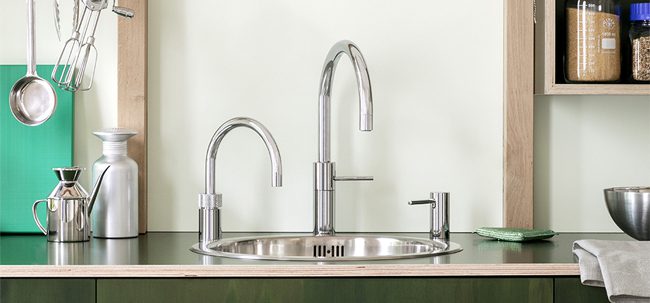
Step 1: Turn Off the Water Supply
Before you get started on any plumbing related task, it is important to turn off your home’s water supply. Unless you fancy flooding your kitchen, you definitely don’t want to forget this step.
Once you have switched off your water supply, turn on the tap and run it until all stored water has drained away.
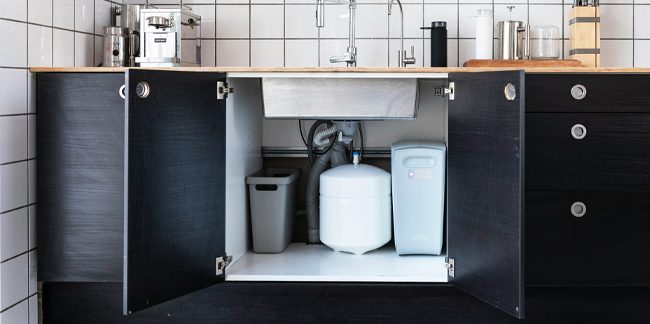
Step 2: Prepare Your Space
Clear everything from under or near your sink and put them to one side. Then lay a towel on the floor next to the sink. It is also a good idea to keep a large bowl nearby, just in case you need something to catch any residual water.
Your new tap should come with a user manual. Read this first to ensure you have all the right equipment ready for installation.
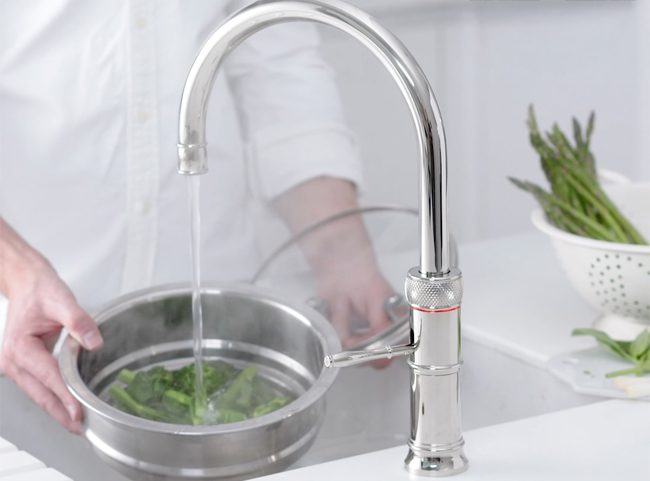
Step 3: Remove Your Old Tap (If You Have One)
You can remove your old tap by loosening the nut that secures it to the base of your sink. The tools you need to do this will depend on the type of tap you have. As previously mentioned, check with your manufacturer to make sure you have the correct equipment prepared. Once you have removed these elements, you can move the old tap and any connecting hoses away from your sink. To make this process easier, as a friend to grip the tap from above while you unscrew the nut.
Once the tap is removed, take this chance to clean off any residue from the sink & from around the location where the tap sits. Then you should make sure you dispose of the old tap correctly.
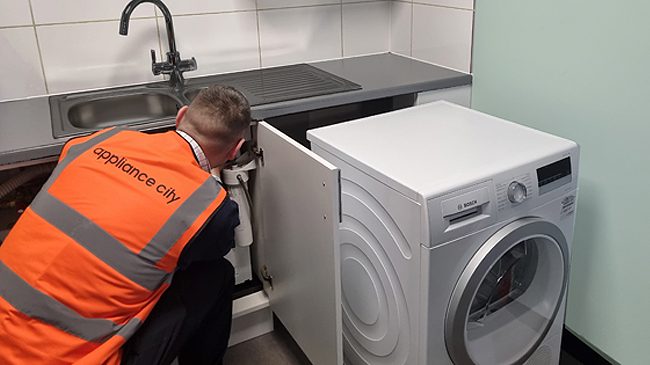
Step 4: Install the New Tap
Now that you have prepared your space and removed your old tap, it is time to fit your new one.
- Unbox the tap and position it above the hole in the top of your sink.
- Using the mounting brackets or screws that came with the tap, put it into the hole and secure it. You can use a wrench to tighten the tap from underneath the sink.
- Attach the washer to the bottom of the tap.
- Screw the nut firmly on to the threaded post.
Step 5: Attach the Plumbing
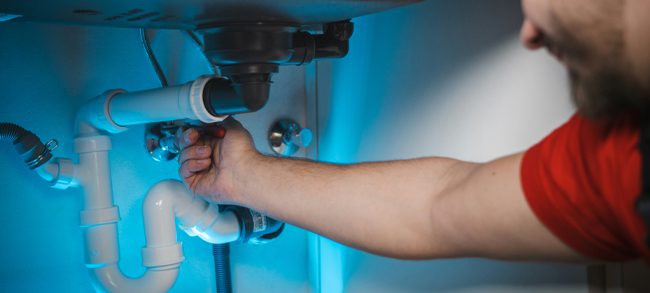
- Connect the flexible connectors to the tap and connect it to the isolation valves under your sink. Make sure you connect both the hot and cold water connections.
- Tighten them with a spanner to keep them in place. Just don’t tighten it too much as this could make it very difficult to disconnect in the future.
Step 6: Switch On Your Water Supply
Turn your water supply back on and test it out. Start off with a slow flow of water to get a chance to make sure there are no leaks or other issues. If nothing seems to be wrong, feel free to restock the space under your sink!
To Conclude...
What Else Do I Need to Do?
Now that you have successfully installed your new tap, there are a few things you can do to keep it properly maintained.
Clean Your Tap
To prevent limescale build up and your tap from becoming unhygienic, we recommend you wash your tap with soap and warm water around once a week. This includes the spout and handles. While this may seem inconvenient, regularly (and gently) cleaning your taps will keep them looking and functioning better for longer.
Check Your Tap for Drips, Leaks, and Blockages
This step is very simple. Keep an eye out for drips, as well as leaks from the tank connection, the handles, and the spout-basin entry. It’s also important to routinely check that there are no blockages within your spout. Water that flows slower than usual may mean the tap or plumbing connected to it has a blockage.