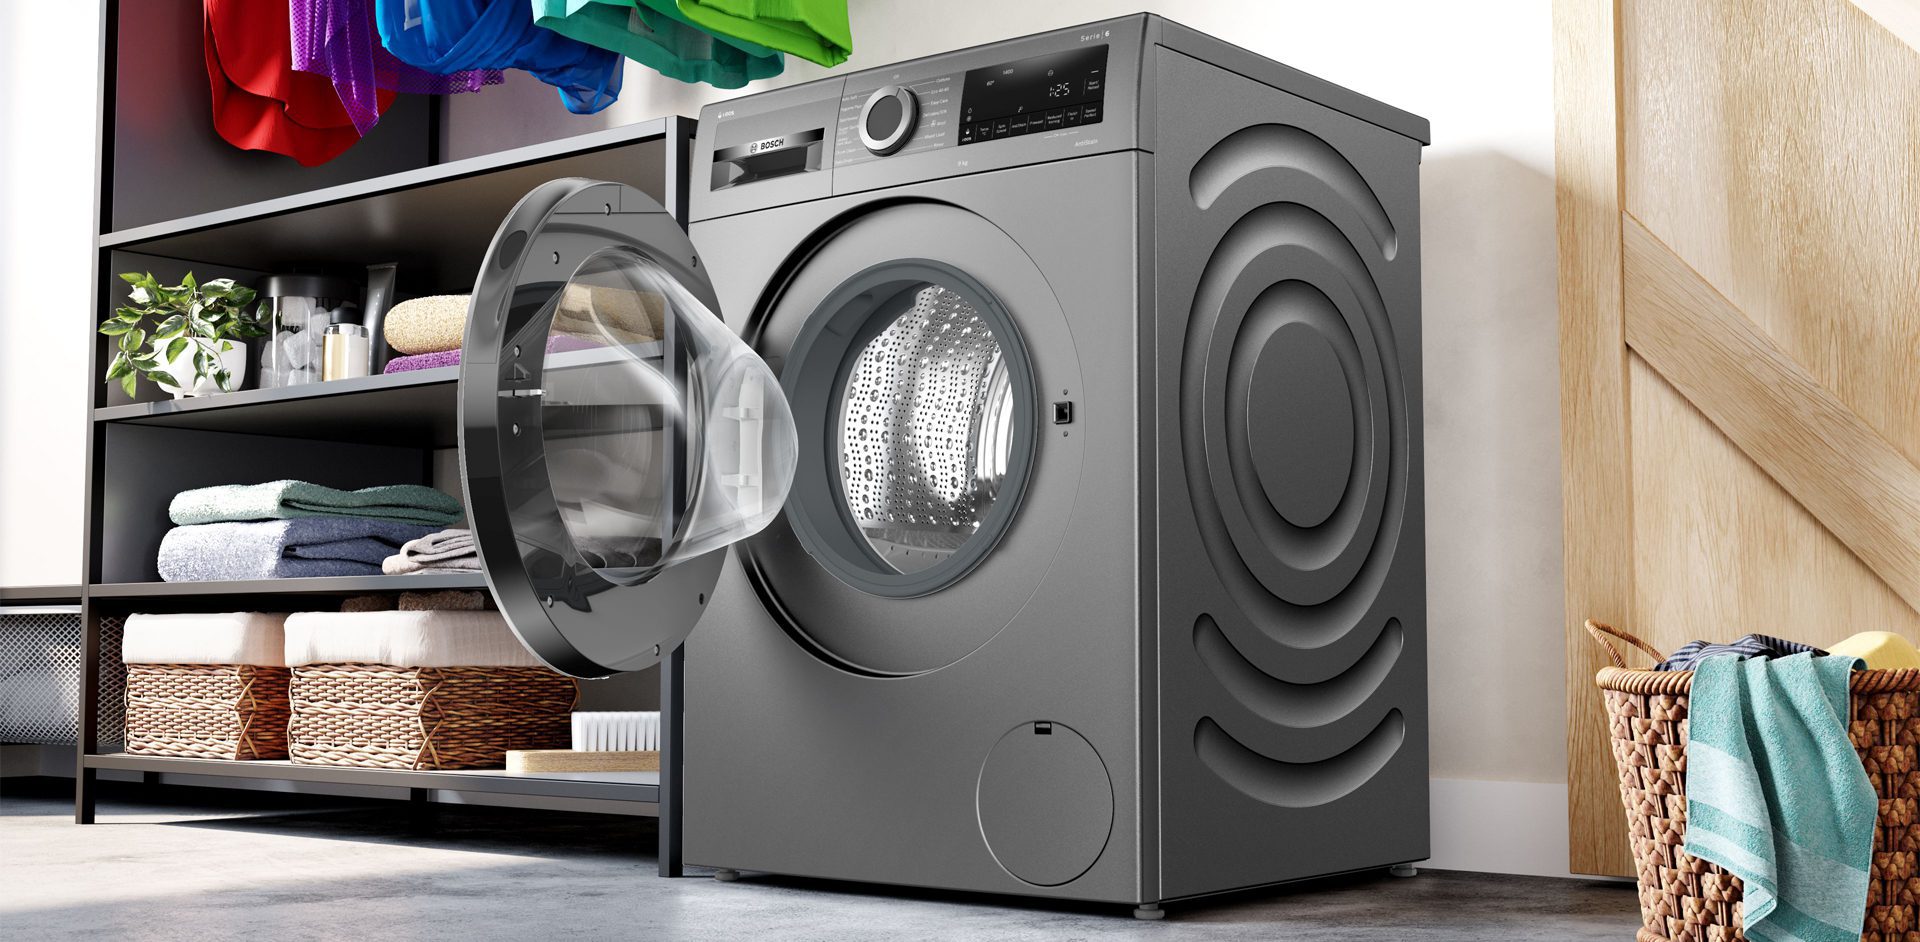
June 18, 2021
How To Replace A Washing Machine Door Seal
When you have a leaky washing machine door seal, it can be an annoyance, but replacing one can be an easy job that most homeowners can do themselves. We’re here to help with how to replace a washing machine door seal in this guide. When you have a leaky washing machine door seal, it can be an annoyance. You might find that your clothes are getting wet from the leaks or that you need to clean up a mess when water spills on the floor. Of course, there is also the potential for mold and mildew to grow in places where water pools. Thankfully it’s not very expensive, which makes it even more attractive if you’re on a tight budget. In this blog post, If this sounds like something you’ve been dealing with, don’t worry!
7 min read
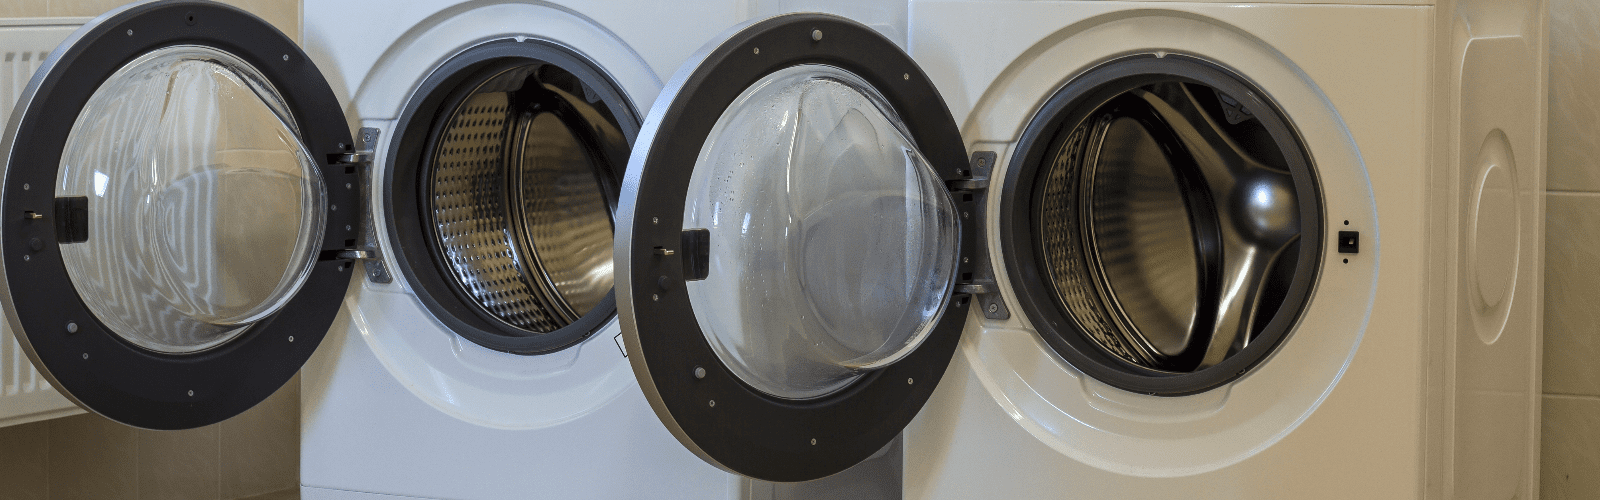
First Things First
Step 1: Unplug The Washing Machine
The first step of replacing your door seal is to unplug the washing machine. There should be no power going to the machine whilst you operate inside it.
Step 2: Removing The Front Panel
The first part of this is removing the screws that keep the front panel on the washing machine. This is not entirely possible on all models of washing machines, however, for most the screws are quite obvious.
If you’re unsure how to remove the front panel of your washing machine, search for your model type online followed by the term “remove front panel” to speed up the process.
If your washing machine does not allow you to remove the front panel, then there are a couple more options that can make the replacement process a little easier.
- Unscrew and remove the lid of the washing machine to give you top-down access to the door seal.
- Unscrew and remove the door hinge.
- Carefully setting the machine onto its back, so that the drum will drop away from the opening. This will leave more room for you to replace the door seal.
The Springs
Step 3: Remove The Outer Retaining Band
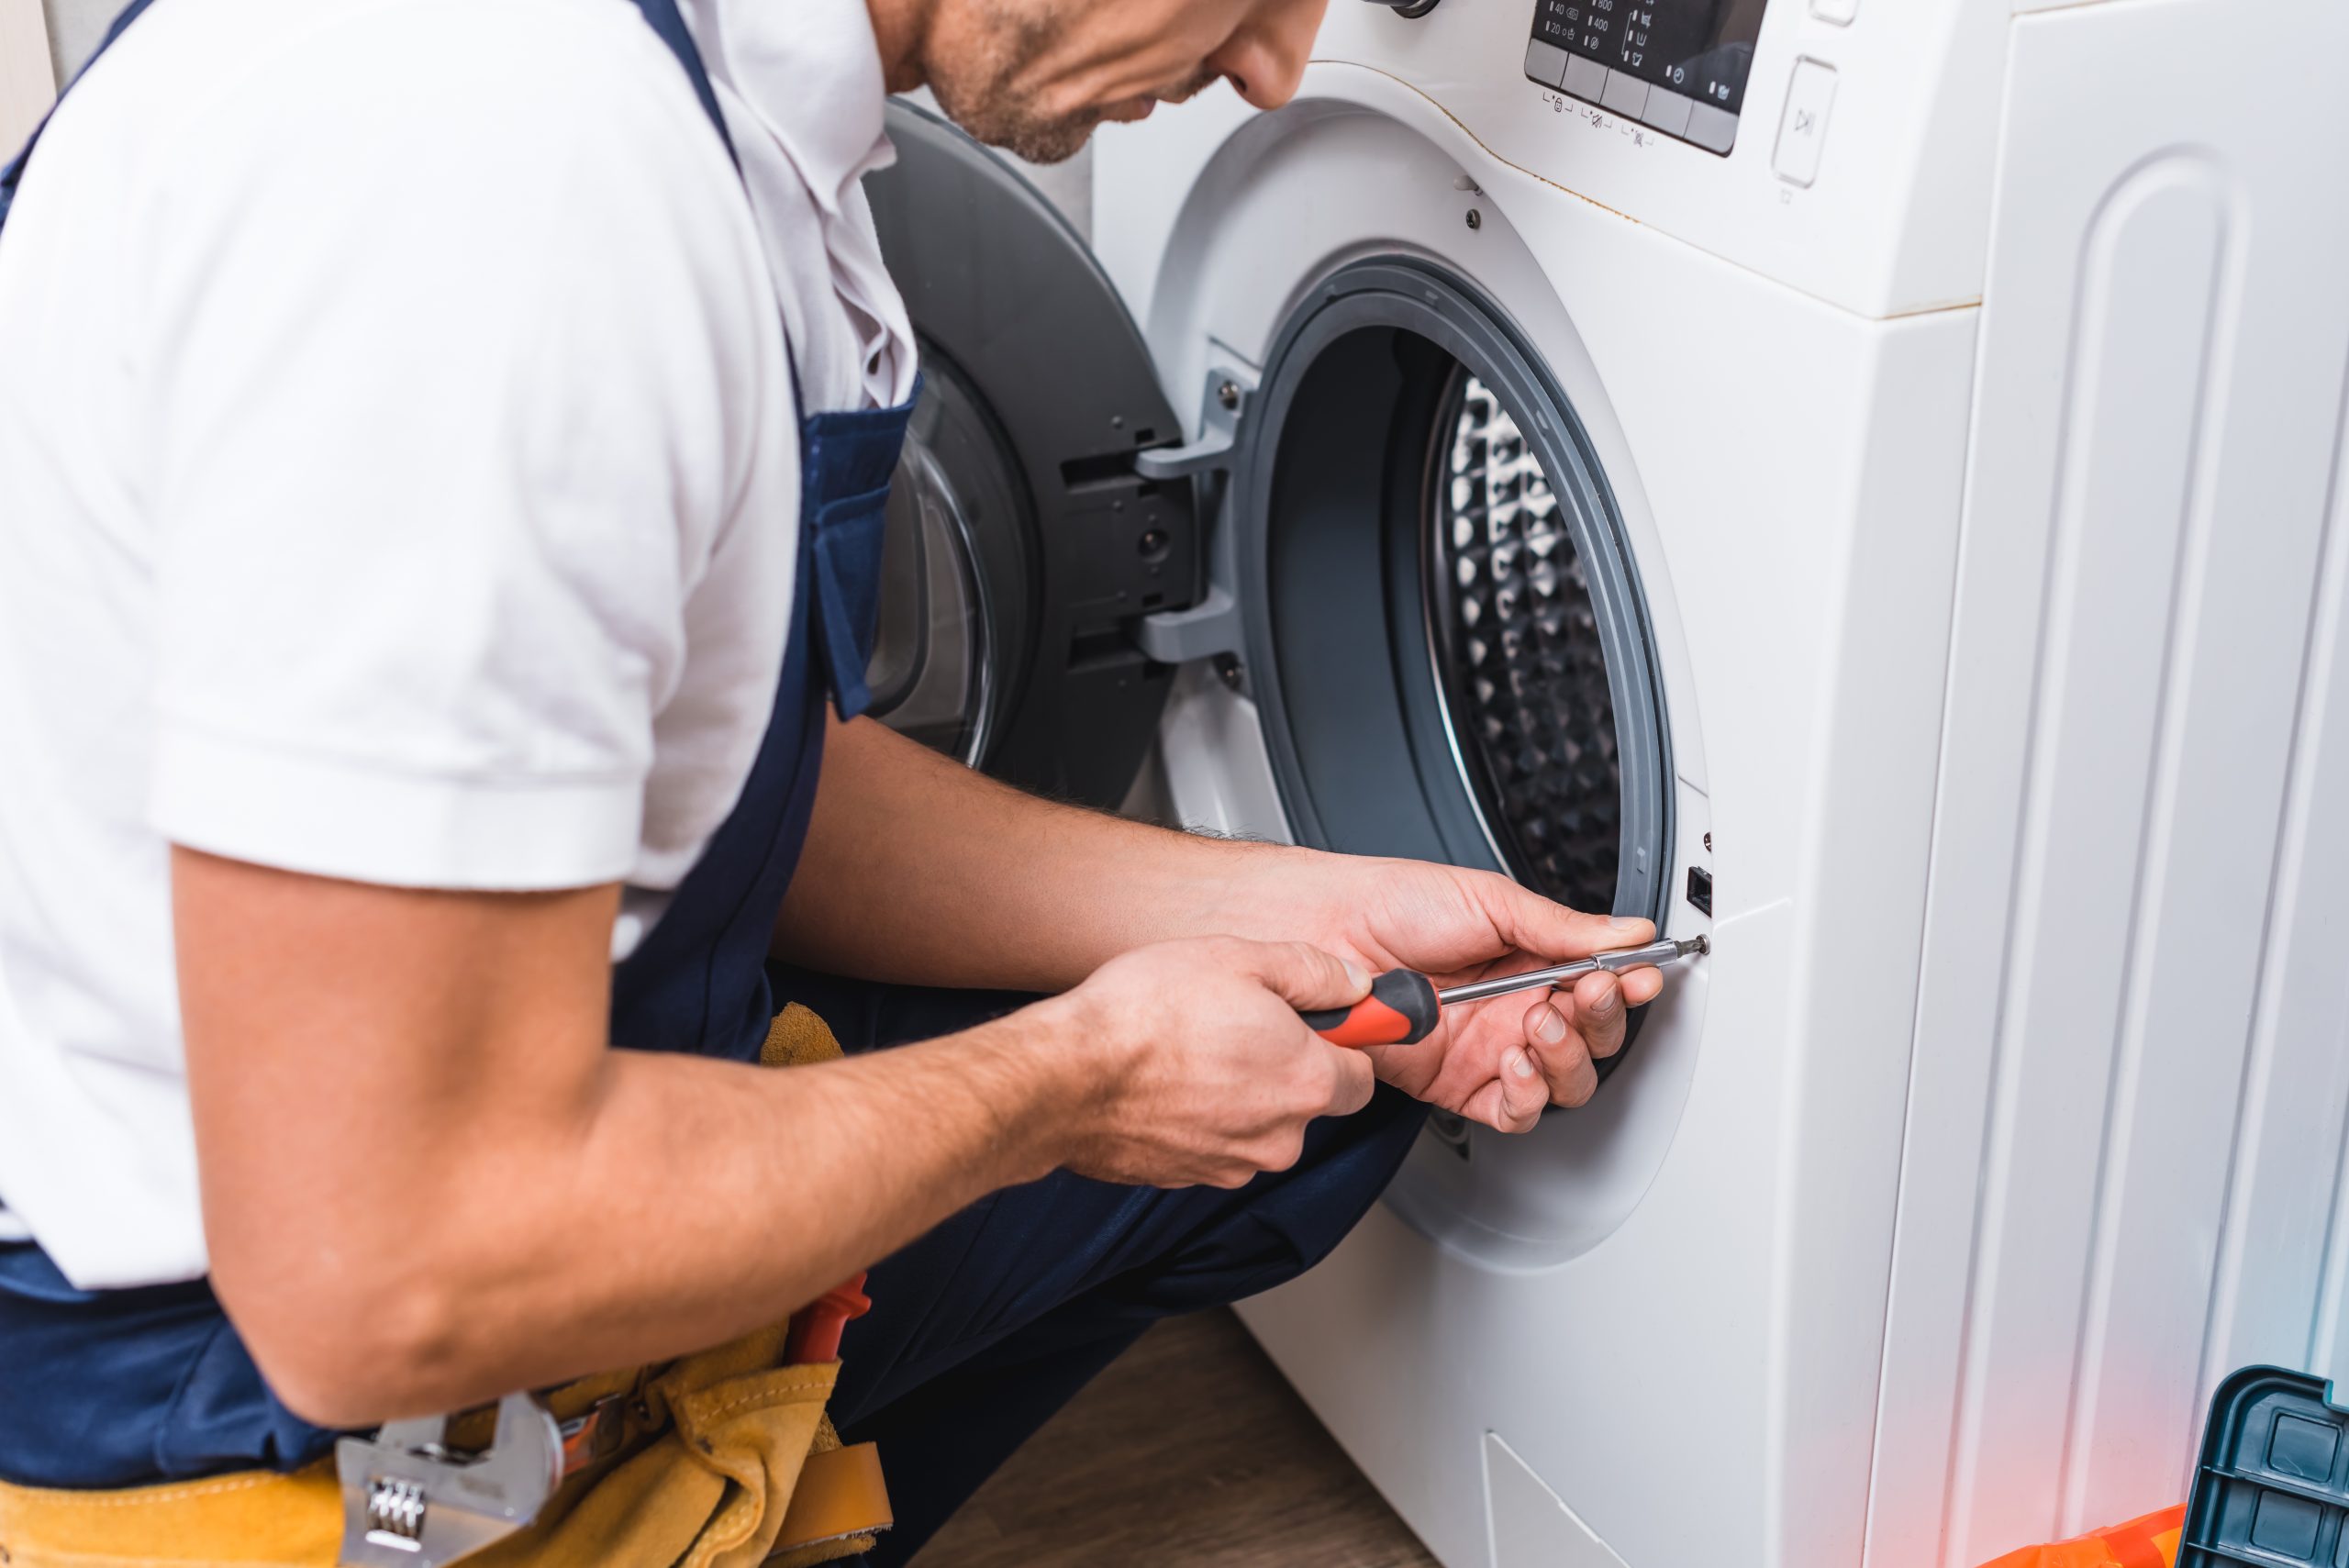
Most door seals are fitted with a plastic retaining spring or band that will need to be removed away before the seal can be removed. Using a flat-head screwdriver, pry away from the around the rim and pull entirely off the seal. Some appliances may not have an outer spring on their door. If this is the case, your job should be a little easier!
Step 4: Fold The Door Seal Into The Washing Machine
Gently fold the door seal from the edge of the drum using your fingertips or a flat head screwdriver. This will grant you access to the inner retaining spring or band around the drum. There may be some clips holding the seal in place. These can be removed with a screwdriver by removing the screws holding them in place. They may also need prying off with a flat head screwdriver. Generally, these clips require screws that hold the band tight in place but do not fret if your appliance does not have these.
Step 5: Remove The Retaining Spring/Band
This is the band that holds the seal firmly in place. As the most important part of keeping the door deal in place, this retaining band can be particularly difficult to remove. They are slightly different from the outer band, and generally have a screw or nut holding the spring in place.
Ensure the top of the washing machine is unscrewed and removed, to give you direct access from the top opening of the washing machine. Using a screwdriver, loosen the nut or screw of the tension band to remove the seal. Starting from the bottom, slide a flat head screwdriver beneath the spring and slowly and gently pry the spring from the drum.
The Seal
Step 6: Find The Drain Holes On Your Old Seal
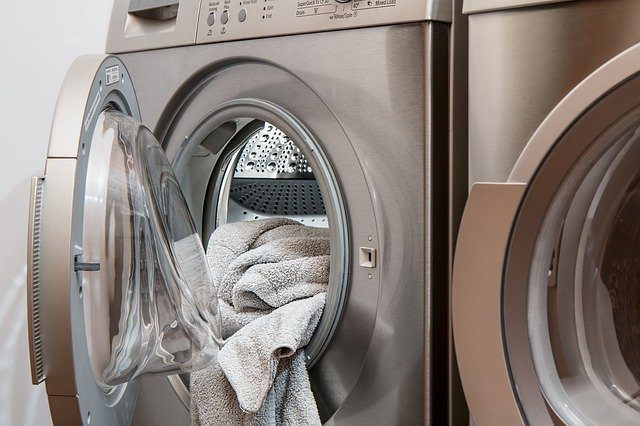
Note their position, as your new seal will have similar holes for drainage that need to be installed in the same place in the machine.
Pull the seal away from the drum. This should be pretty easy, as there should be nothing holding it in place. However, you may find that your seal could be stiff, or even glued in place. Be mindful as you pull your seal from your washing machine.
Step 7: Preparing The Drum For A New Seal
Wipe away any excess grime from the drum and the inside of your washing machine door, and lubricate the seal (if necessary). Some new seals come pre-lubricated. If not, you can use a little dash of washing-up liquid to help replace your door seal.
Step 8: Installing The New Washing Machine Seal
Align the drainage holes at the bottom of the new seal with the holes in your machine door.
At this point you want to install the inner spring/band, which can be more difficult than removing the springs originally. As some models age, the inner spring can tighten and be difficult to loosen. If this is the case, persistence and perseverance are key to fitting the inner spring. Holding the tightening screw or nut in place at the top, inch the rest of the band onto the lip using a flat head screwdriver to fit the new door seal.
Now the hard part is out of the way, it is time to unfold the seal onto the outside of the drum. Refit the outer retaining band to hold the seal in place.
And Lastly...
Step 9: Installing The Final Pieces
Lastly, it is time to reattach all the parts you initially removed to access the door seal. Some appliances do not require the need to remove the front panel or lid, but it is advised for ease of access to the internal of the machine.
There are many different reasons your door seal may have broken. Whether internal debris has ripped the rubber, and water is leaking from your appliance throughout your kitchen. Or whether your seal has become worse for wear, and old age and overuse have caused it to deteriorate. Whatever the reason, replacing your door seal can be quick and effective.
With your newfound knowledge in mind, ensure that you have all the correct pieces that your model requires. Following this guide for how to replace a washing machine door seal, it should be relatively straightforward.
Expert Tip: One of the most common reasons for breaking seals is an accumulation of dirt within the gap between the door and frame. To prevent this from happening in the future, you may want to consider using a vacuum in between uses to gather up old tissue and debris from your door seal.
If you are still struggling to repair your door seal, do not hesitate to contact a professional. If problems are still persisting, then the issue may not lie within your door seal.
Keep Reading
Washing Machine Features
24th July 2026
Heat Pump vs Condenser vs Vented Tumble Dryers
23rd July 2026
by Beckie Littlewood
What Washing Machine Capacity Do I Need?
23rd July 2026
by Beckie Littlewood
Where Should You Put Laundry Appliances?
21st July 2025
The Ultimate Utility Room Guide
18th December 2024

Understanding Washing Machine Cycles
8th July 2024
Washer Dryers: Buying Guide
24th June 2024
Tumble Dryers: Buying Guide
20th June 2024
Washing Machines: Buying Guide
18th June 2024
How to Clean a Tumble Dryer
13th June 2024
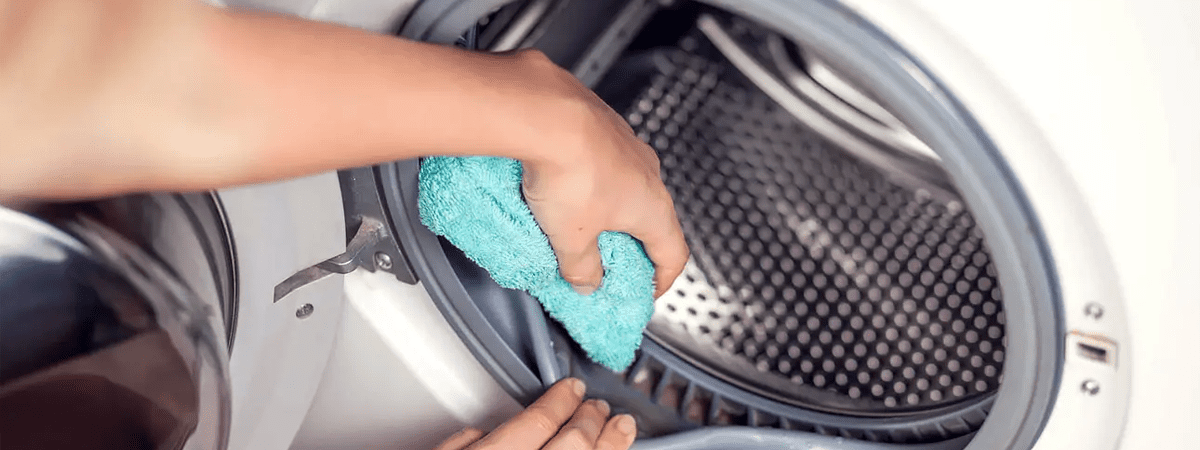
How to Maintain Your Washer Dryer
22nd December 2017
Washer Dryer FAQ's
22nd December 2017
How to Install a Tumble Dryer
21st December 2017
Condenser vs Vented Tumble Dryers: What’s the Difference?
20th December 2017