October 20, 2023
Pumpkin Carving Ideas
Halloween is just around the corner, and with that comes the joy of pumpkin carving. This fun activity can be enjoyed by anyone, but if you don’t know what you’re doing it can become incredibly messy. With our 10 easy pumpkin carving ideas, your jack-o’-lantern will shine brightly and become the talk of the neighbourhood on Halloween night. So, let your Halloween spirit go wild with these spooky Halloween pumpkin carving ideas!
8 min read
How To Carve a Pumpkin
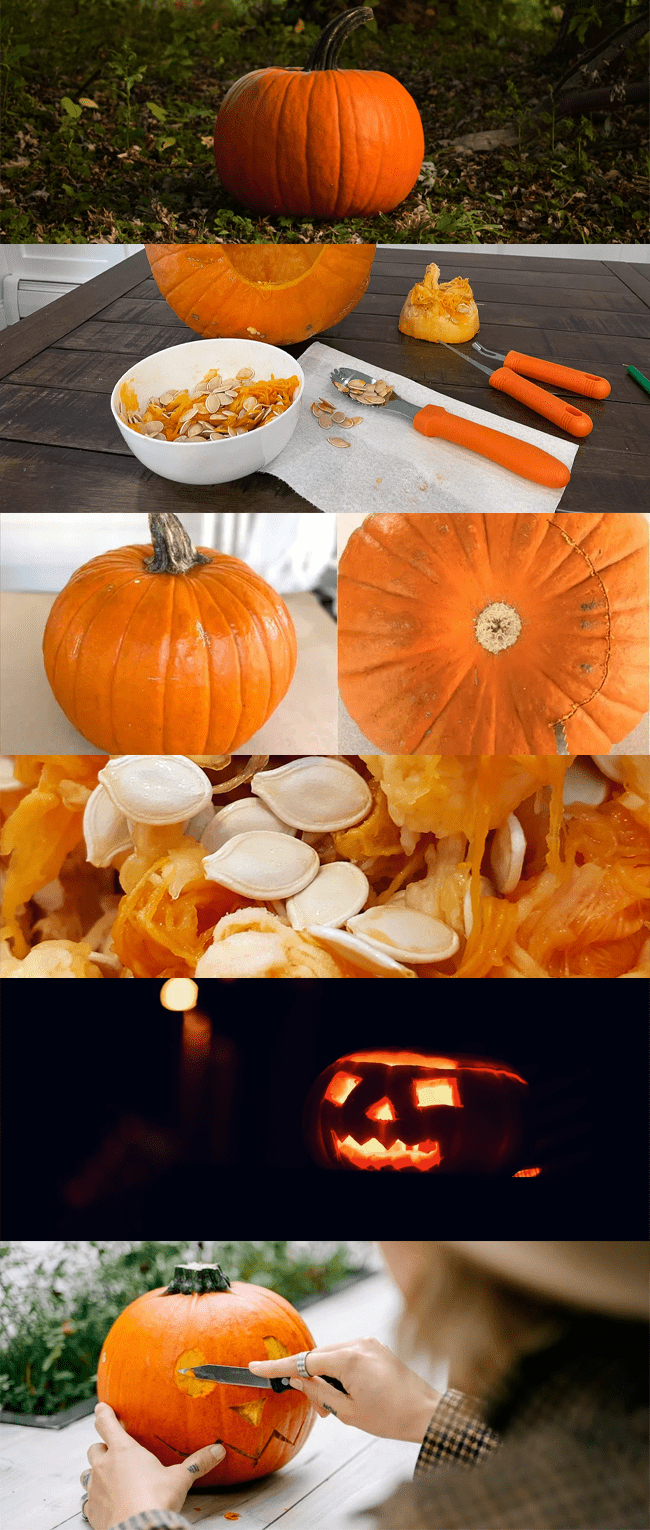
Step 1: Choose a Good Pumpkin
Naturally the first step is to get a pumpkin! But not any pumpkin will do for your pumpkin masterpiece.
Look for a pumpkin with smooth, firm skin. Carefully examine your pumpkin for soft spots or deep scratches. You want to avoid these! It’s also a good idea to place it on a flat surface to make sure it sits flat.
Step 2: Get All Your Tools Ready
Before you start carving, you need something to actually carve with.
First you’ll need a tool for scooping out the flesh. You can use a spoon with serrated edges, however we recommend using a hand mixer.
Next, you’ll need some tools for carving. A children’s pumpkin carving kit is a fantastic place to start. The little serrated knife is perfect for sawing through the flesh and cutting out all kinds of fun shapes.
Step 3: Cut Out A Lid From The Bottom
Use a serrated knife to cut out a lid from the bottom. Cutting from the bottom will help to keep your pumpkin fresher for longer, and prevent it from caving in. It’ll also make scooping out all of the insides less messy!
If you’re planning on using a real candle you’ll need to make an opening at the top for the smoke to escape. However, we’d recommend using an LED candle instead.
Step 4: Scoop Out The Flesh
Once you’re inside, it’s time to start scooping. You’ll need to make sure you take out every last scrap of the guts. This will keep your pumpkin looking its best, whilst also preventing fast rotting.
Don’t use plastic tools for this. Properly removing all of the flesh will mean applying a good amount of pressure. If you’re using plastic for this, it could snap. Instead, use a metal tool such as a spoon with serrated edges, or an ice-cream scoop.
Our favourite tool to use for removing pumpkin flesh is a hand mixer. These make the process a LOT quicker, and are a lot less messy.
Step 5: Decide On A Design
Before you start prodding and cutting up your pumpkin, you should have a clear idea of what you want it to look like. We have some really great pumpkin carving ideas for you to get some inspiration from.
Once you’ve decided on a design, draw it on some paper (or print it out). This way you can ensure that it’ll fit nicely on your pumpkin.
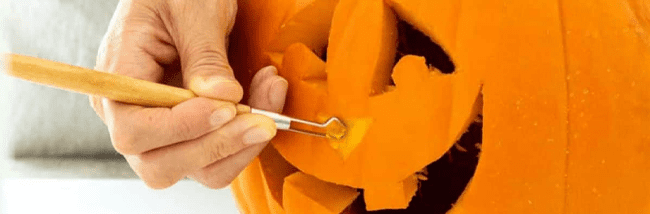
Step 6: Cut Out Your Design
Finally, the fun bit! Use your serrated knife to carefully cut out the big chunks that you need removing. For the finer details, we recommend using a tool such as a loop tool. Both of these tools can be used by older children, with supervision.
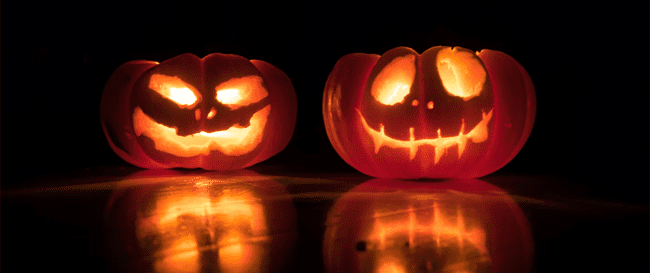
Once it’s done, pop in your candle, turn off the lights and voilà! You’ve got your very own spooky jack o’ lantern!
Pumpkin Carving Tips
Have your pumpkin be the talk of the street with these tips that make carving scarily easy!
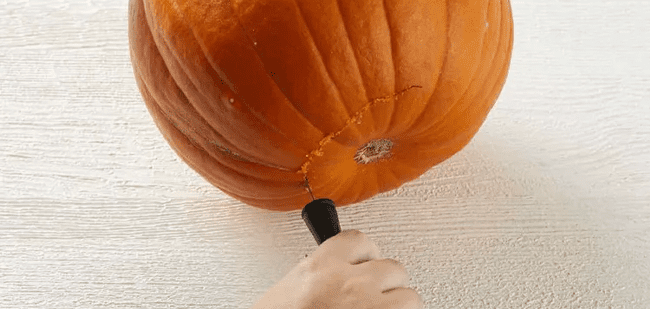
Cut Your Pumpkin From The Bottom
You should always cut your pumpkin from the bottom! I know, cutting the lid from the top of the pumpkin just makes sense, right? But there are plenty of reasons not to do it that way. Firstly, your pumpkin gets most of its nutrients from the stem. So, if you cut it off, it will die quicker.
Cutting from the bottom will prevent your pumpkin from caving in, and make it easier to clean out. Ever cut your lid from the top and a few days later the lid fell in? Yeah, that can’t happen when you cut it from the bottom.
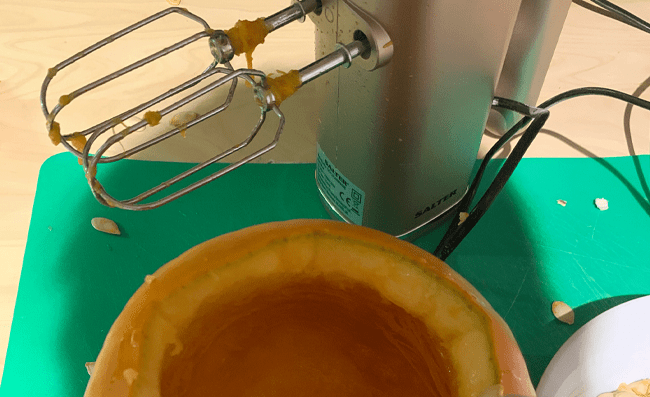
Use a Hand Mixer
One of the hardest parts about pumpkin carving, we think, is removing the guts. It’s slimy, stringy, and really difficult to scoop.
Using the right kind of tool definitely makes this step easier. We wouldn’t recommend using a spoon. Sure, it gets the job done, but it’s not easy. Some pumpkin carving kits will come with a serrated spoon which is definitely easier, but not as good as this.
Use your hand mixer to remove the guts from your pumpkin. Really! Ideally you want to use a beater attachment with flat edges. This will make it easier to carve out all the stringy guts. Do your best to get into all of the nooks and crannies, then tip your pumpkin upside down above the bin. All the guts should simply fall out! Then all you need to do is clean it up so that all of the little gloopy bits are gone.
Use A Potter’s Loop Tool
Loops tools are useful outside of pottery too! These tools will cut through your pumpkin like butter.
You can use a potter’s loop tool to clean up the insides, and to carve out intricate details and patterns.
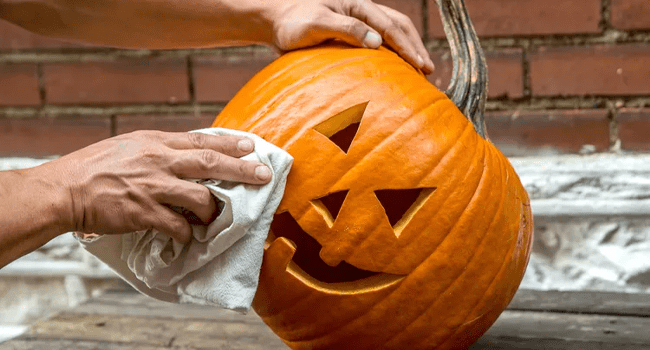
Wipe Your Pumpkin To Avoid Rotting
A rotten pumpkin definitely puts a damper on Halloween fun. There’s nothing worse than a rotten pumpkin days before the big day.
Wiping down your pumpkin surface with a 1 part vinegar, 1 part water solution will kill bacteria and fungal spores. Do this before you start carving. Once you’ve finished carving, you can use this same solution to spray it down each day.
You can also use bleach to help keep your pumpkin fresh, but if you’re carving with kids we wouldn’t recommend this method.

Draw Your Design Before You Start
To make the carving process easier we’d suggest drawing your design first. You can use tracing paper for this step if you have any, but printing paper works too.
By drawing it out first, you can make sure that your design will fit onto your pumpkin. It also gives you the chance to perfect your design first.
If you’re carving pumpkins with your kids, this makes it easier to get their designs on the pumpkin. Drawing directly onto a pumpkin can be tricky, especially for kids. So, have them draw their design on a piece of paper, and then help them transfer it onto the pumpkin. An easy way to transfer a design is with a toothpick! Tape your design onto your pumpkin, then use a toothpick along the lines of the design to etch it in. You can then use the small holes as a guide when cutting.

Use A LED Candle
Using an LED candle may not sound as fun as using a real candle, but it is easier, safer, and more practical.
Using a real candle will mean that your pumpkin will become a fire hazard. It also means that, more often than not, you’ll have to keep it inside. Otherwise the wind will keep blowing it out!
Not only this, but a candle will speed up the rotting process. It does this by drying up the insides, and burning the flesh.
An LED light on the other hand presents little danger, is easy to set-up, and is child friendly. It’ll also survive a lot longer when placed outdoors.
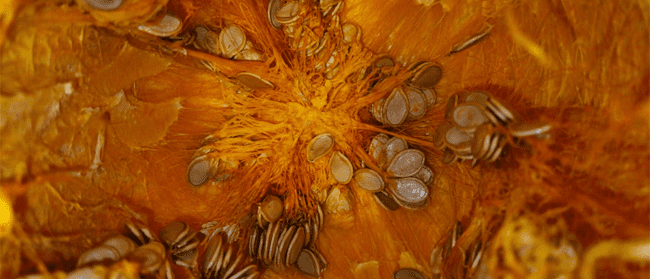
Save The Seeds
Once you’ve scooped out all the guts and seeds, you can save the seeds for a lovely snack.
Place all the insides into a large bowl of water, give it a good stir, and let it sit. All of the seeds should then float to the top.
Once you’ve scooped the seeds out and given them a good dry, you can roast them for a healthy snack.
10 Easy Pumpkin Carving Ideas
Here are 10 easy pumpkin carving ideas for beginner pumpkin carvers or children. Feel free to print out the images to use as a template!
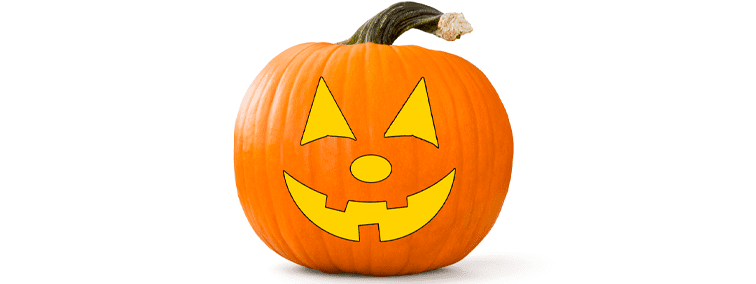
We absolutely love a traditionally carved pumpkin. This may be a simple and basic carving, but it’s effective. And a great starting point for beginner pumpkin carvers!

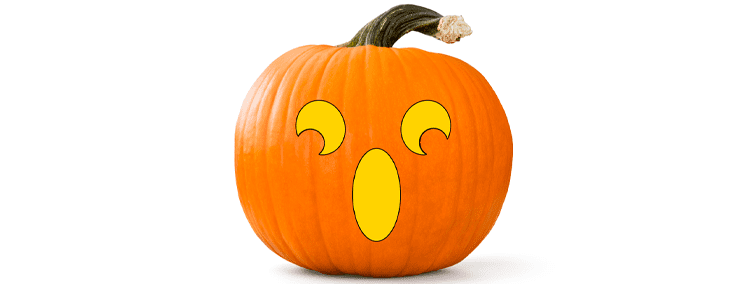
Want a classic pumpkin with a little more fright? This scary pumpkin face will get the youngsters excited for Halloween spooks.
Speaking of spooks, this spooky ghost pumpkin carving has a little more comedy than scare. And it has a really simple design too! Or should I say… BOO!
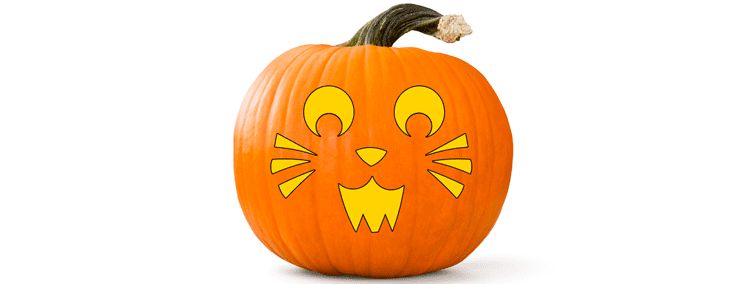
Not all pumpkins need to be scary. This cute cat pumpkin would pair perfectly with a wicked witch costume. And this simple cat carving design is great for beginners! With the right catitude, anything is pawsible.
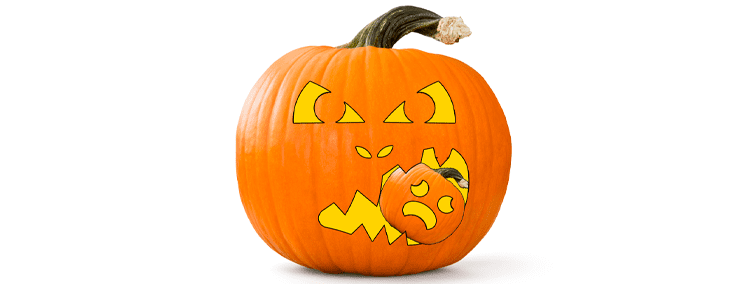
Did you give into temptation and buy a tiny pumpkin from the shops? I get it, they’re really cute! But now what do you do with it? Put it in a big pumpkin! This big pumpkin and small pumpkin duo is both scary and hilarious.

Feeling ambitious? This three-tier skeleton pumpkin will definitely stand out. Give this a try and you’ll have a skele-TON of fun. Sorry, we’re feeling “humerus”.
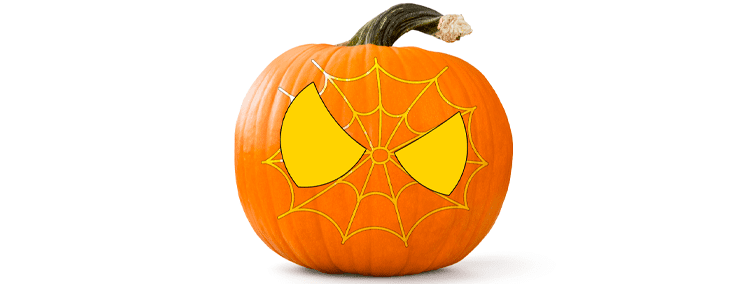
Be the hero of Halloween town with this simple Spiderman pumpkin! This design is perfect if you’re using a loop tool. You don’t need to go all the way through for the web! By simply scraping away at the surface, you’ll create a cool glowing web effect.
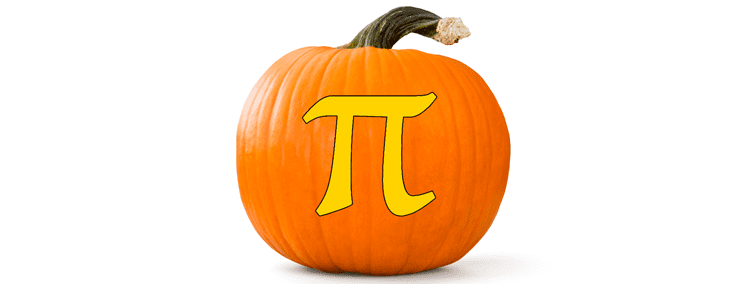
This one is for the maths lovers out there. Or those who love a good play on words! It’s a pumpkin pi! Get it? Pi?!
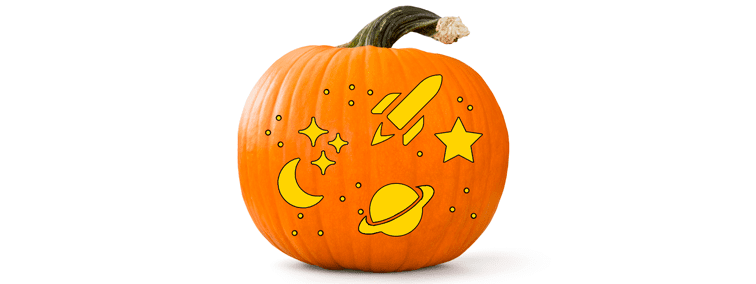
This design is out of this world! This pumpkin carving design is great for anybody looking for a challenge. Shoot for the stars with this space themed pumpkin.
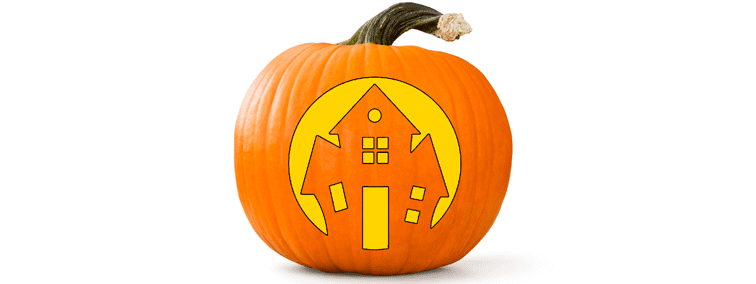
This design may be fairly simple, but it’ll impress your neighbours. What better way to make your house feel haunted than with a tiny haunted house?