March 18, 2024
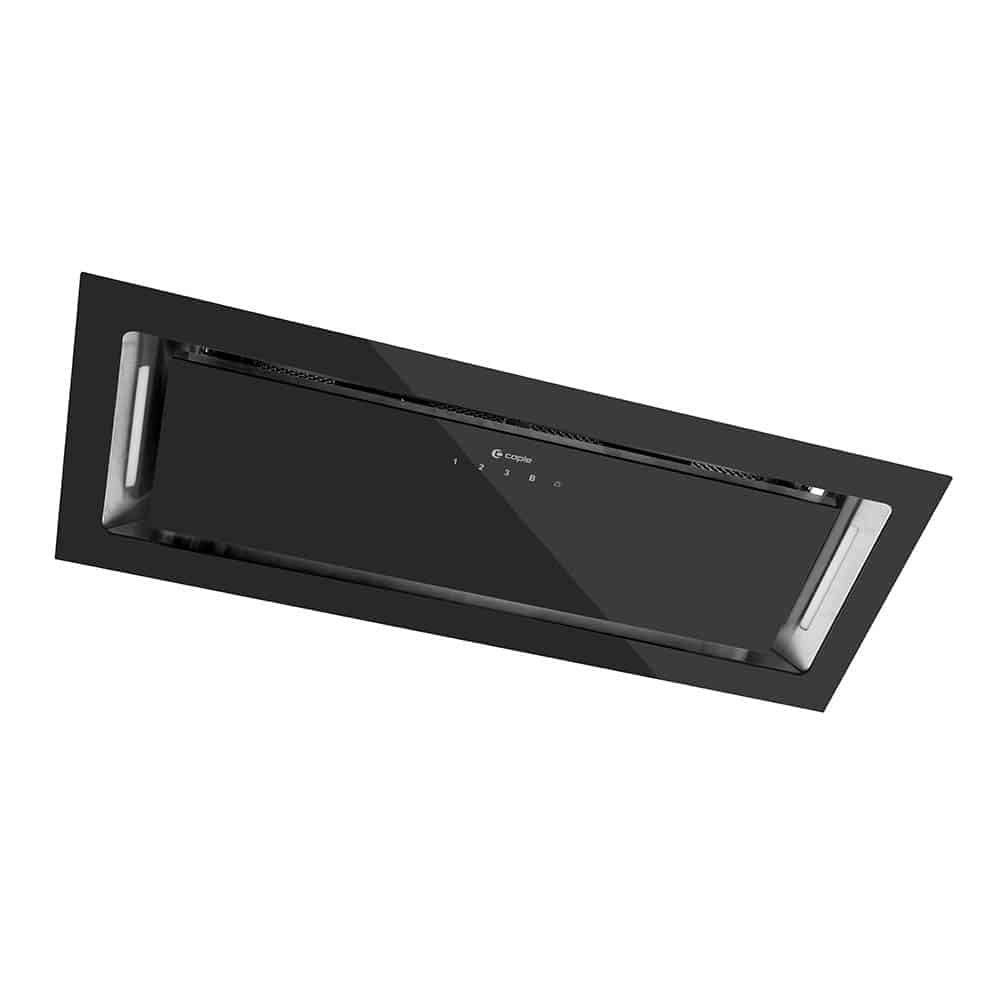
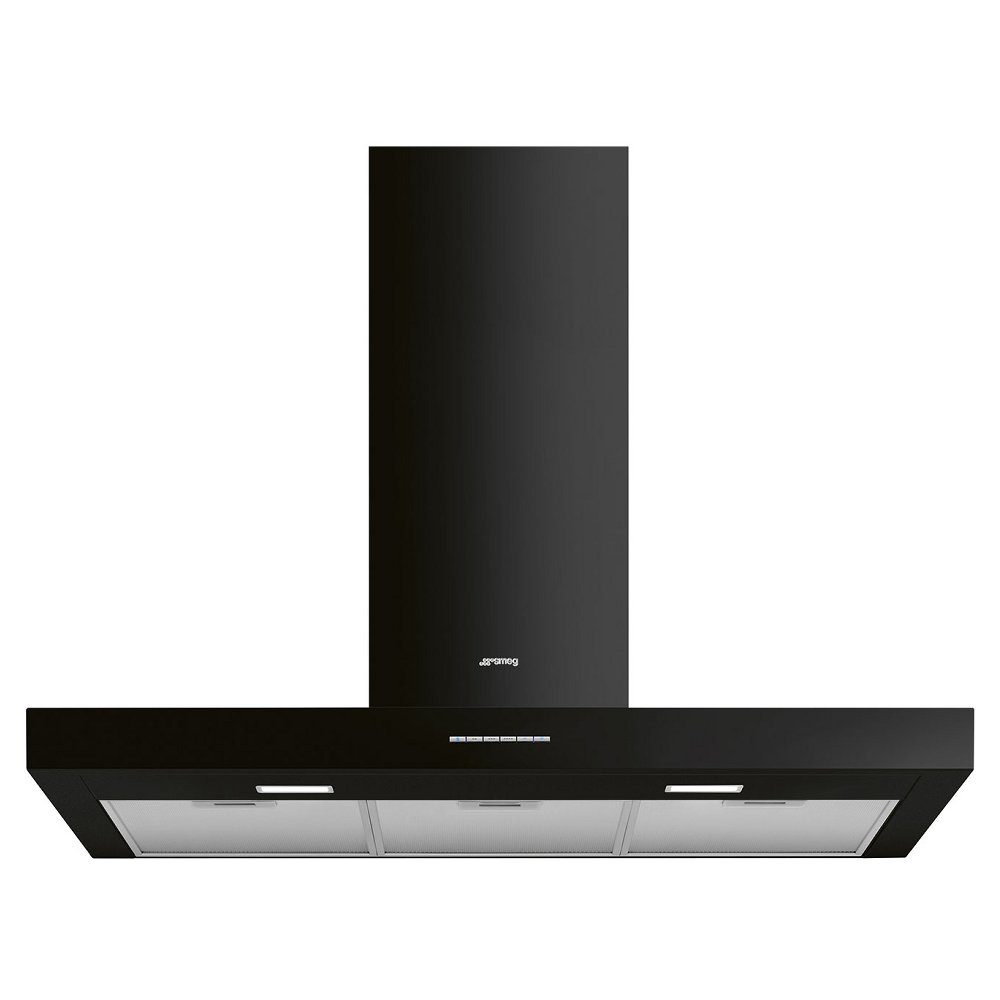
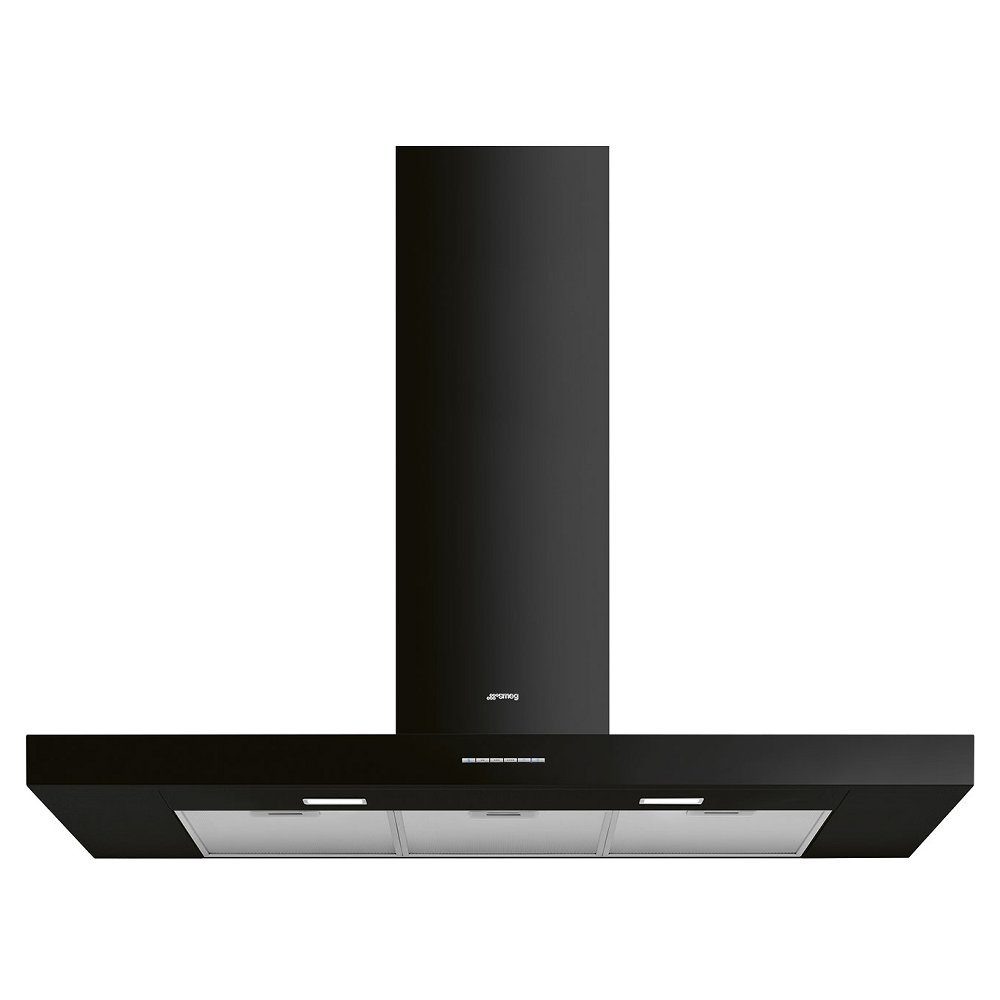
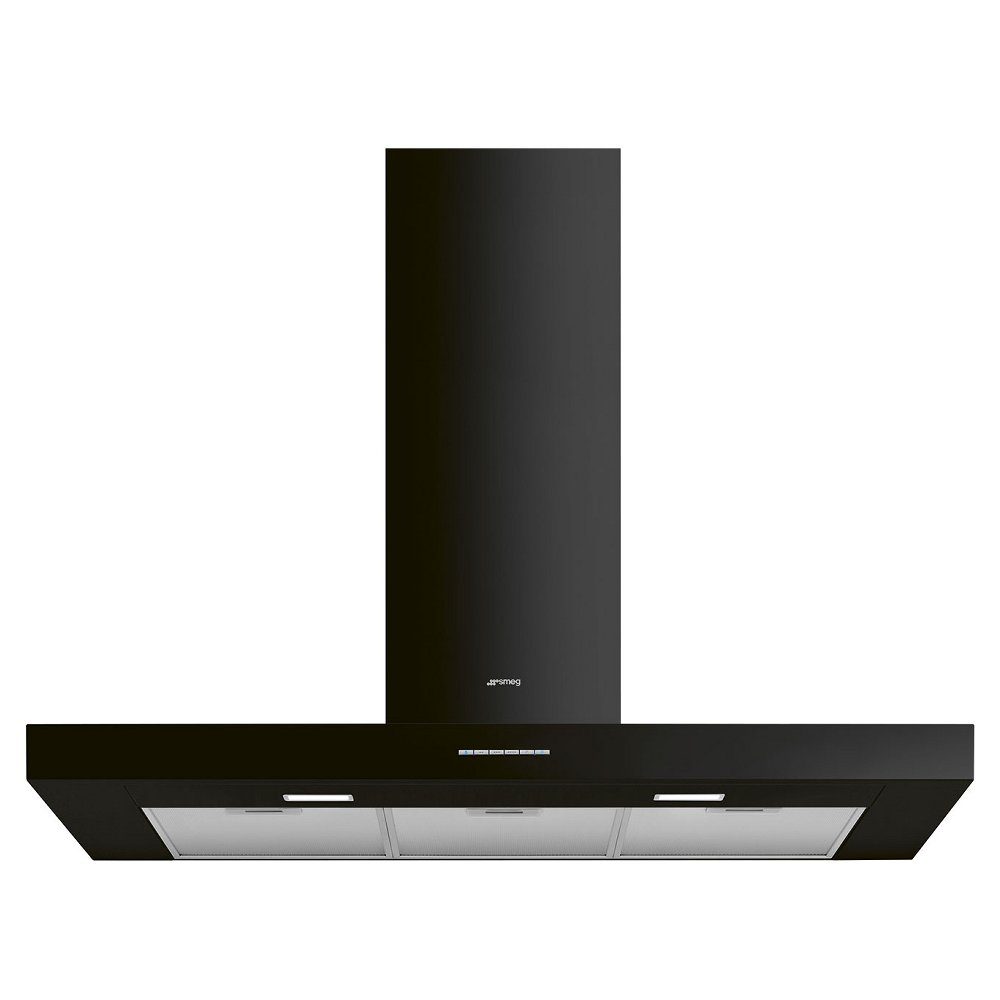
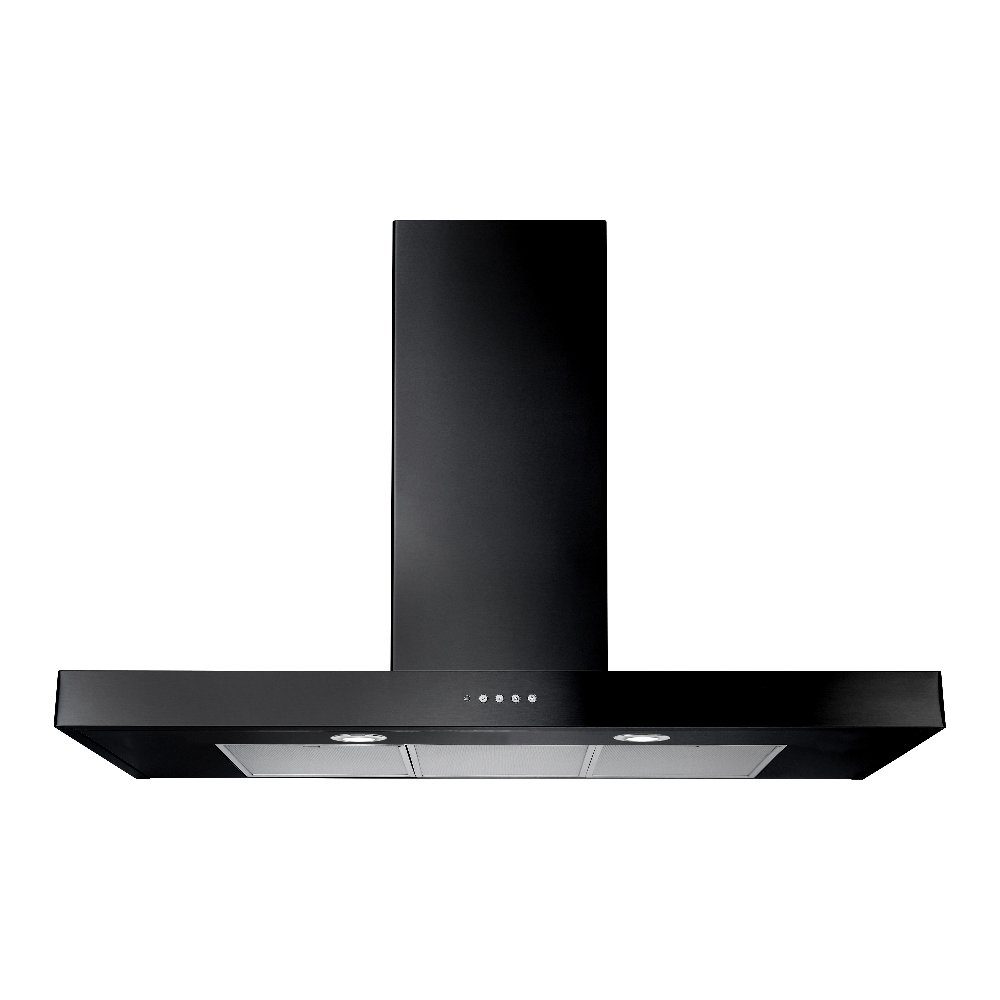
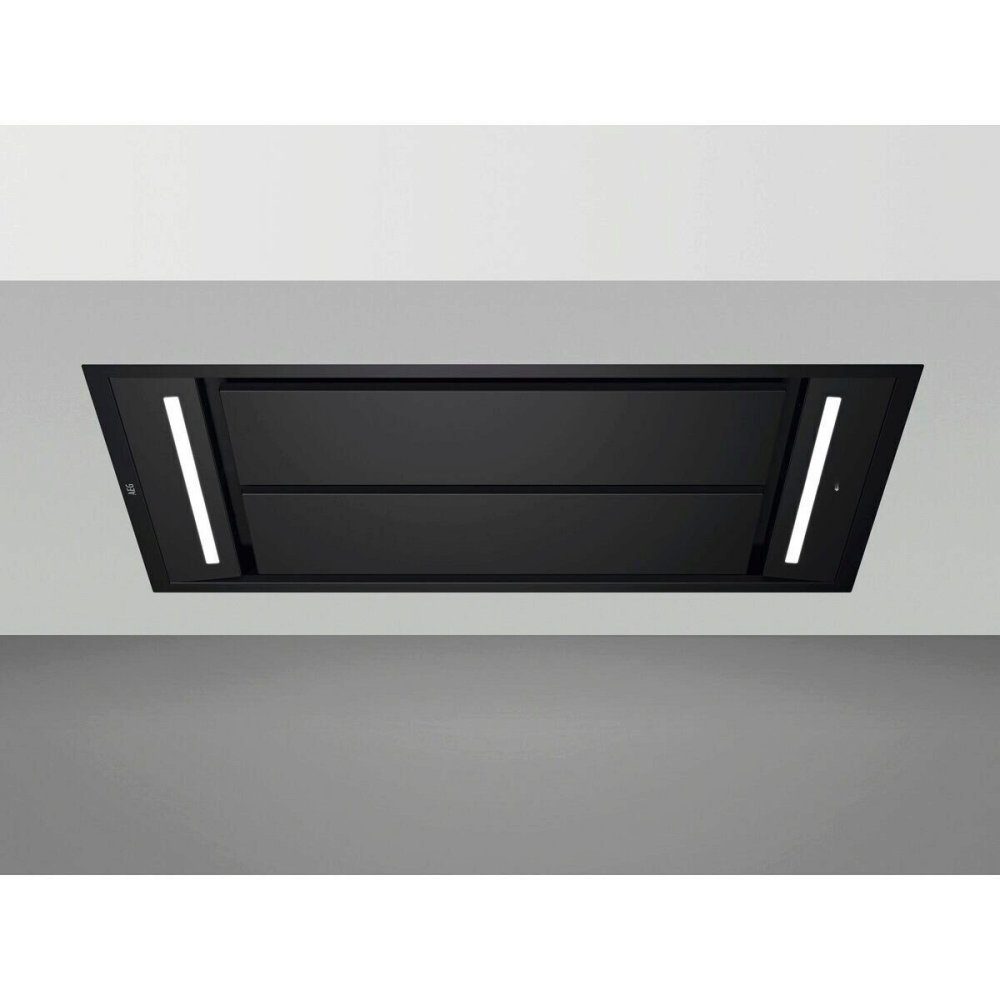
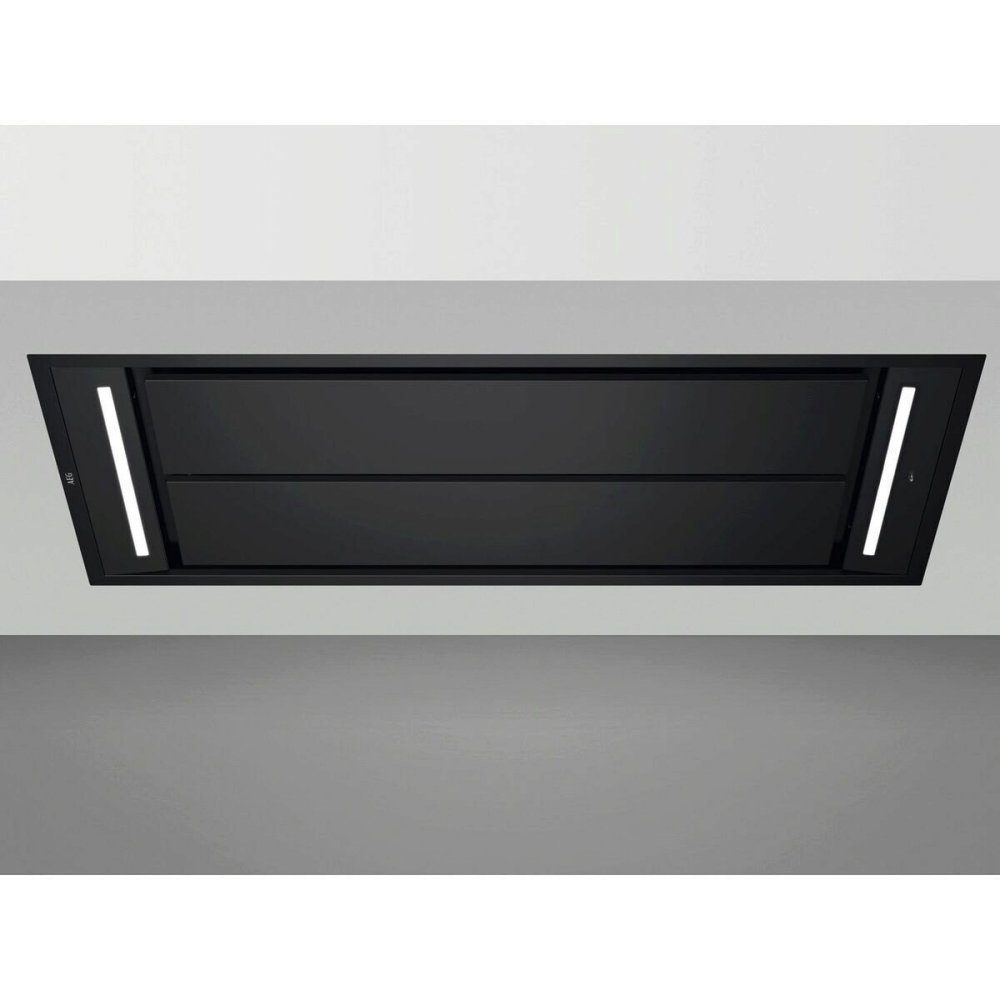
How To Maintain Your Chimney Cooker Hood
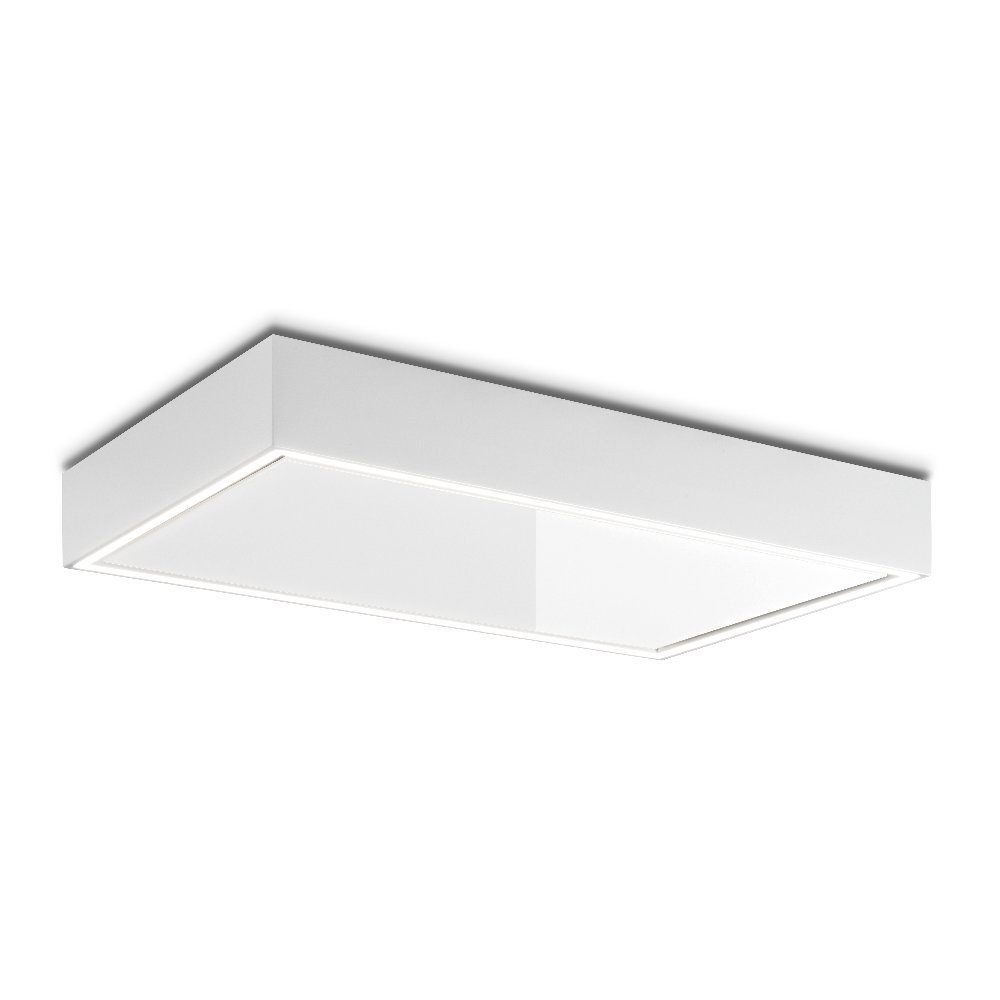
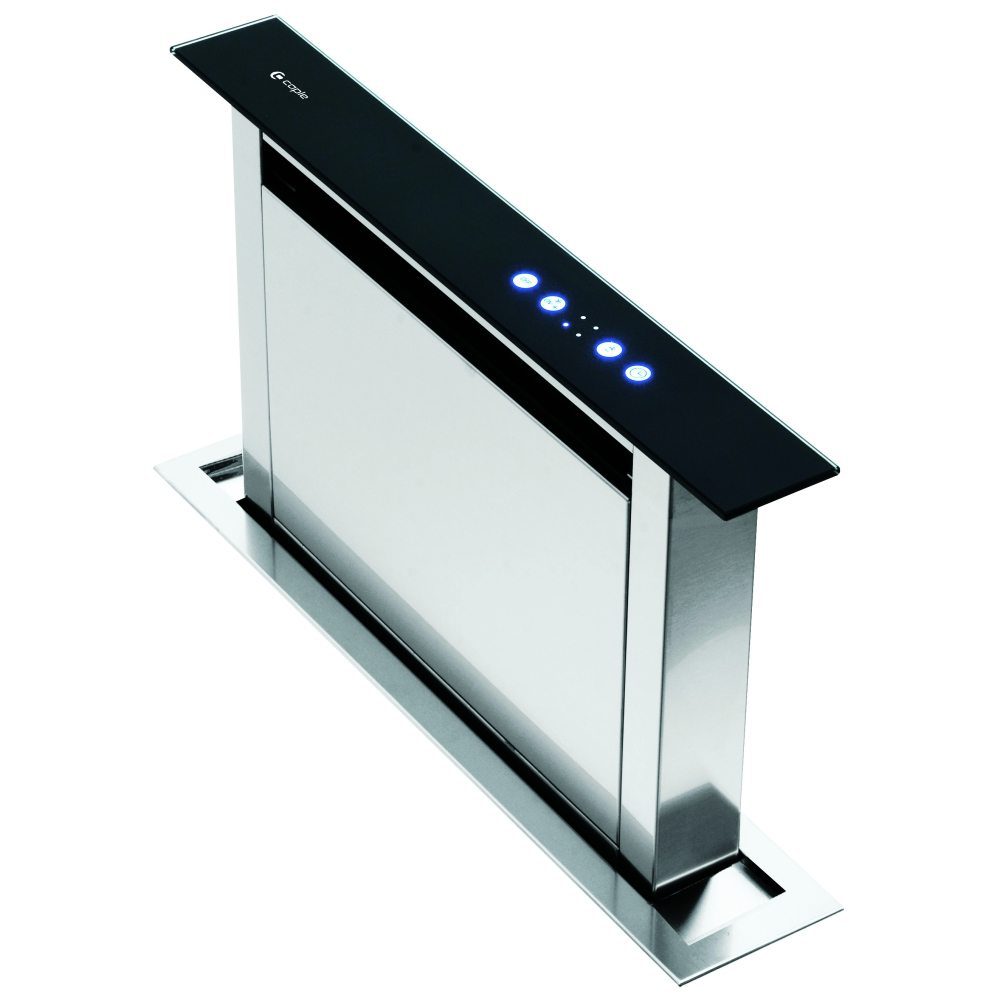
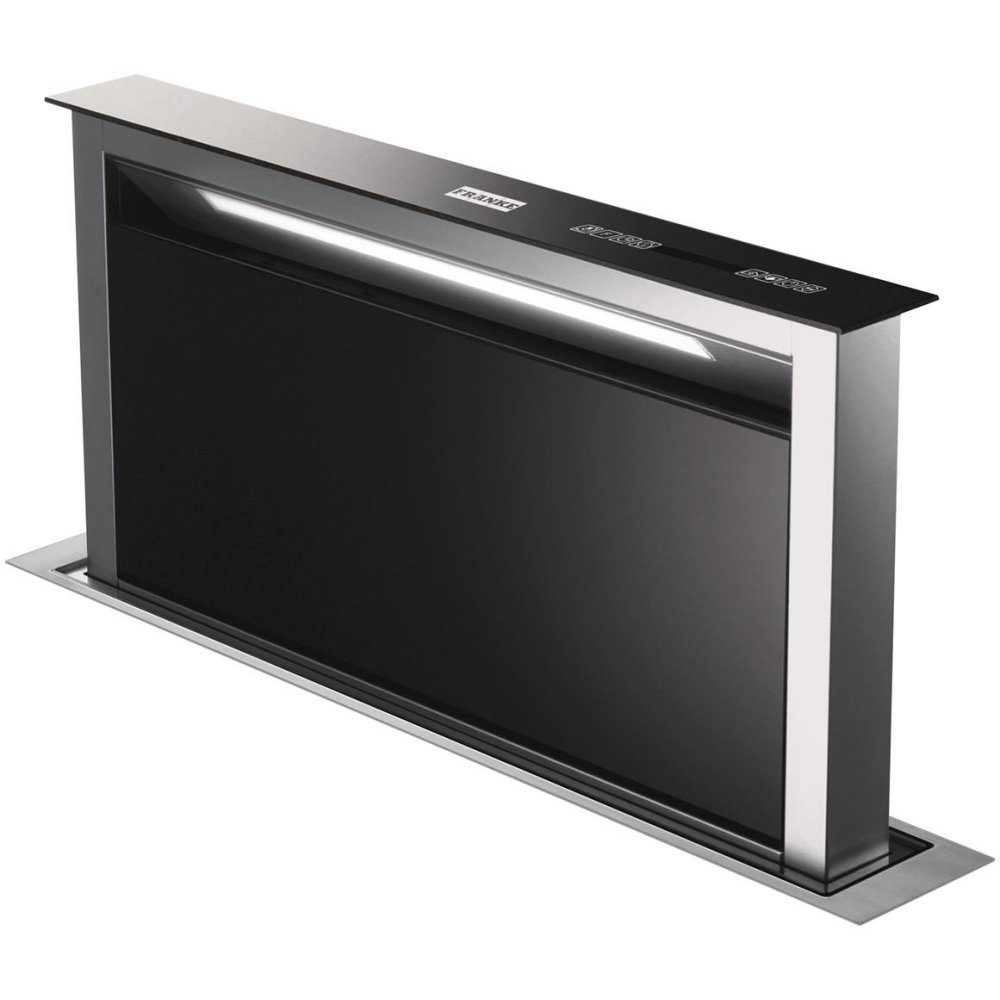
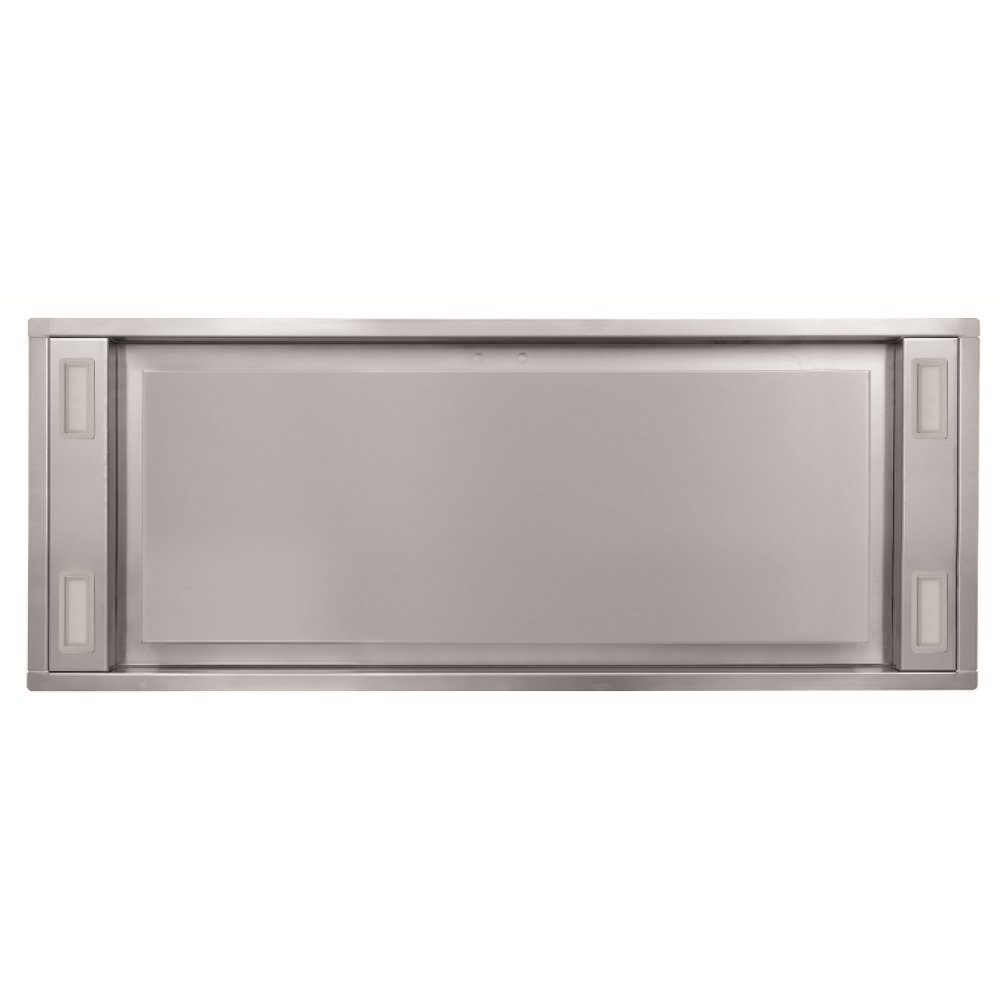
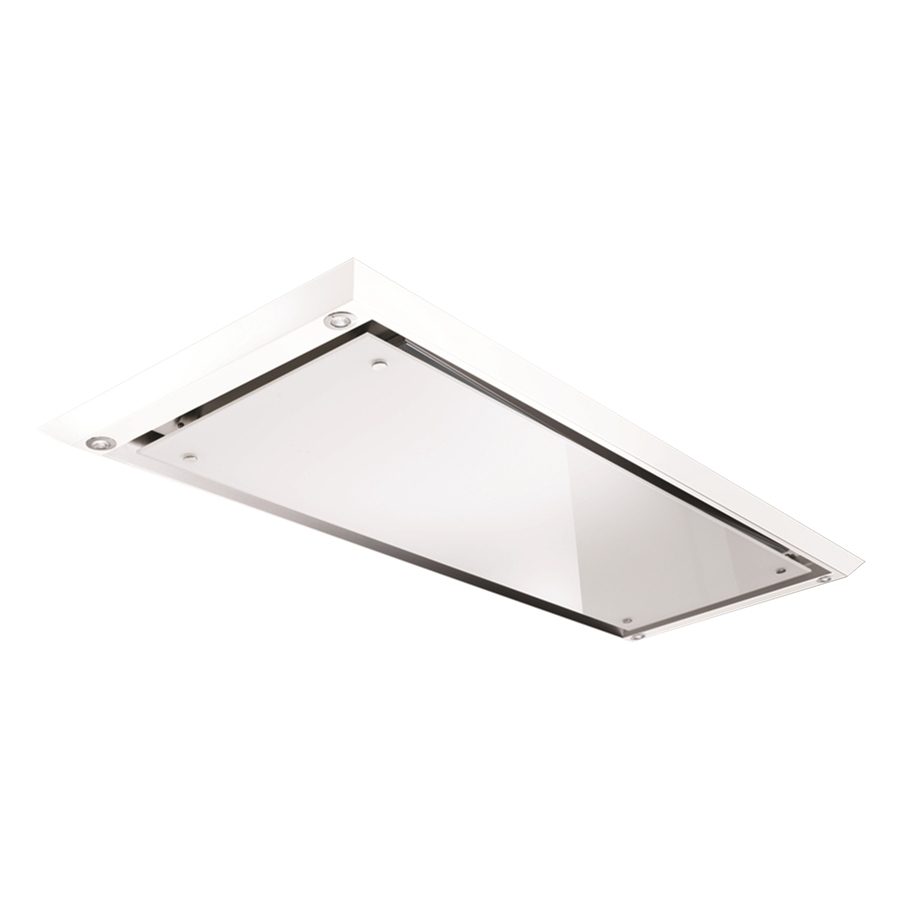
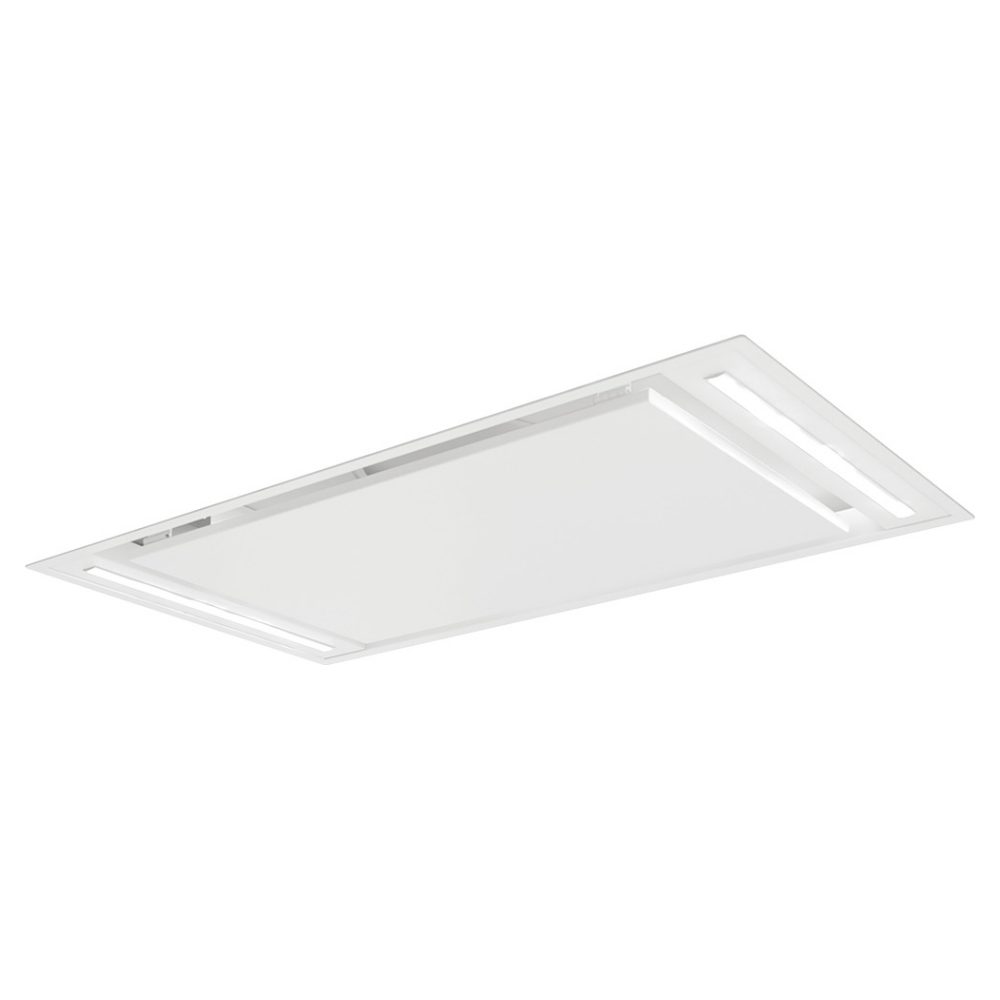
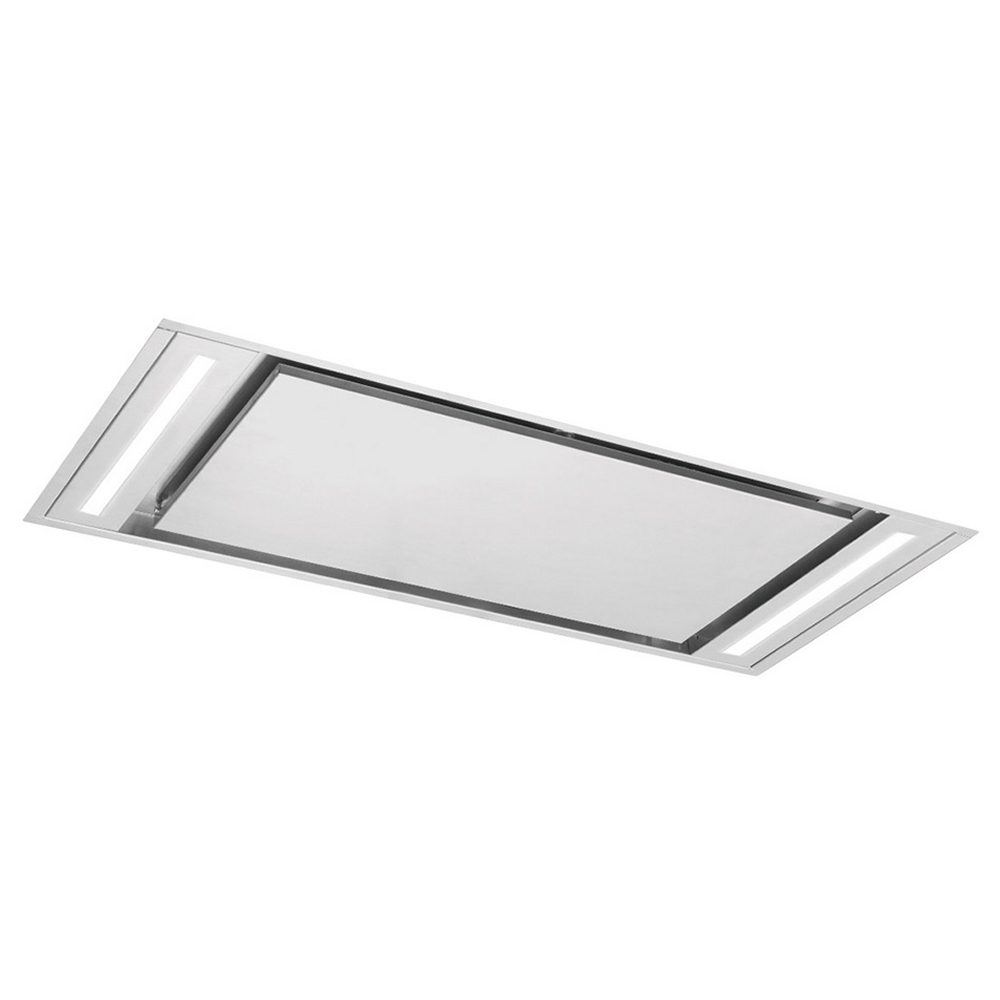
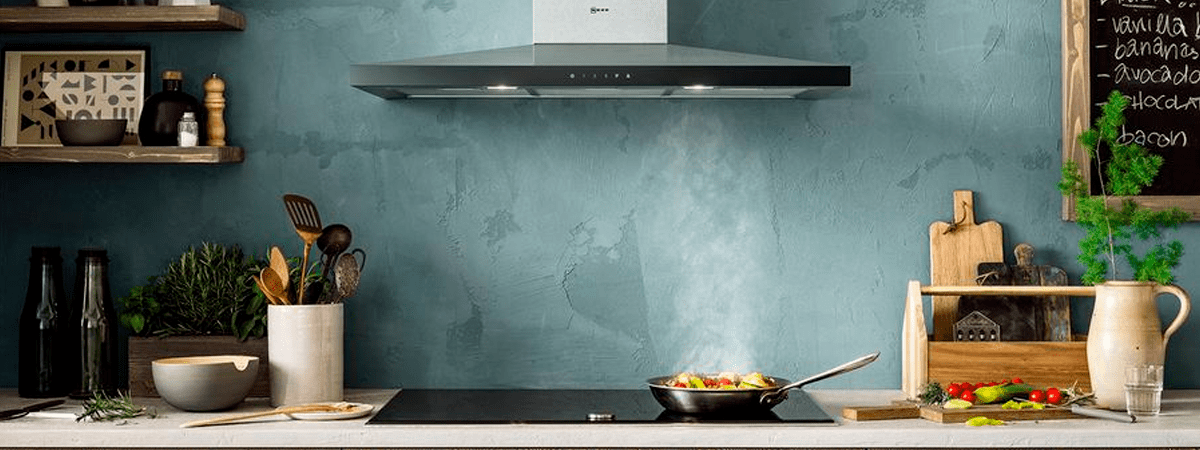
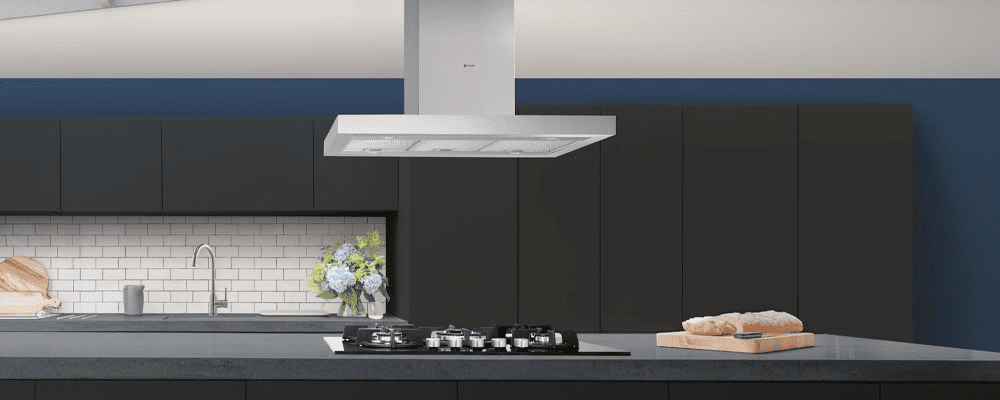
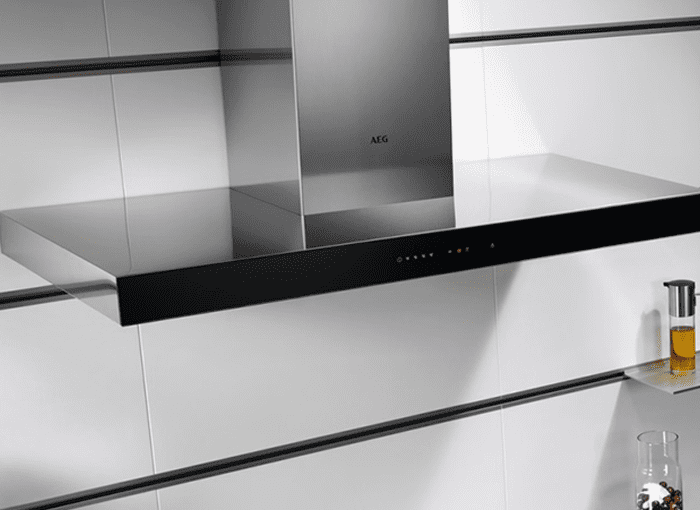
Learn how to maintain your chimney cooker hood for optimal performance! Chimney hoods are excellent additions to your kitchen. Their role is to remove bad odours and provide clean air. This keeps your kitchen, and your home, fresh and smell-free. A cooker hood can work well and perform to the best of its abilities for many years to come. But this is only possible if you keep it well maintained. The good news is that keeping your range cooker hood in great condition is a simple job – if you keep on top of it! Let’s take a look at how you can maintain yours to keep it in top working condition.
How Do I Clean My Cooker Hood?
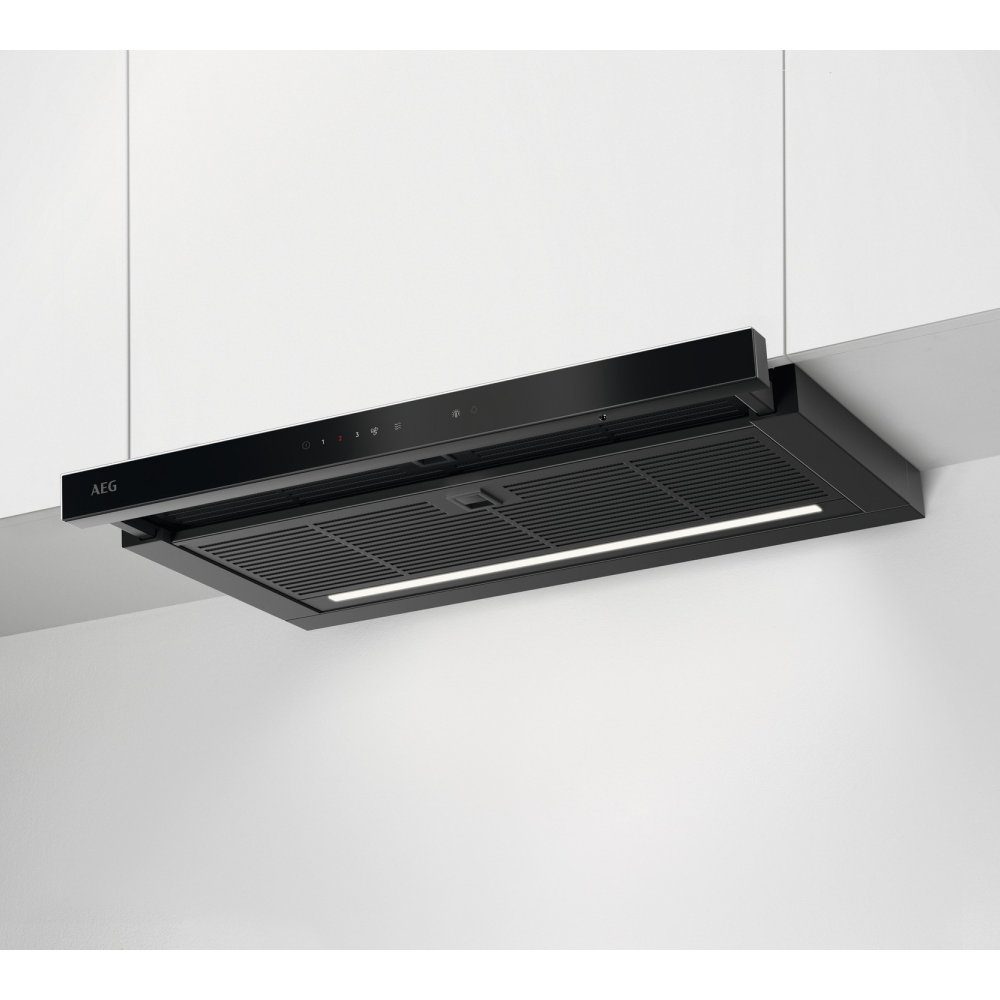
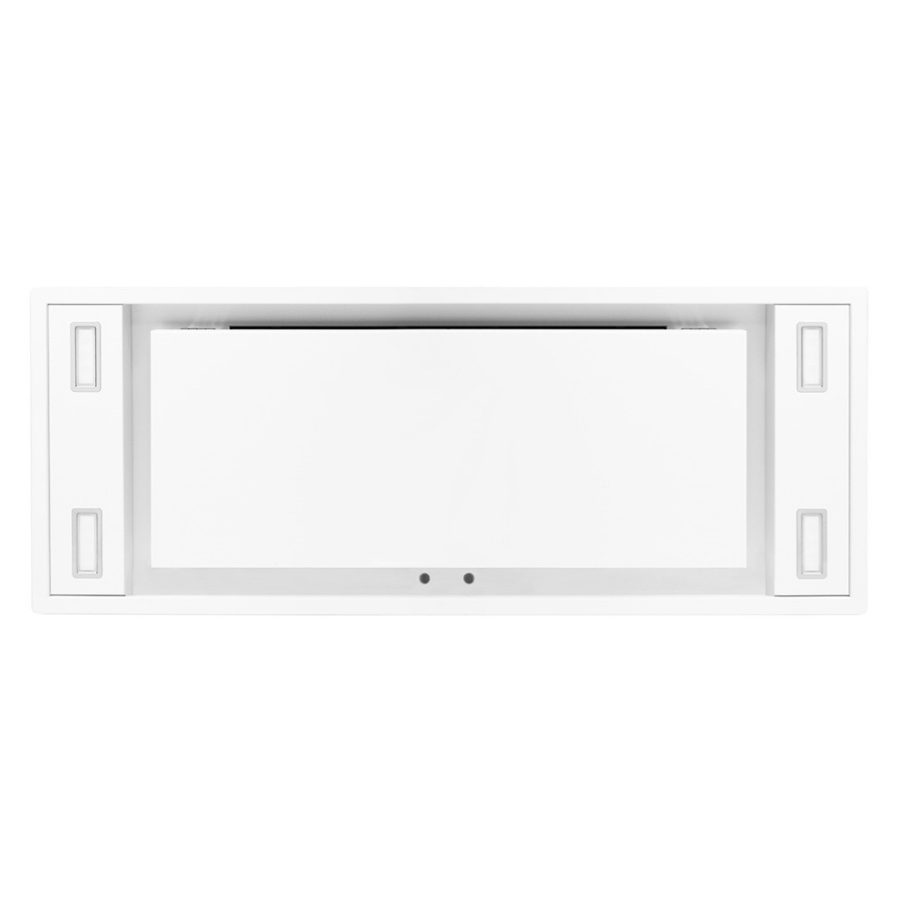
The primary purpose of an extractor hood is to remove the airborne grease and odours from your kitchen. So, it’s not too surprising to hear that over time your chimney hood can accumulate a layer of grease that needs to be cleaned.
Cleaning your hood regularly is an important step to maintain your chimney cooker hood by preventing clogging or blockages. Not only will this improve performance, but it will also extend the life of your appliance.
The other advantage of cleaning a cooker hood often is that it won’t take you anywhere near as long. Cleaning ‘little and often’ will be far more manageable, and feel like an easier task. The alternative is spending hours of your time once a year scrubbing at the grease.
How To Effectively Clean Your Cooker Hood:
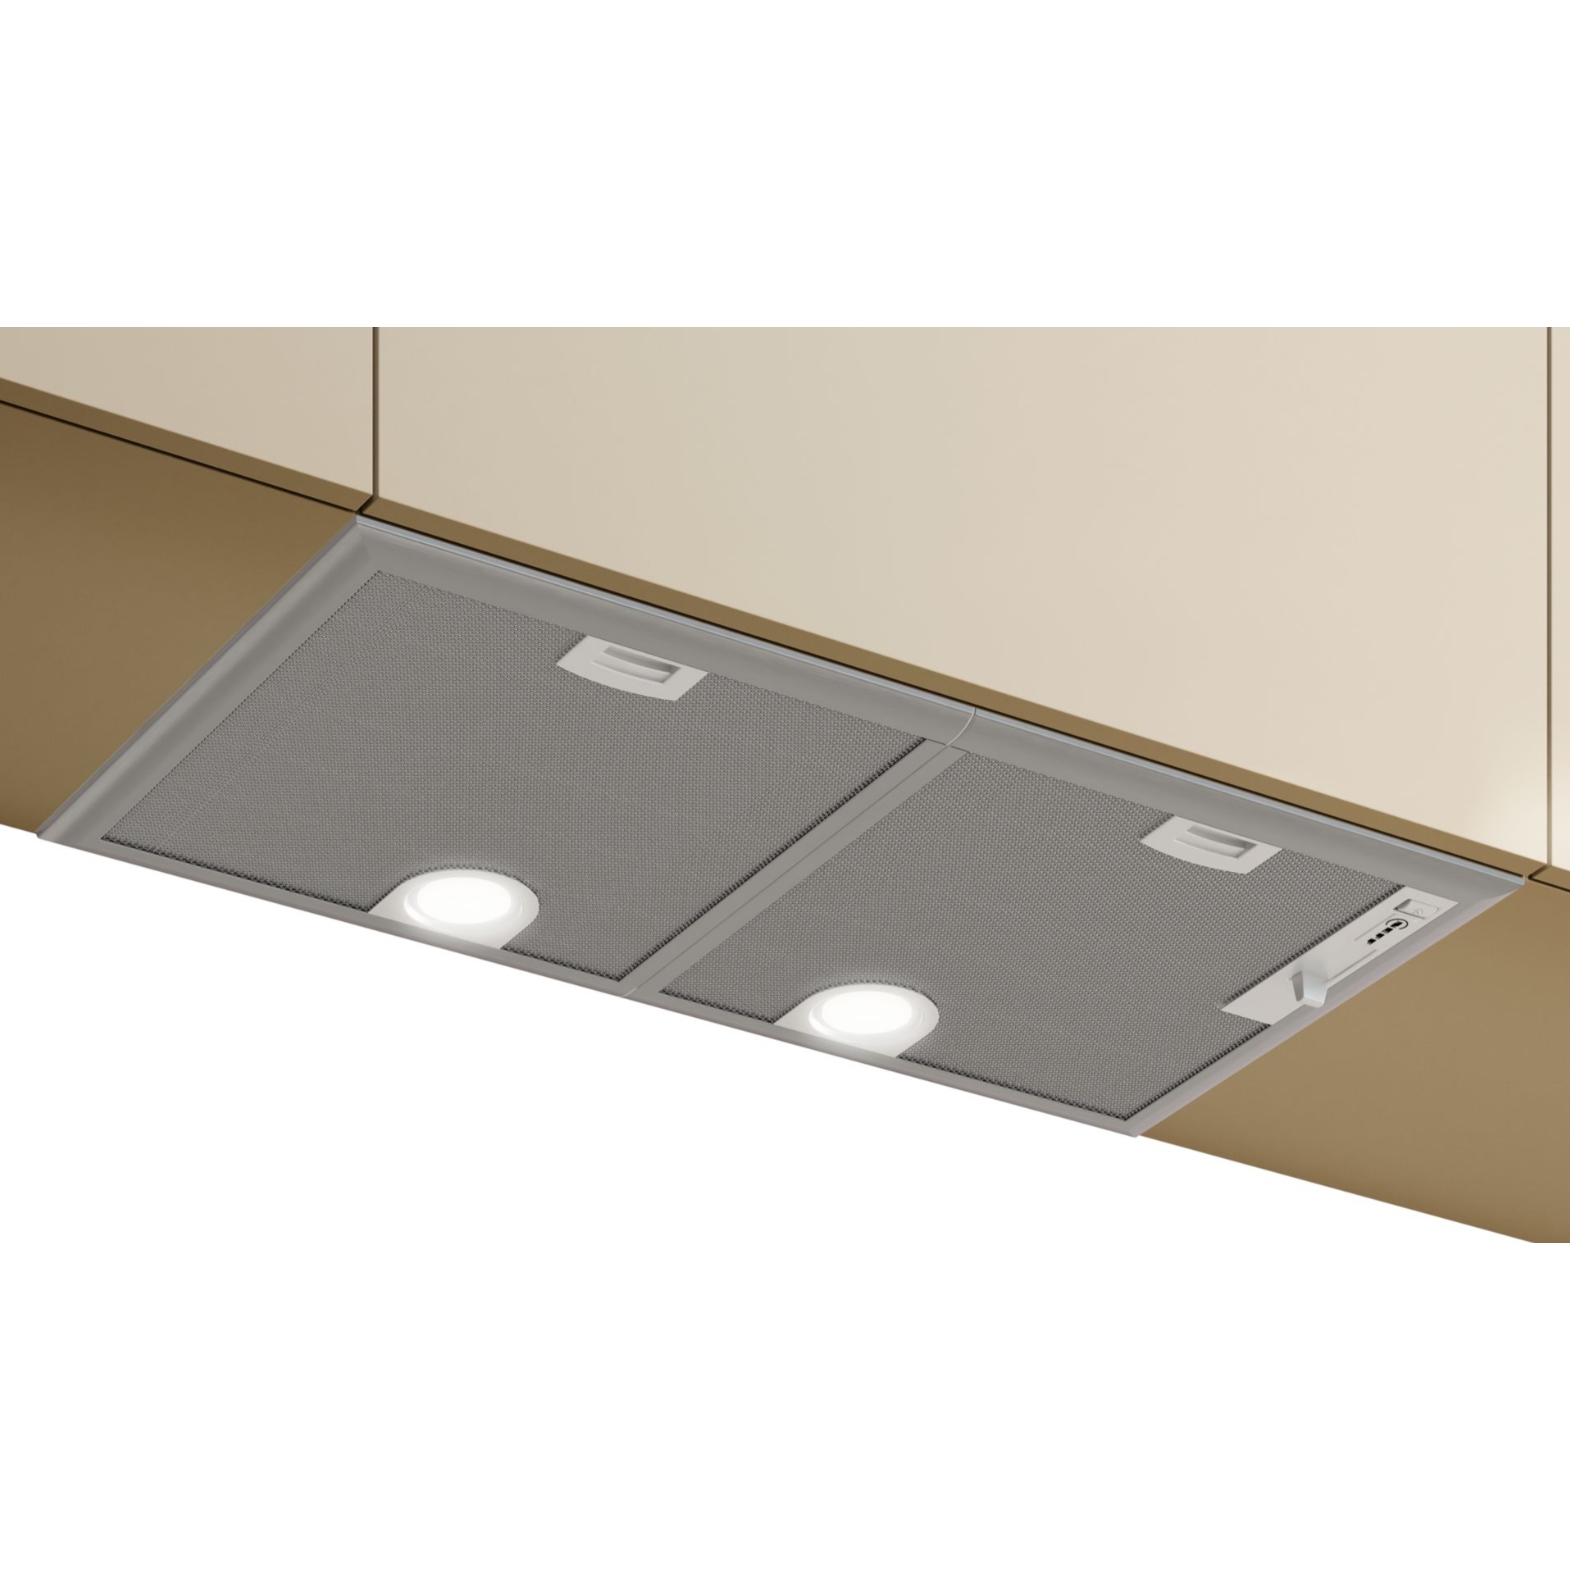
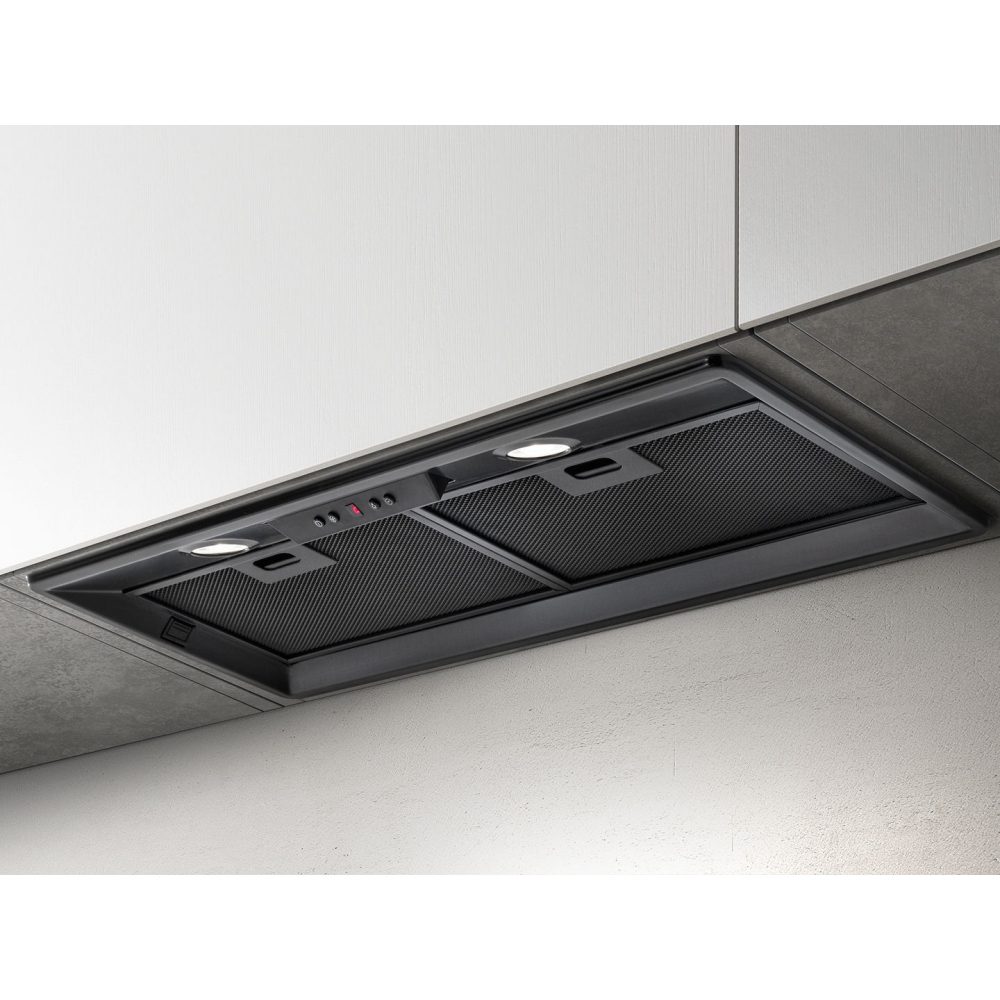
Step 1: Remove the filter. If you’re unsure of how to do this, check the user manual for your model.
Step 2: Either wash or discard the filter. Which one you do will depend on if you have a washable filter or not. To find out if it’s washable, consult your manual. If it is, your manual may also recommend cleaning products to use. If it’s not washable, throw it away.
Step 3: Replace the filter with either the freshly cleaned filter, or a new one.
Step 4: Remove the extractor cover.
Step 5: Place the cover to soak in boiling water with washing-up liquid. Bicarbonate of soda can also be added for additional cleaning power.
Step 6: Once the grime appears to be loosening (try wiping a small area to find out) remove it with a microfibre cloth.
Step 7: Allow the hood cover to dry.
Step 8: Replace the hood cover back on to the appliance.
Step 9: Clean the exterior. If the exterior of your range hood is stainless-steel, use a mild bicarbonate of soda paste. Rub this on using a microfibre cloth. It’s recommended to rub the hood in a linear motion as opposed to a circular one, and follow the grain of the steel.
How To Replace A Cooker Hood Filter:
Before you begin:
You will need to know which size filter you need for your cooker hood. If you’re unsure which size you need, measure your existing one before discarding.
Step 1:
Gain access to the filter. This often means removing the cooker hood cover.
Step 2:
Remove the filter from your cooker hood. Because your old filter is full of grease, we recommend wearing gloves whilst removing it.
Step 3:
Place this onto a covered surface – do not place it directly onto your worktop!
Step 4:
Measure your existing filter.
Step 5:
Mark and cut your replacement filter using the measurements.
Step 6:
Place your new filter into your cooker hood.
Step 7:
Dispose of your filter.
How Do You Change A Cooker Hood Bulb?
How many people does it take to change a cooker hood bulb? One! Just you, because it’s so easy.
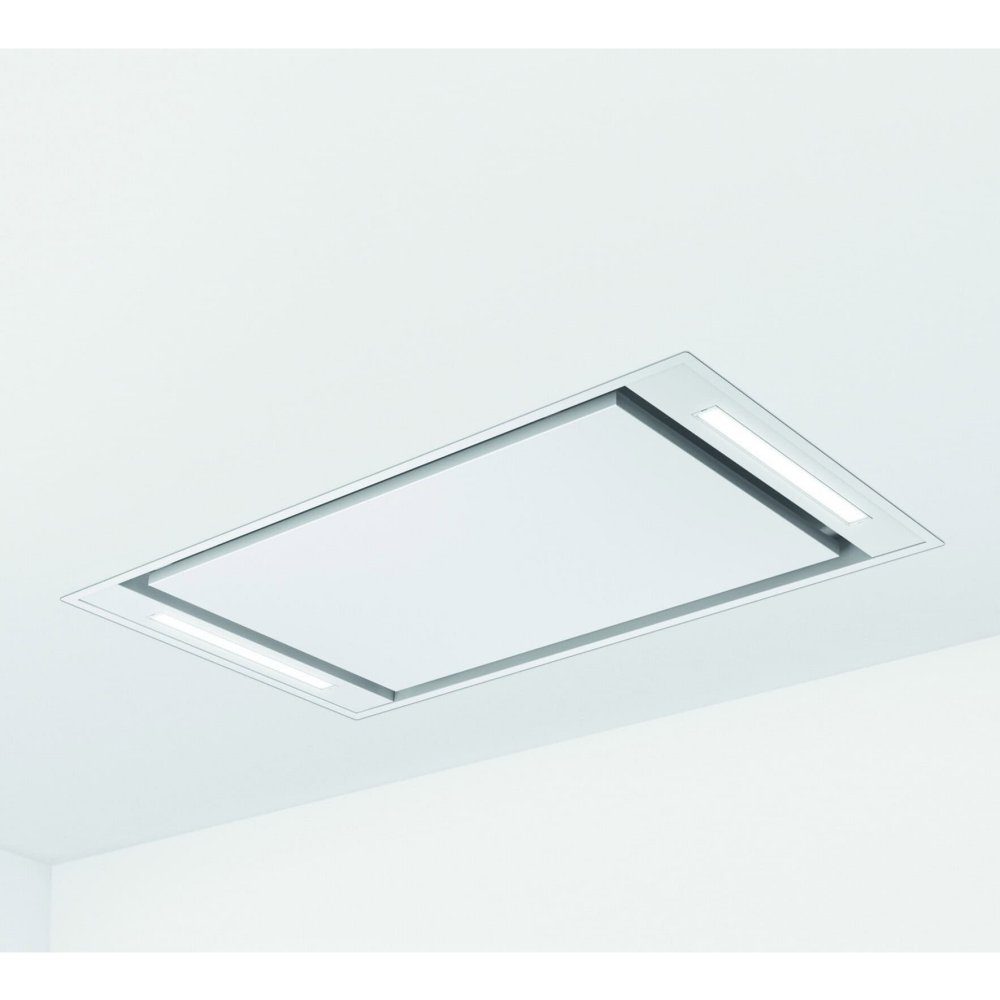
Many cooker hood models feature a downlight to illuminate your cooking area. This is a very useful feature to have as many kitchens tend to incorporate central room lighting. However, like all bulbs do, your cooker hood bulbs will eventually need replacing. Doing this is another way to maintain your chimney cooker hood.
Some models of cooker hood will feature a standard Edison screw or bayonet cap bulb. These are different to the downlight style.
Cooker hood downlight bulb casings are also prone to becoming dirty due to their location. Therefore, our guide will also include instructions for cleaning these. You will most likely need to clean these more regularly than you will need to change the bulb.
Step 1:
Turn off the power to your cooker hood.
Step 2:
Remove the cooker good cover if needed.
Step 3:
Remove the bulb casing (for downlights).
Step 4:
Soak the casing in warm soapy water.
Step 5:
With dry hands, carefully remove the bulb and place it on a paper towel.
Step 6:
Insert the new bulb.
Step 7:
Remove the grime from the casing with a microfibre cloth. If the grime is very difficult to remove a hob scraper can be used. Dry it fully before continuing.
Step 8:
Replace the casing and cooker hood.
Step 9:
Replace the cooker hood cover.
Step 10:
Discard the old bulb.