November 01, 2019
How To Install An Integrated Dishwasher
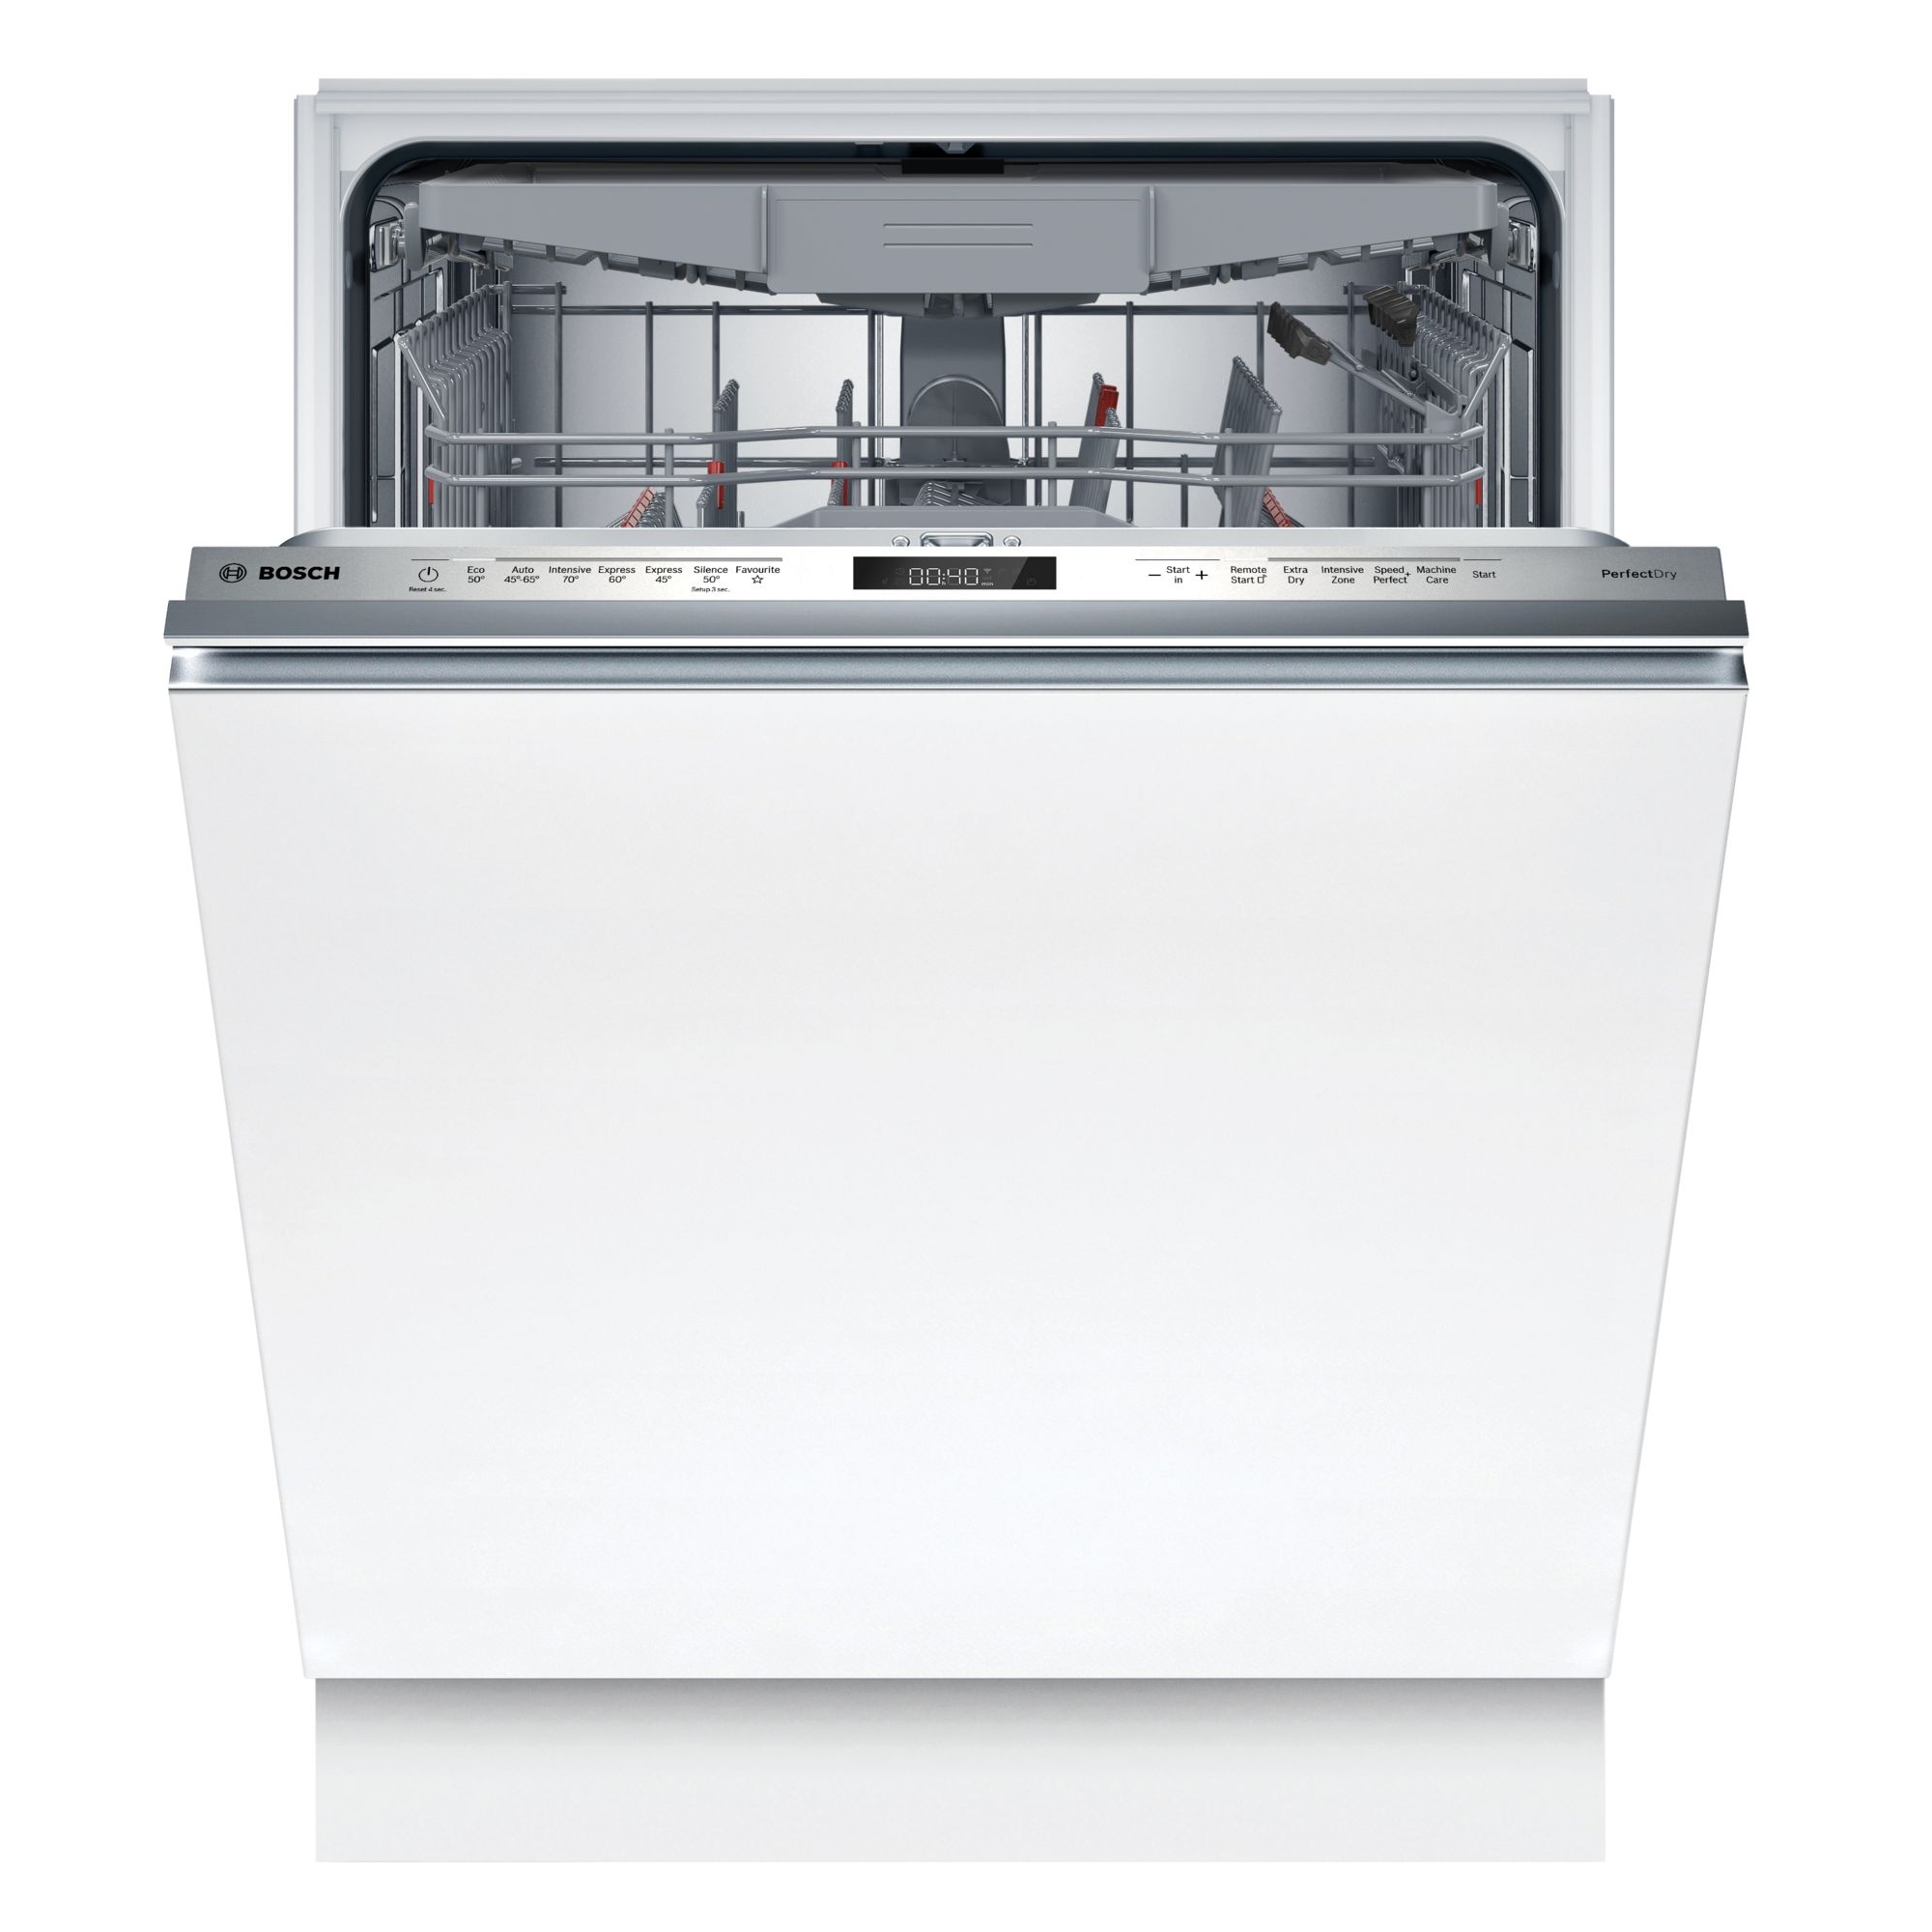
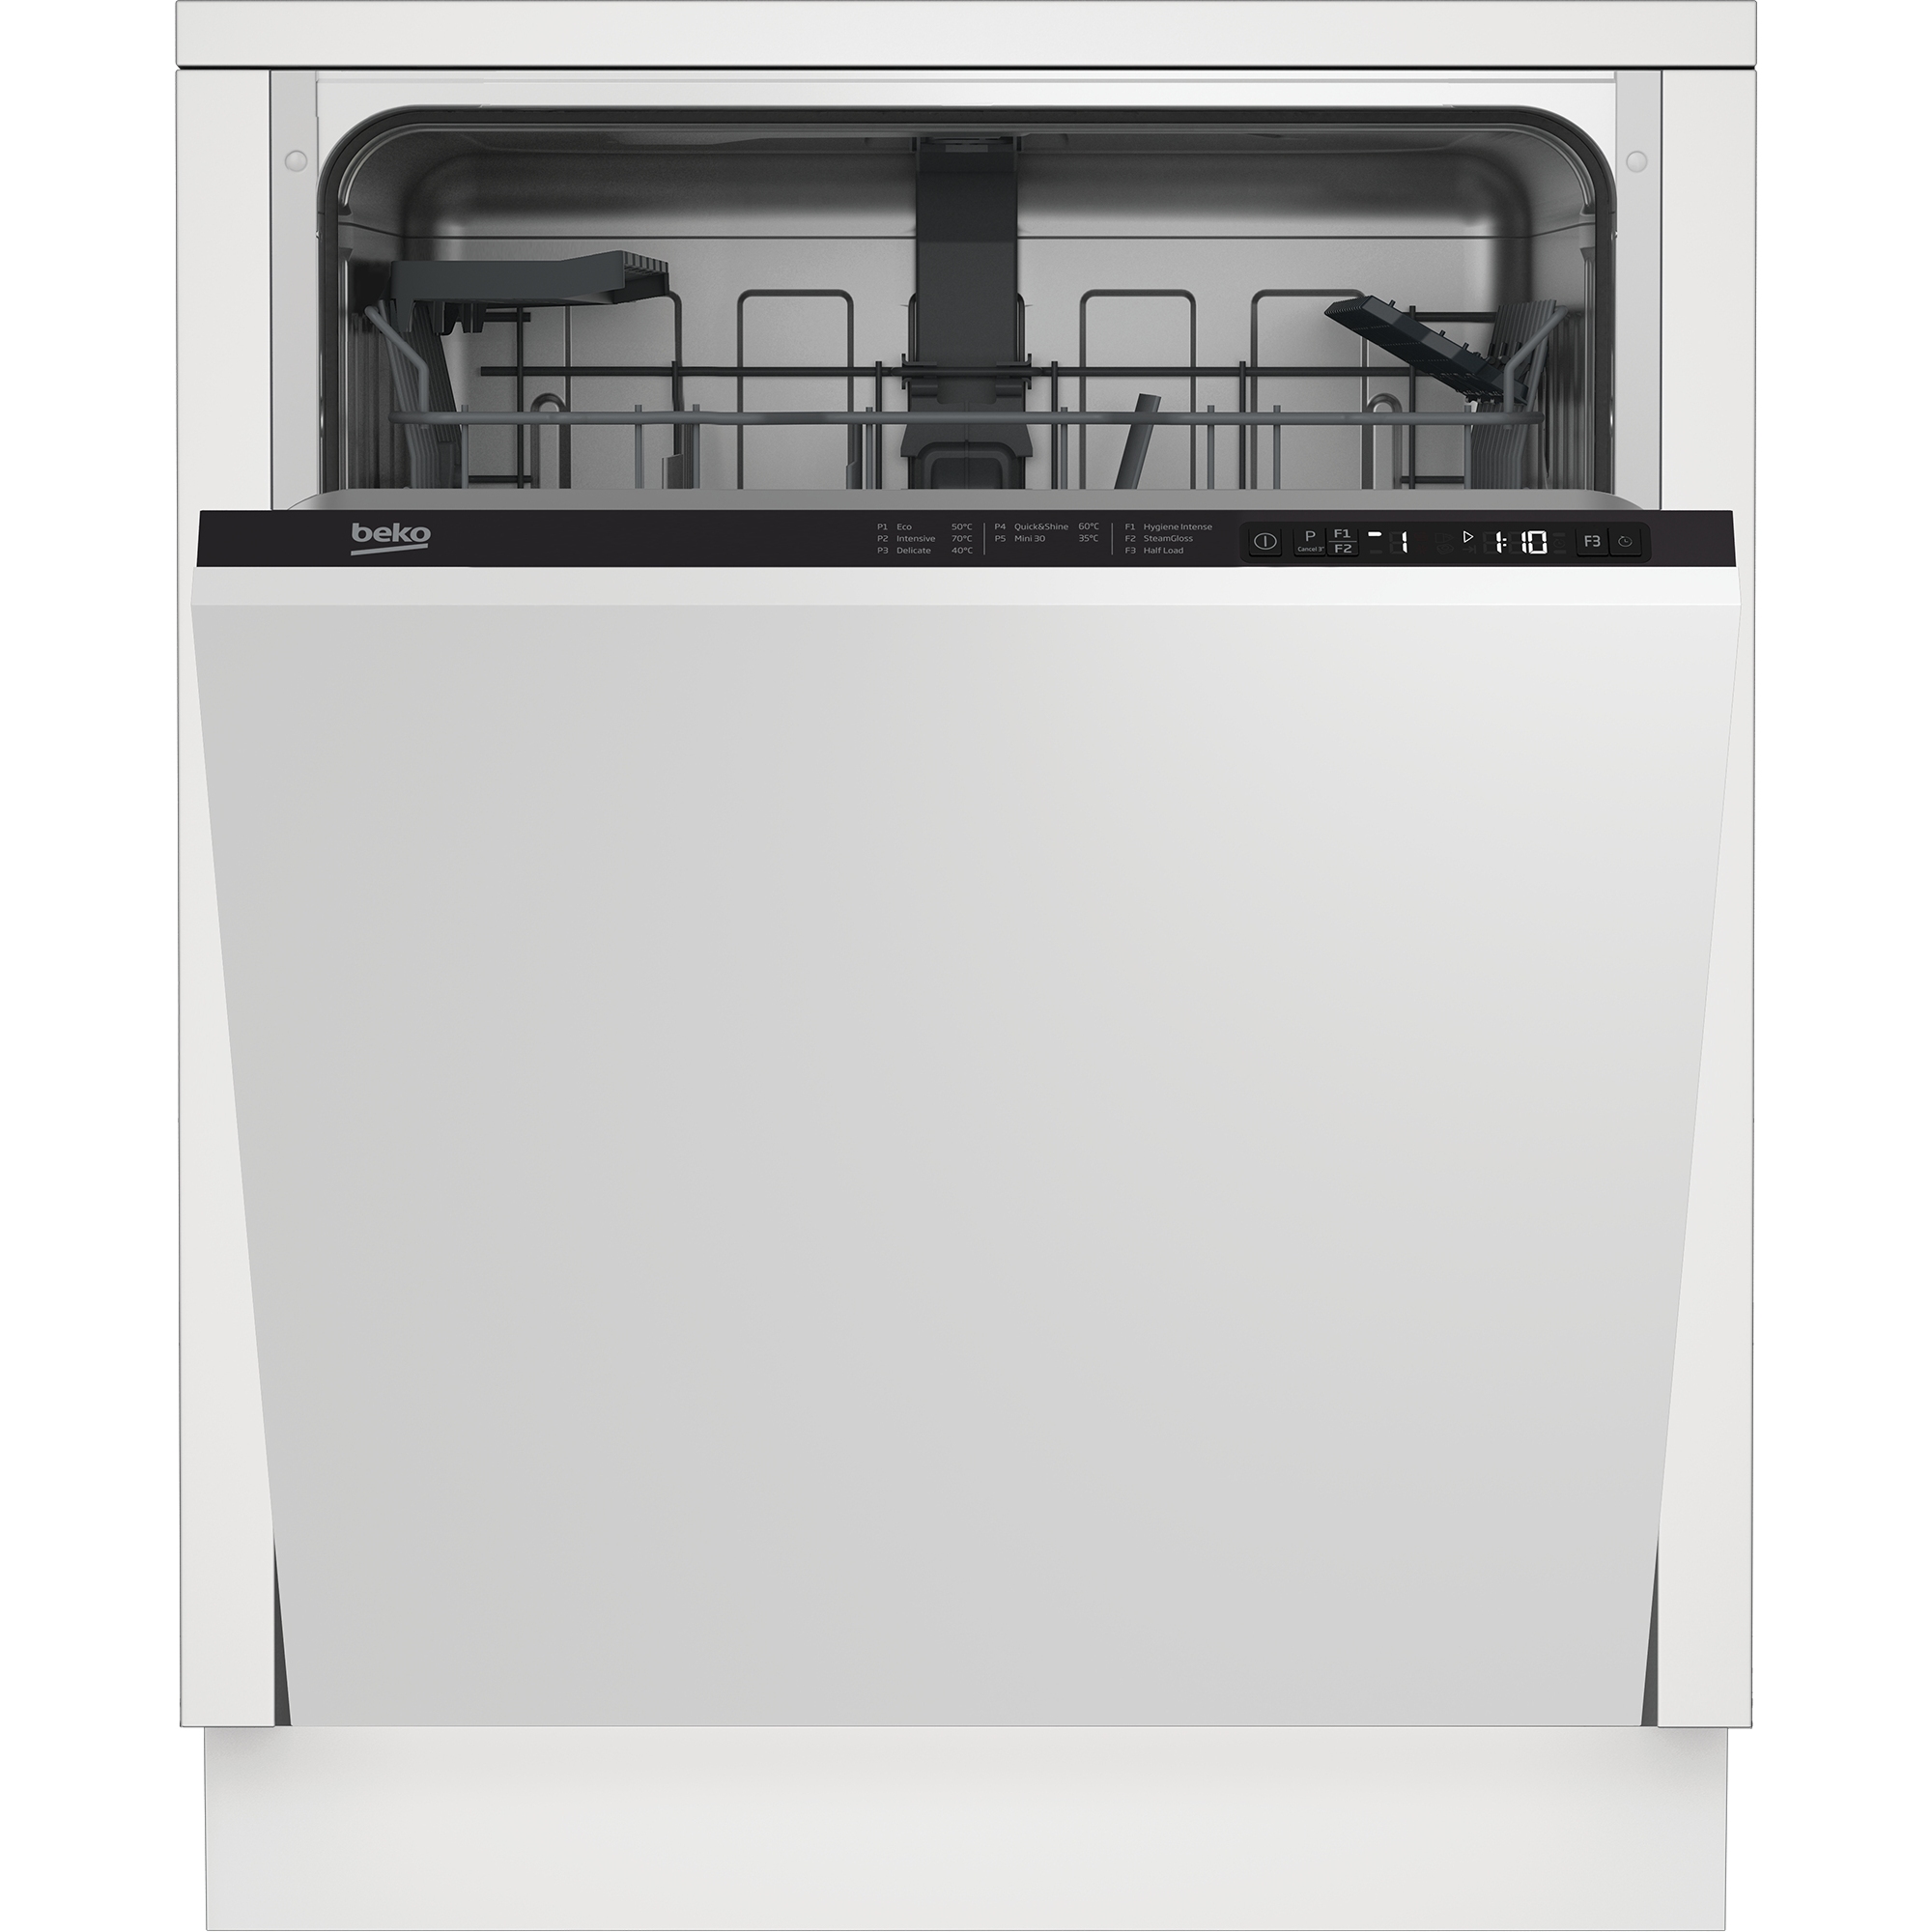
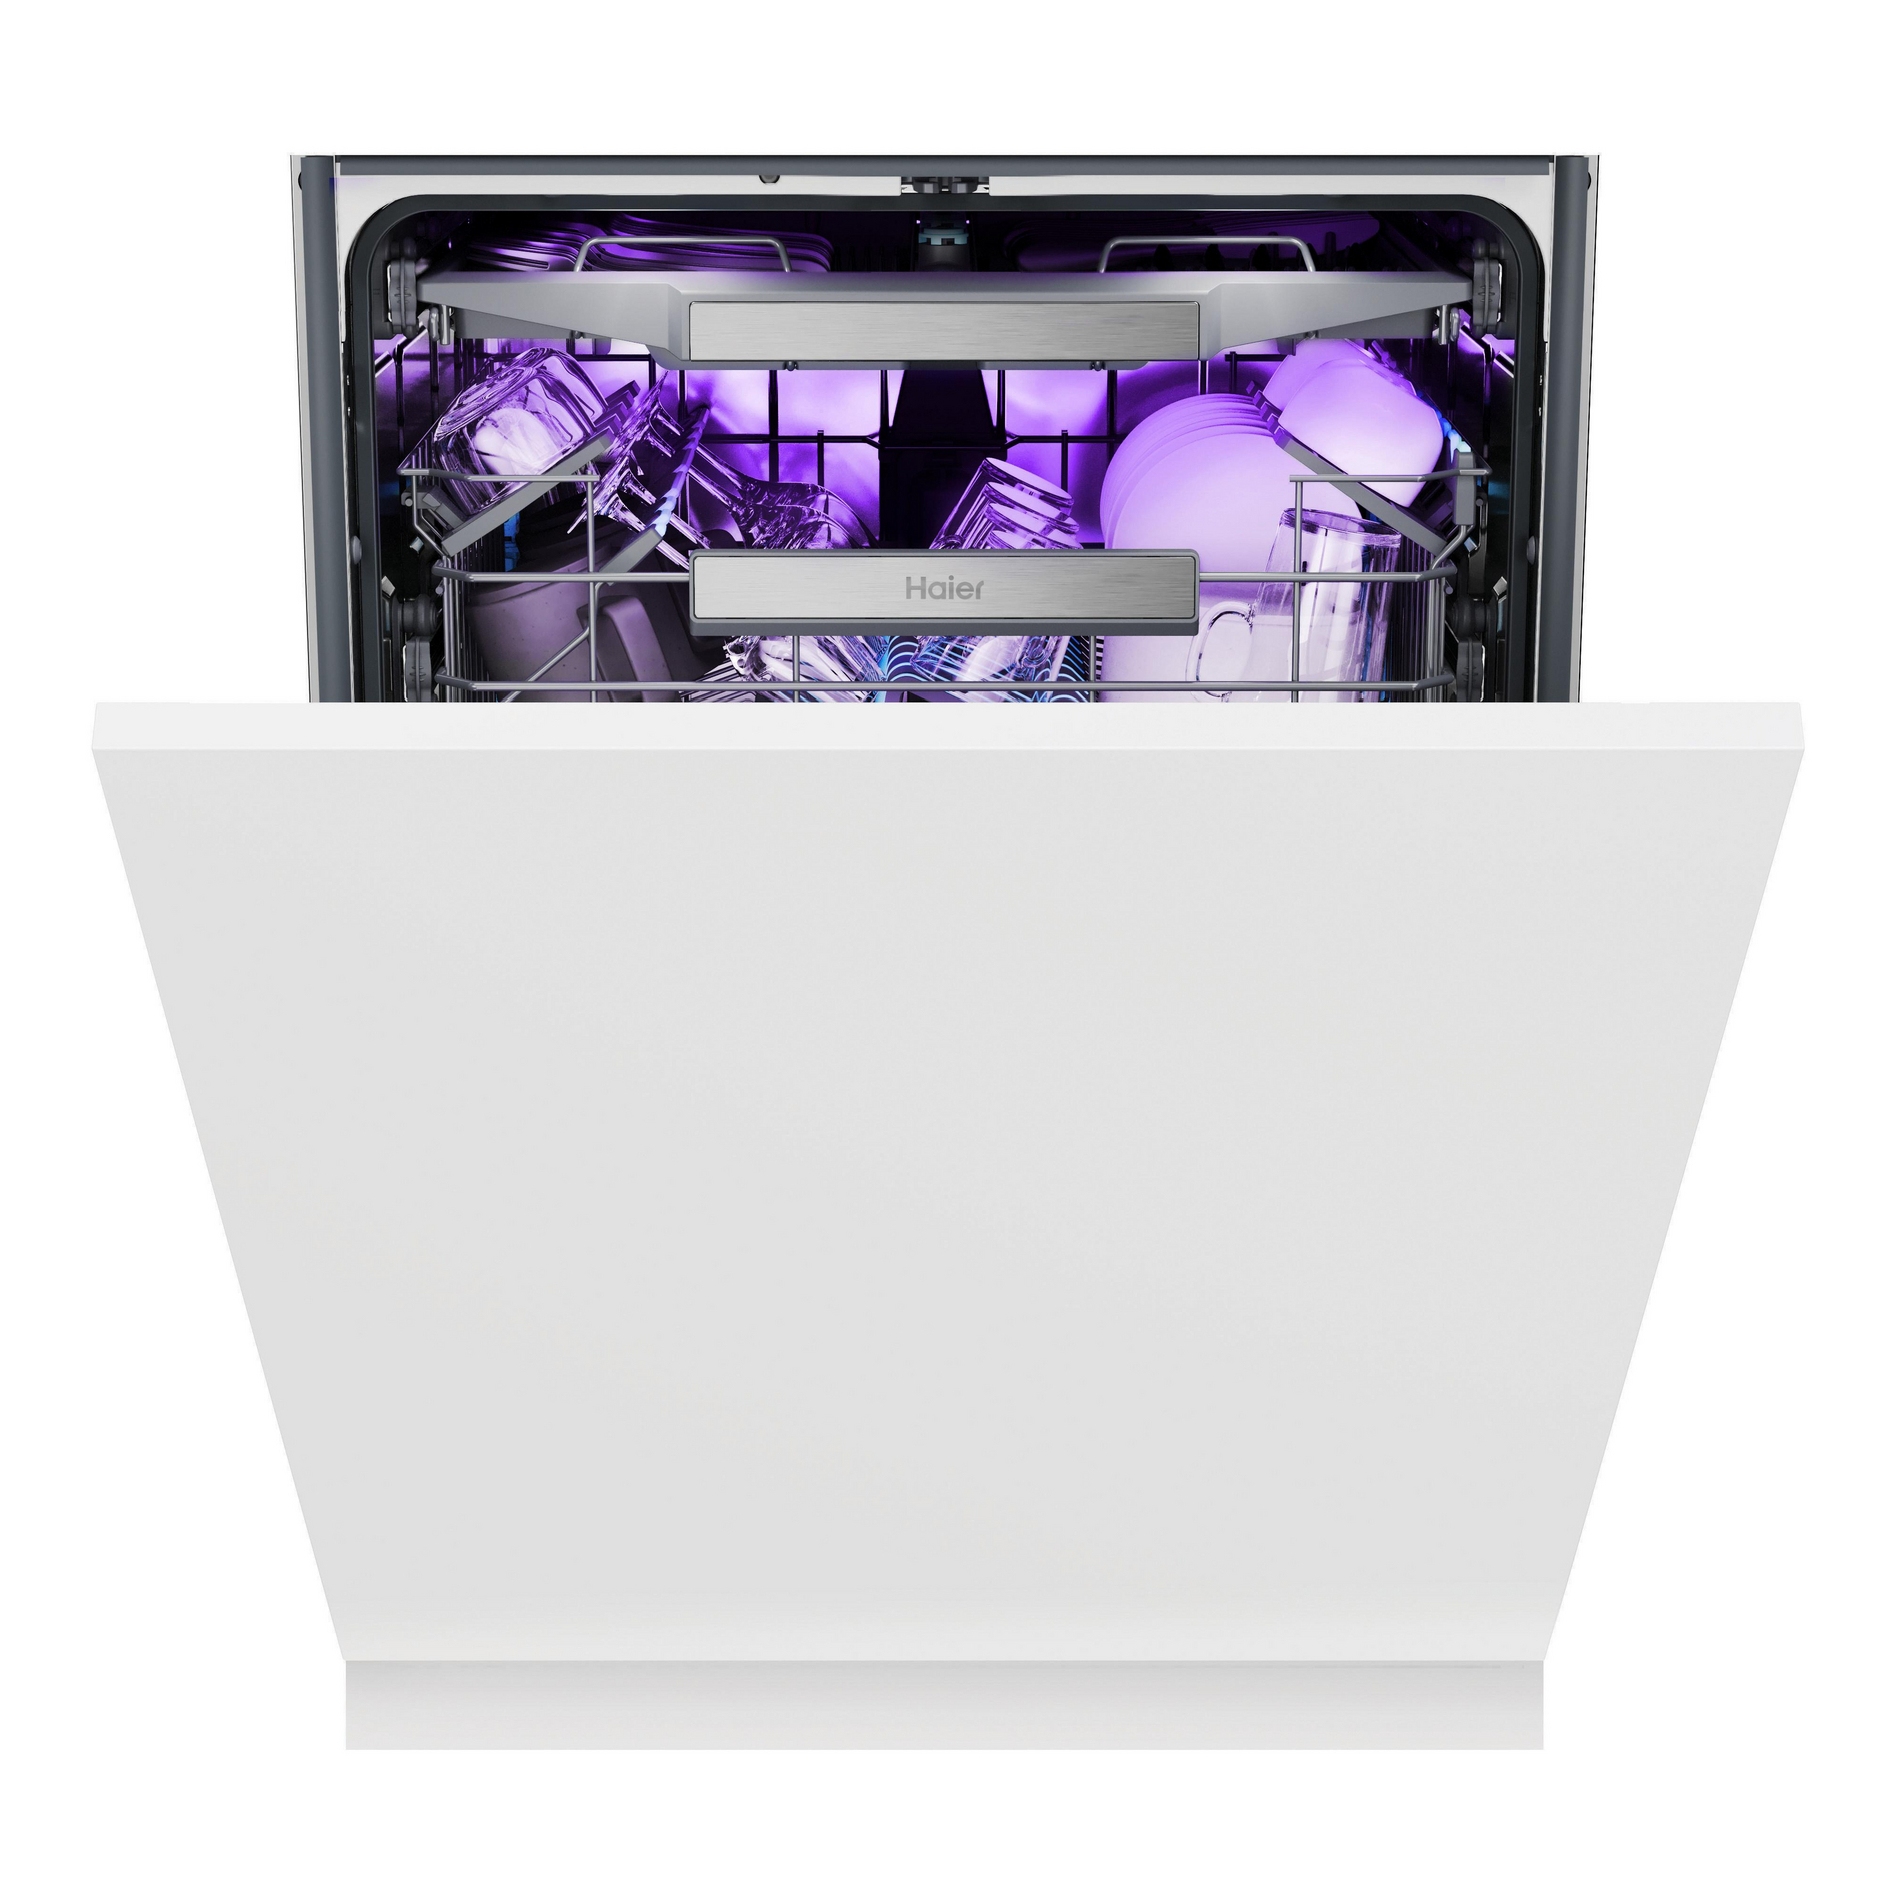
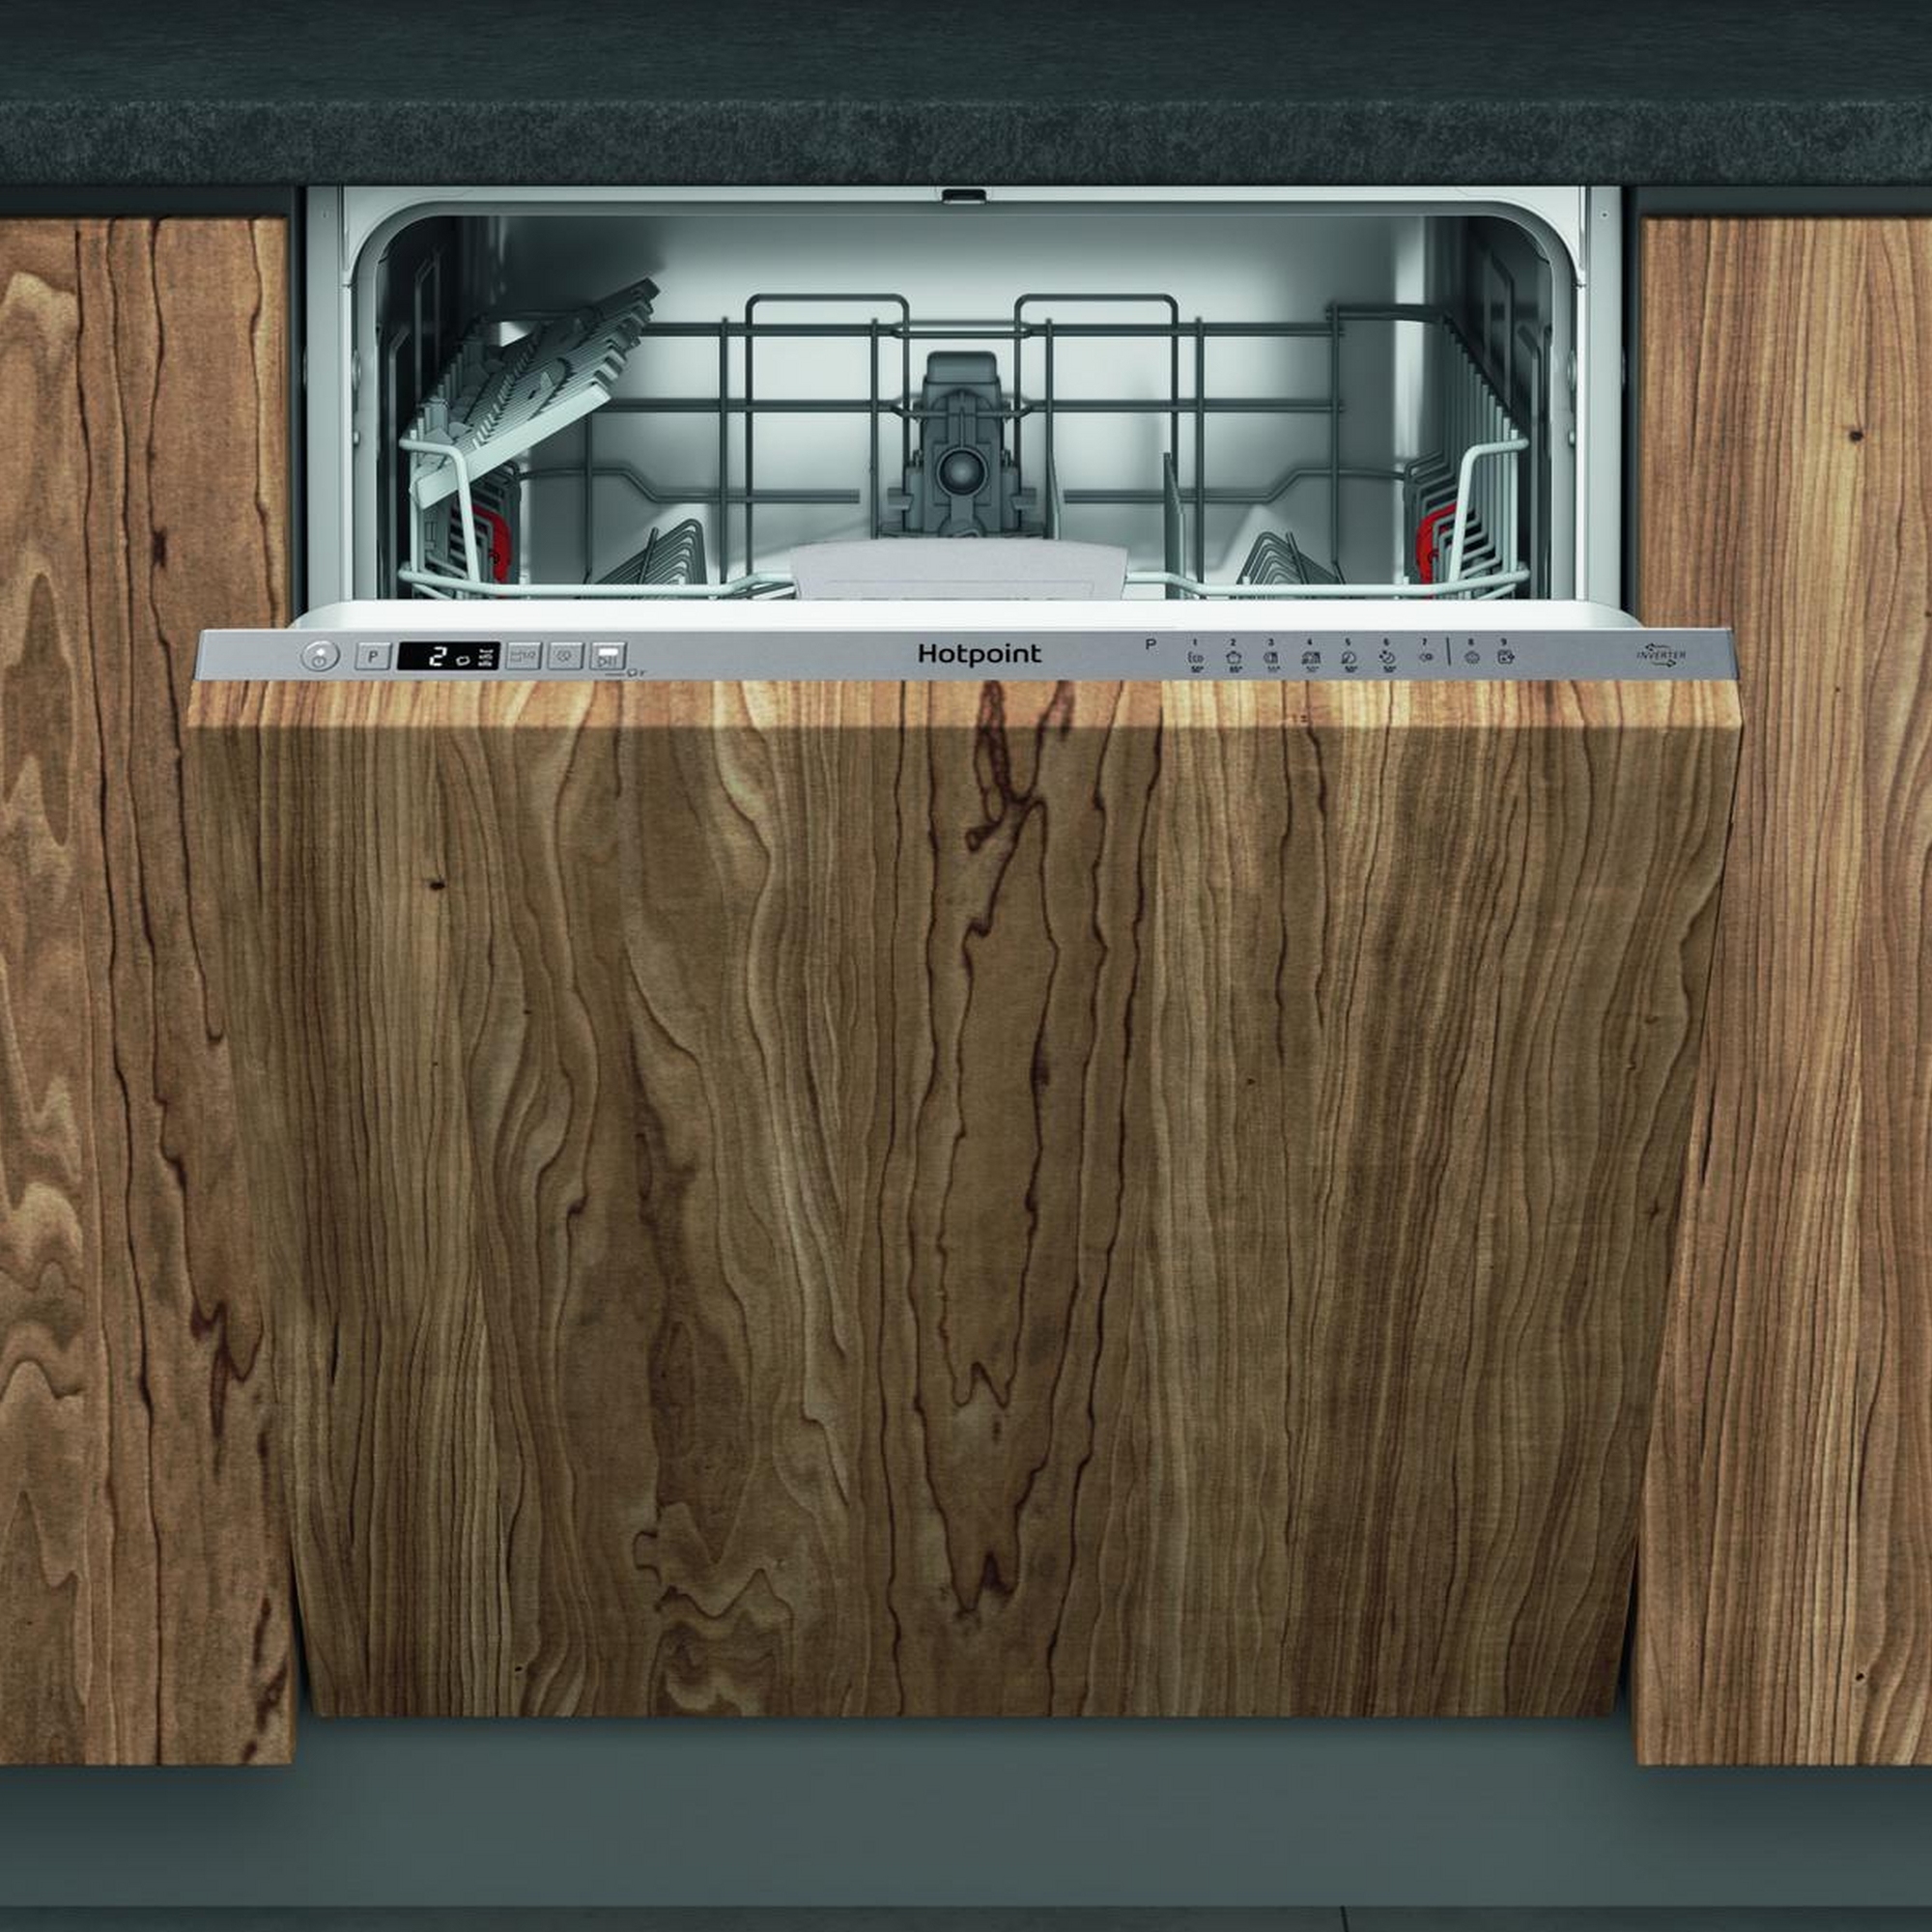
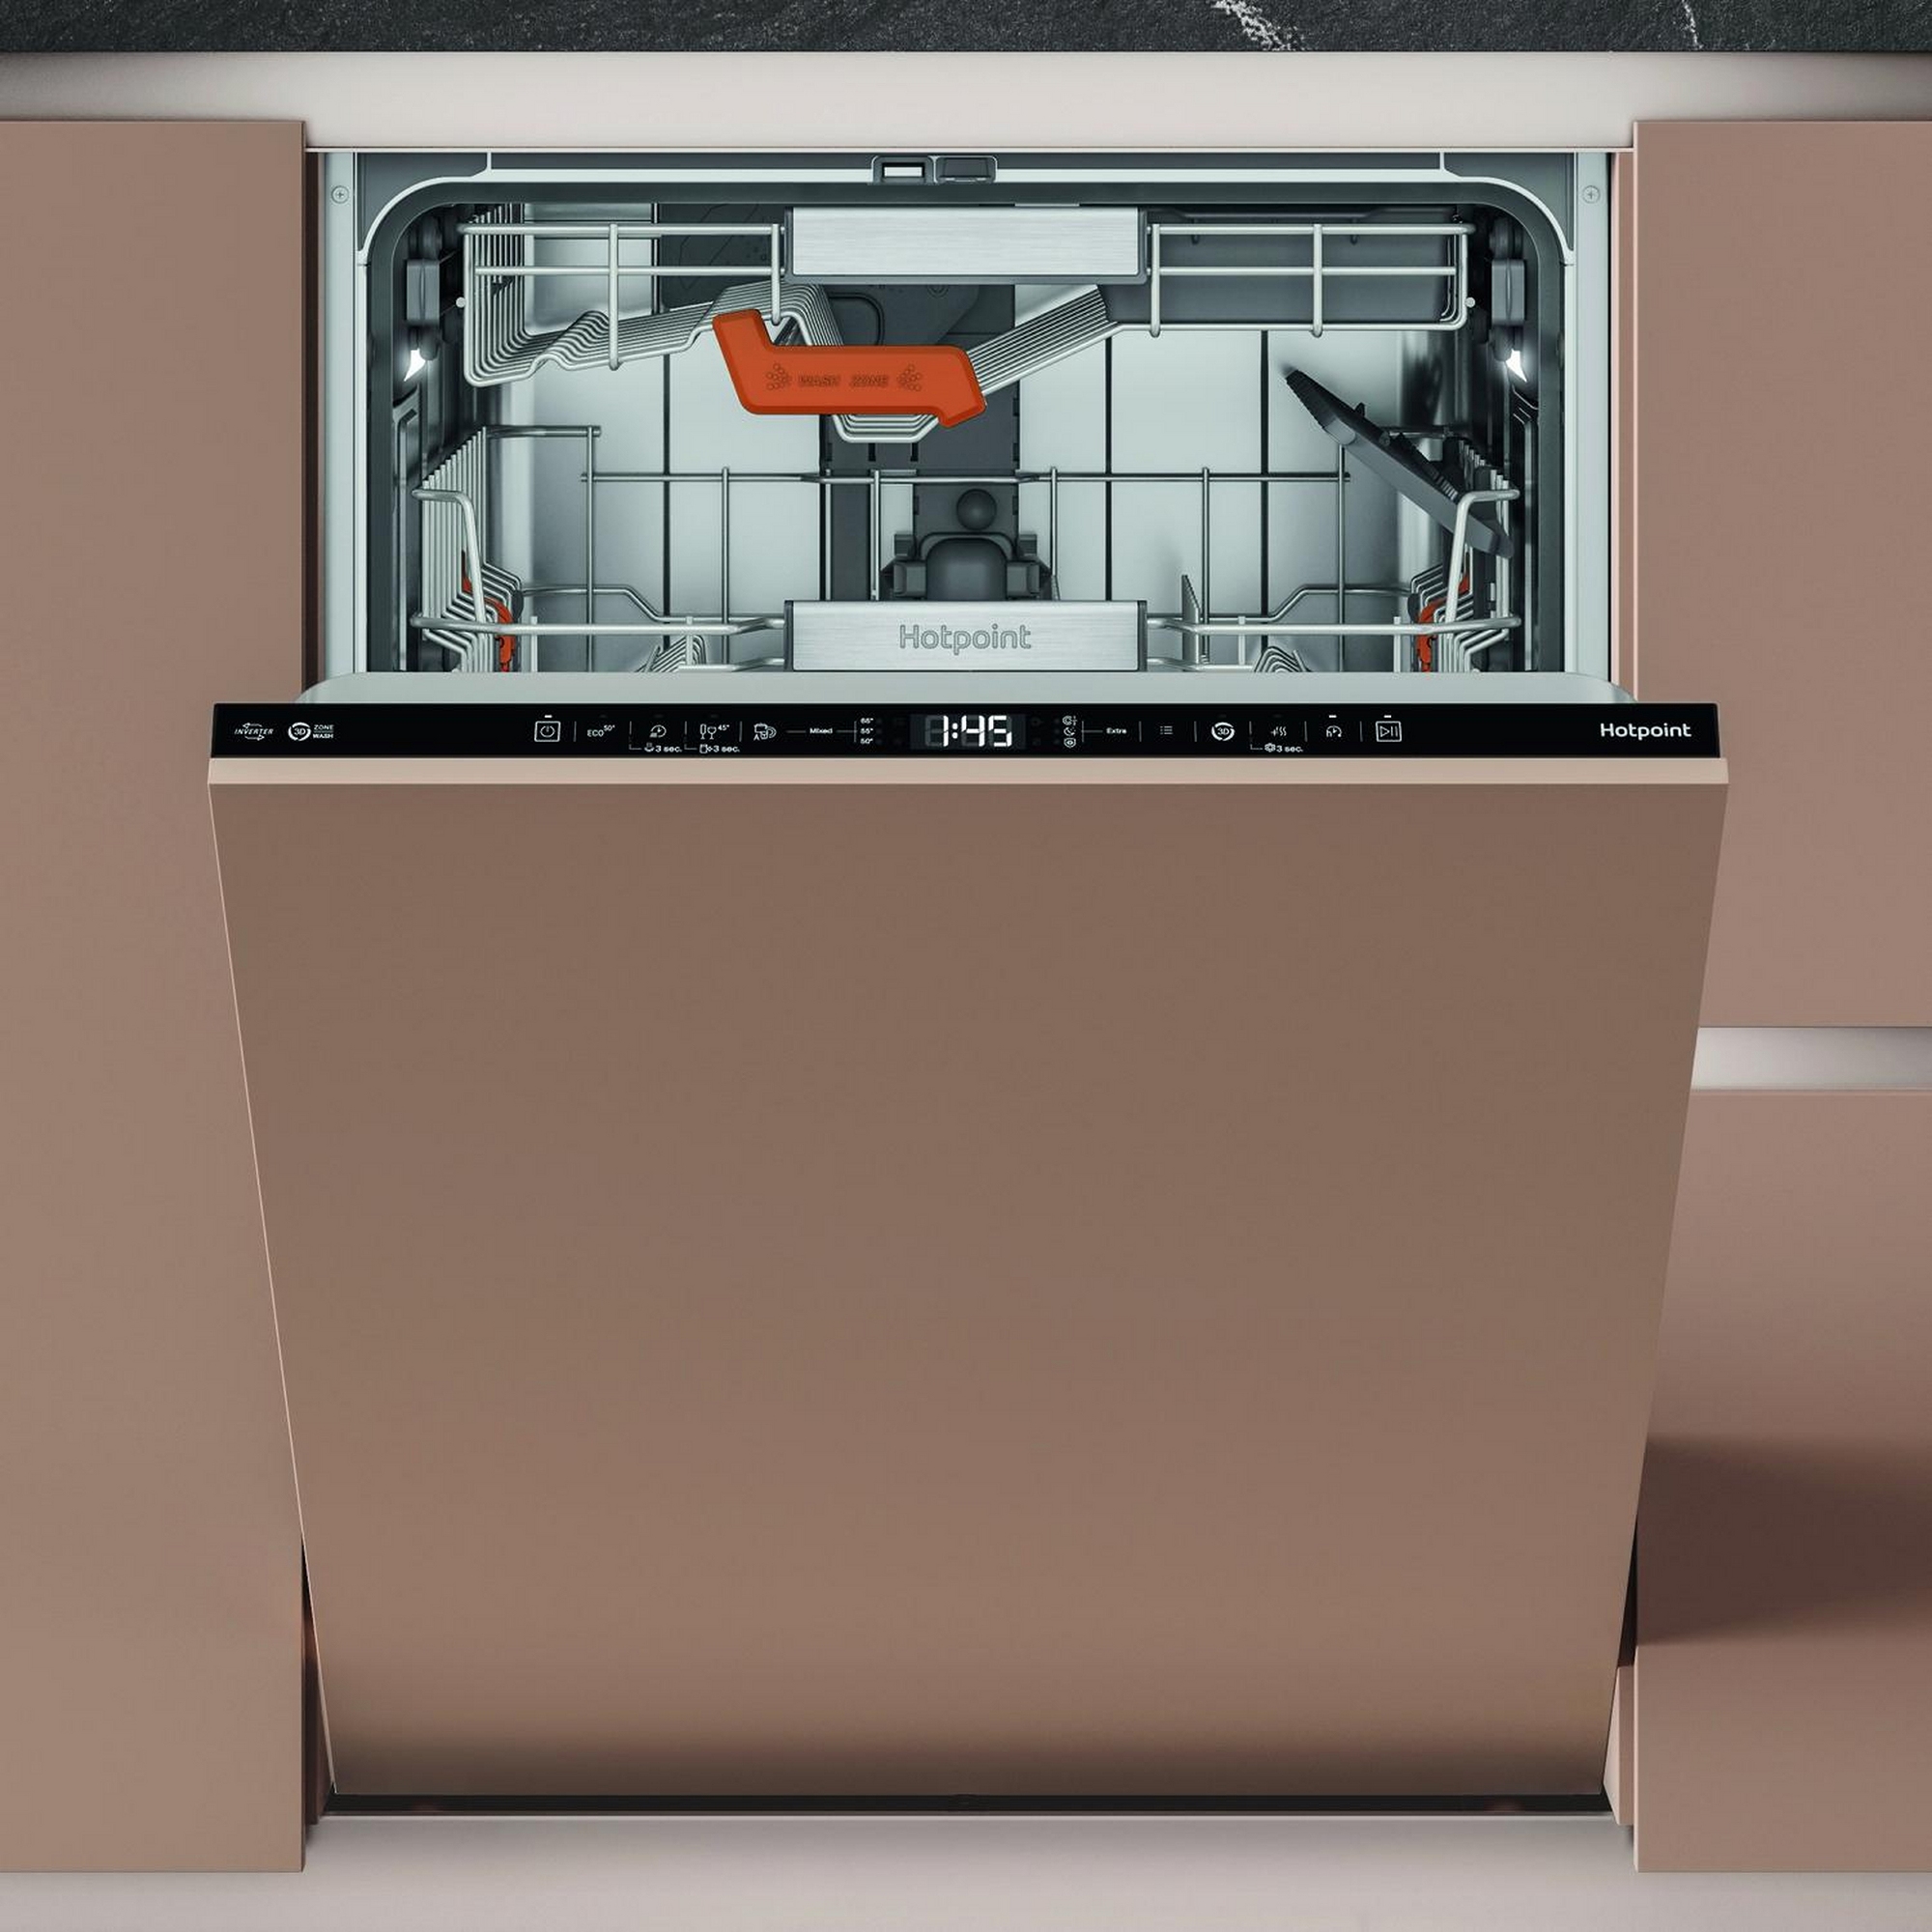
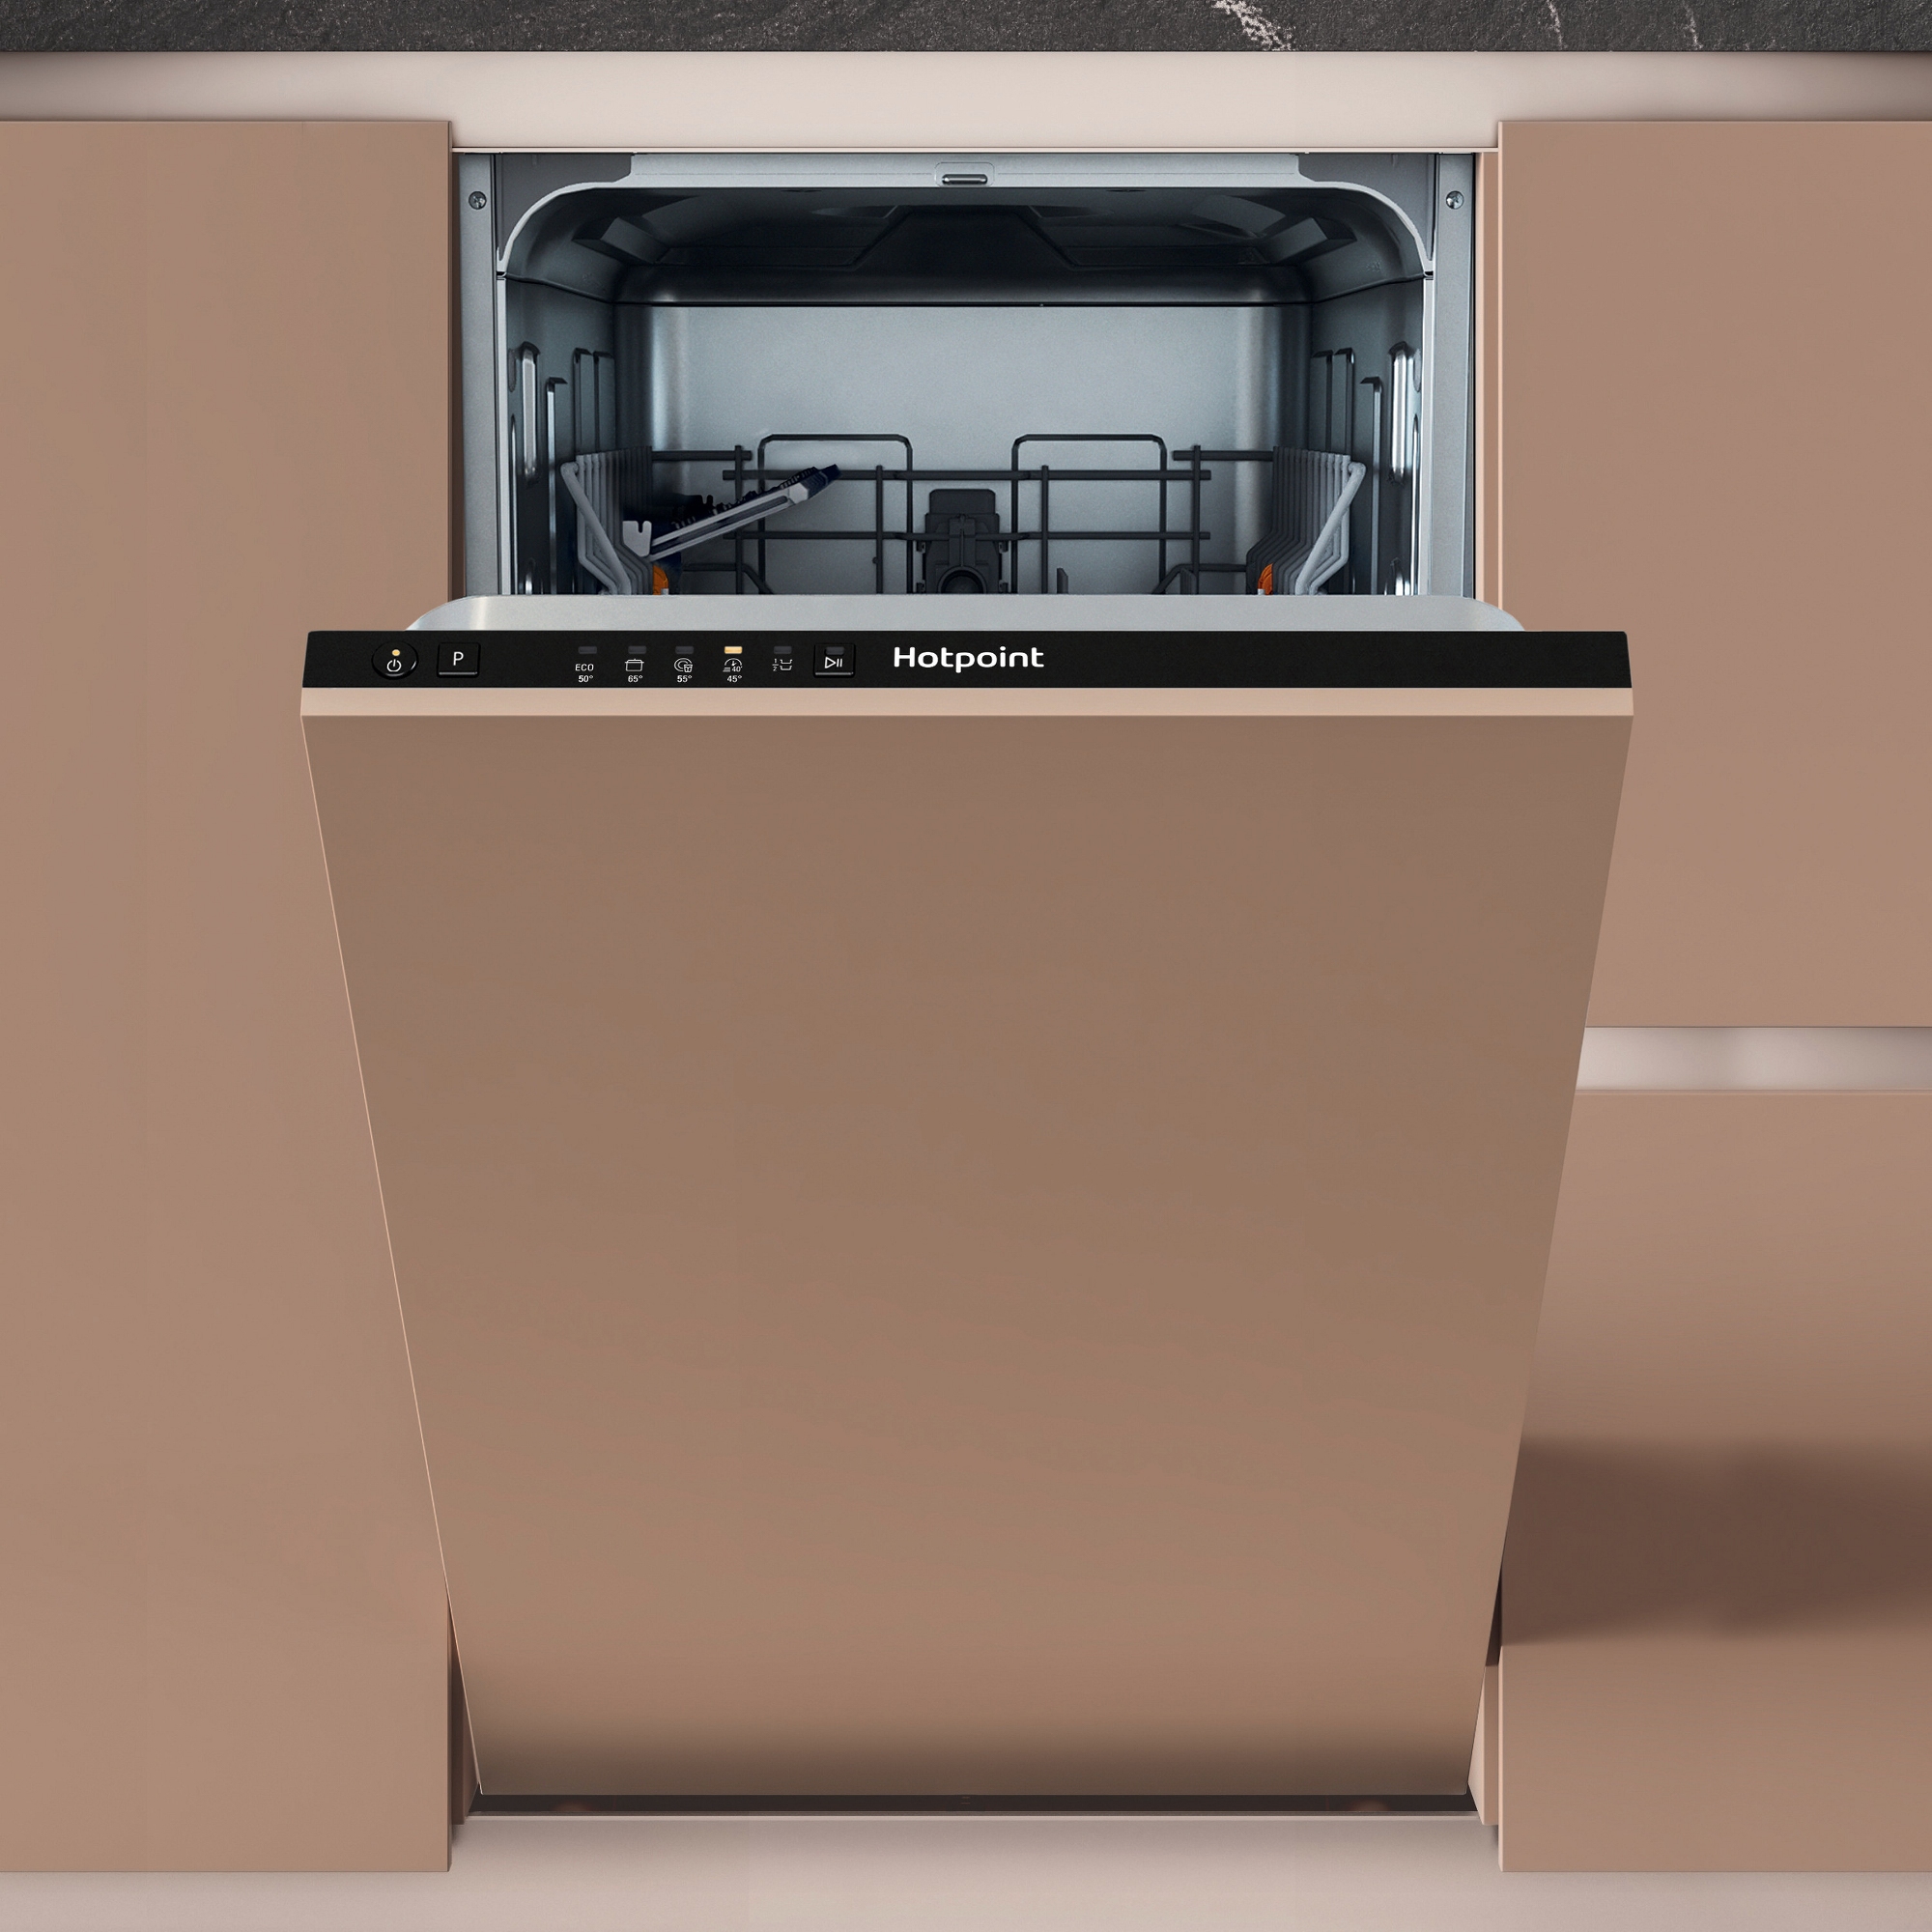
At its core, installing an integrated dishwasher isn’t that different from fitting a freestanding dishwasher. However, installing integrated dishwashers requires a few extra steps that you should keep in mind. This blog tells you everything you need to know about installing an integrated dishwasher.
First Things First...
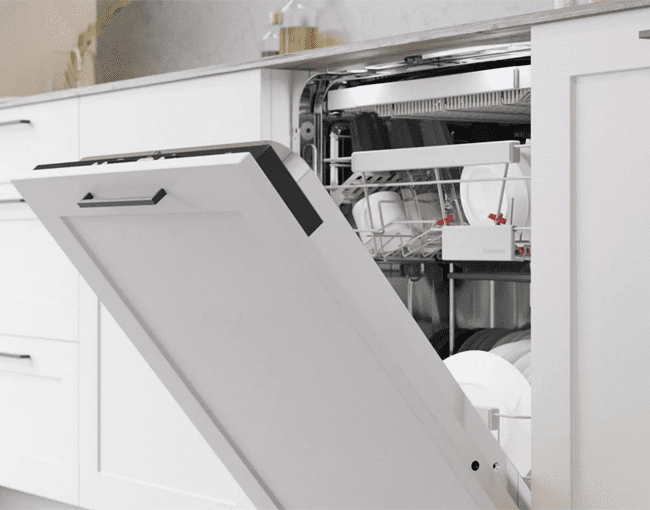
Before we run through the process of installing your integrated dishwasher, you need to check that there are certain things in place…
The first thing to consider is to make sure you have enough cabinet space set aside for your new integrated model. Most integrated dishwashers will be 60cm wide, the same width as the standard kitchen niche. This means you should be ready to install straight away. However, if your dishwasher is wider than 60cm (please check your model’s specification before making your purchase), you may need to adjust the size of your cabinet space first. You should also ensure you have the correct height and depth under your worktops to accommodate your integrated dishwasher.
Another important thing to check before removing your old appliance and installing a new one, is that you have turned off the water and electric supply to your dishwasher. You can do this by turning off your water valve (typically found near or under your kitchen sink) and switching off the switch that controls your dishwasher on your electrical panel.
How Do You Remove an Integrated Dishwasher?
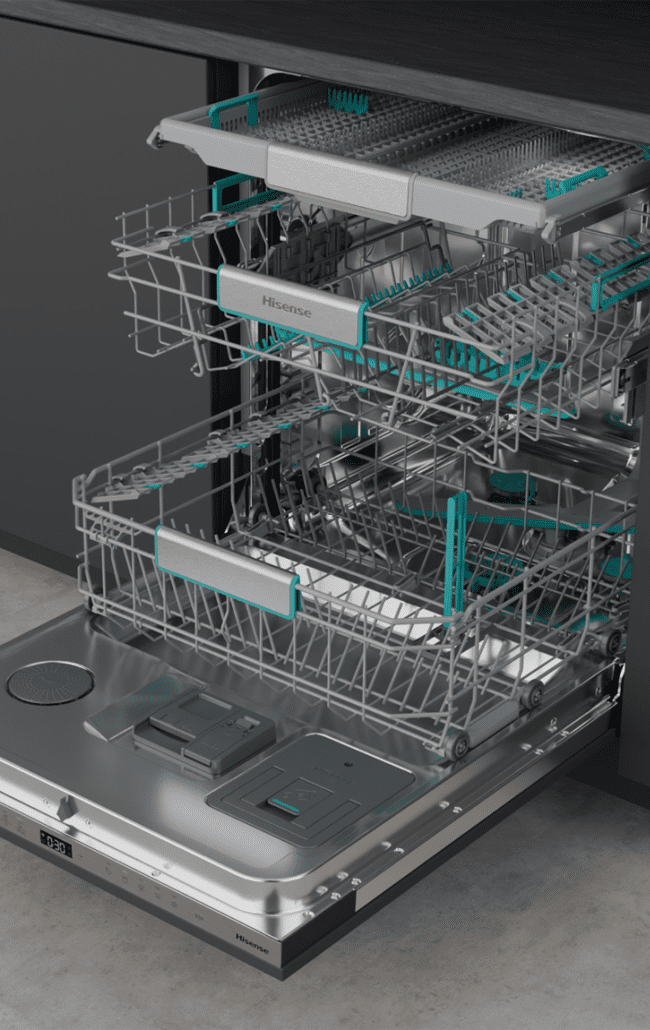
If you do not currently have a dishwasher, you can skip this section. For those who are replacing their existing integrated dishwasher with a newer model, you’ll need to remove it safely first.
You will need:
- Screwdriver
- Adjustable wrench
- Adjustable pliers
- Towel
- Bucket
- Turn off the power and water supply to your dishwasher.
- Unscrew any screws attaching it to your countertops.
- Remove any external cabinetry that may be holding your dishwasher in place.
- Unscrew the dishwasher from your countertops and cabinetry.
- Using furniture rollers or any other mechanism which will allow you to, pull your dishwasher out from the cabinetry. You may want to have a partner assist you with this as dishwashers are quite heavy.
- Remove the ‘junction-box cover’ from the back of your unit. Here you will find the wiring you will need to disconnect.
- Carefully disconnect the water supply, drainage tube and any compression fittings. You may want a bucket at this stage, especially with the water supply and drainage tubes, to catch any remaining water.
Now that your integrated dishwasher is fully disconnected, feel free to put it to one side. If it is still in good working condition, you could consider donating or selling it. If not, please look into recycling it. We offer our own recycling service when you buy a new appliance from Appliance City. Find out more about our recycling services with our useful recycling page.
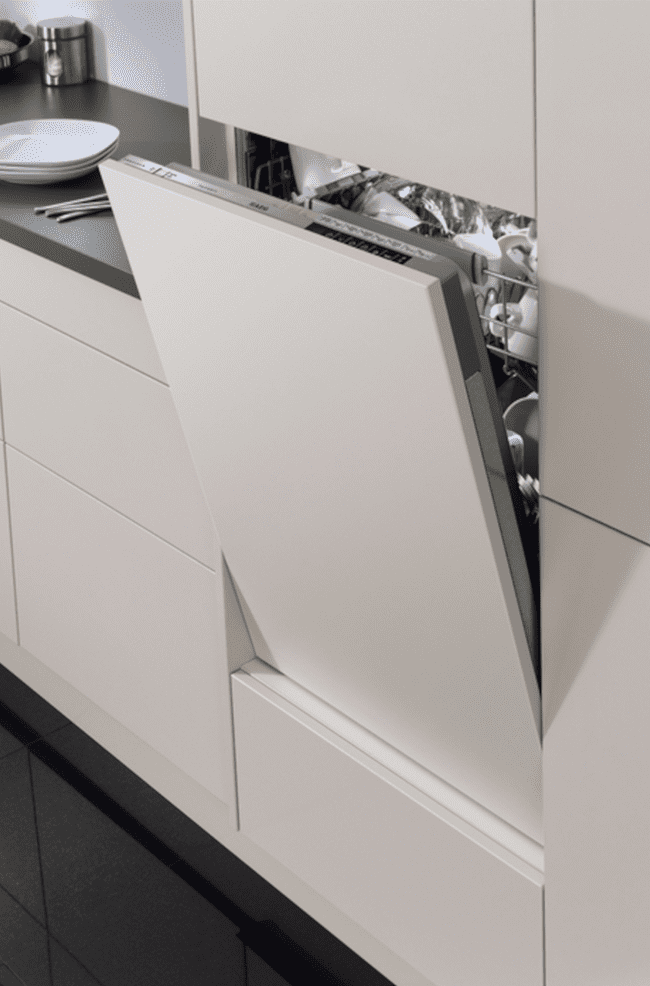
How Do I Install My New Fully Integrated Dishwasher?
Before installing, you should make sure your water and power supplies are still turned off, and you have dual outlet valve installed on the hot water supply. Provided you had dishwasher prior to this, there should already be one. If not, you’ll have to install one.
Here’s our step-by-step guide to installing your integrated dishwasher:
- Remove the dishwasher from its packaging and place it in front of where you want to install it.
- Connect the water supply line to your hot water supply. There will be a fixture on your valve that allows you to tighten it. Don’t attach the other end just yet.
- Secure the drain line to your sink’s tailpiece. If you don’t have a tailpiece already, you’ll need to install one. Ensure your drainpipe is secured above the tailpiece.
- Get your utility lines in place, ready for connecting.
- Adjust the height of the dishwasher at its feet so it’s almost level with the countertop. A small gap is recommended as it makes it easier to attach and leaves a gap for ventilation.
- Move your dishwasher into place under the counter. Try and use rollers or put down some old towels on the floor to avoid any risk of damage.
- Connect the other end of the water supply to the dishwasher.
- Connect the drain line to the dishwasher and secure it.
- Connect all your electrical wires. These are typically colour coded.
- Screw the appliance into your cabinetry to secure it. There will be clips attached to the dishwasher for you to do this. You may have to drill some holes for this, or you may be able to just drive them into the cabinetry with a screwdriver.
- Turn your power and water supplies back on and get to cleaning your dirty dishes!
Remember that if your dishwasher connects at the rear, you’ll have to do step 6 after steps 7, 8 and 9.
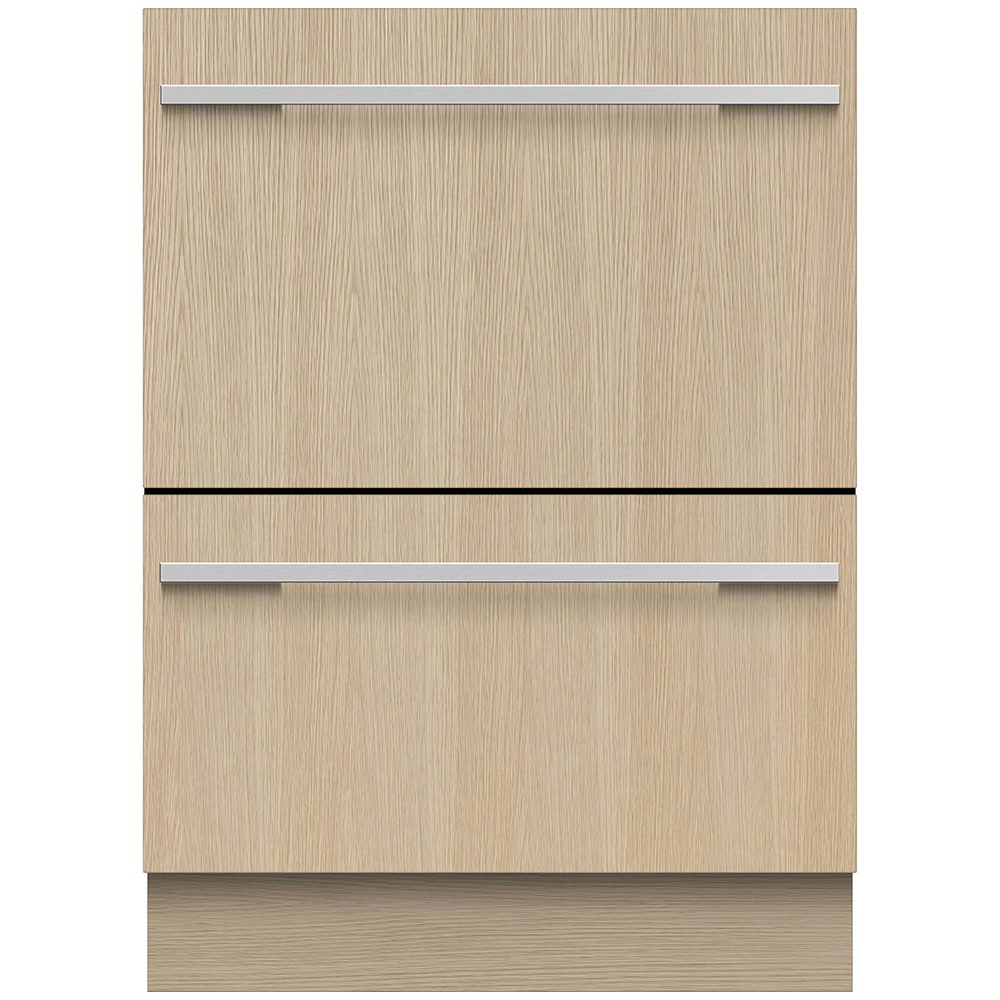
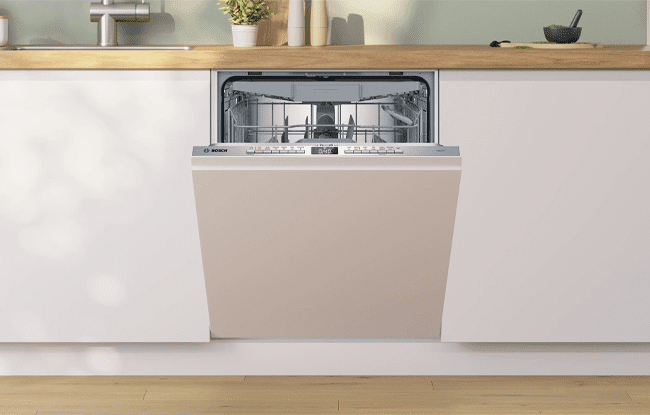
If you plan on having a door panel on the front of the dishwasher to conceal it completely, this panel is attached with screws and clips instead of the regular hinges.
To Conclude...
So, there you have it! A simple guide to installing your integrated dishwasher. If you are confident in your abilities, this should be a fairly straightforward process. If not, there is certainly no shame in hiring a professional to install your dishwasher for you!
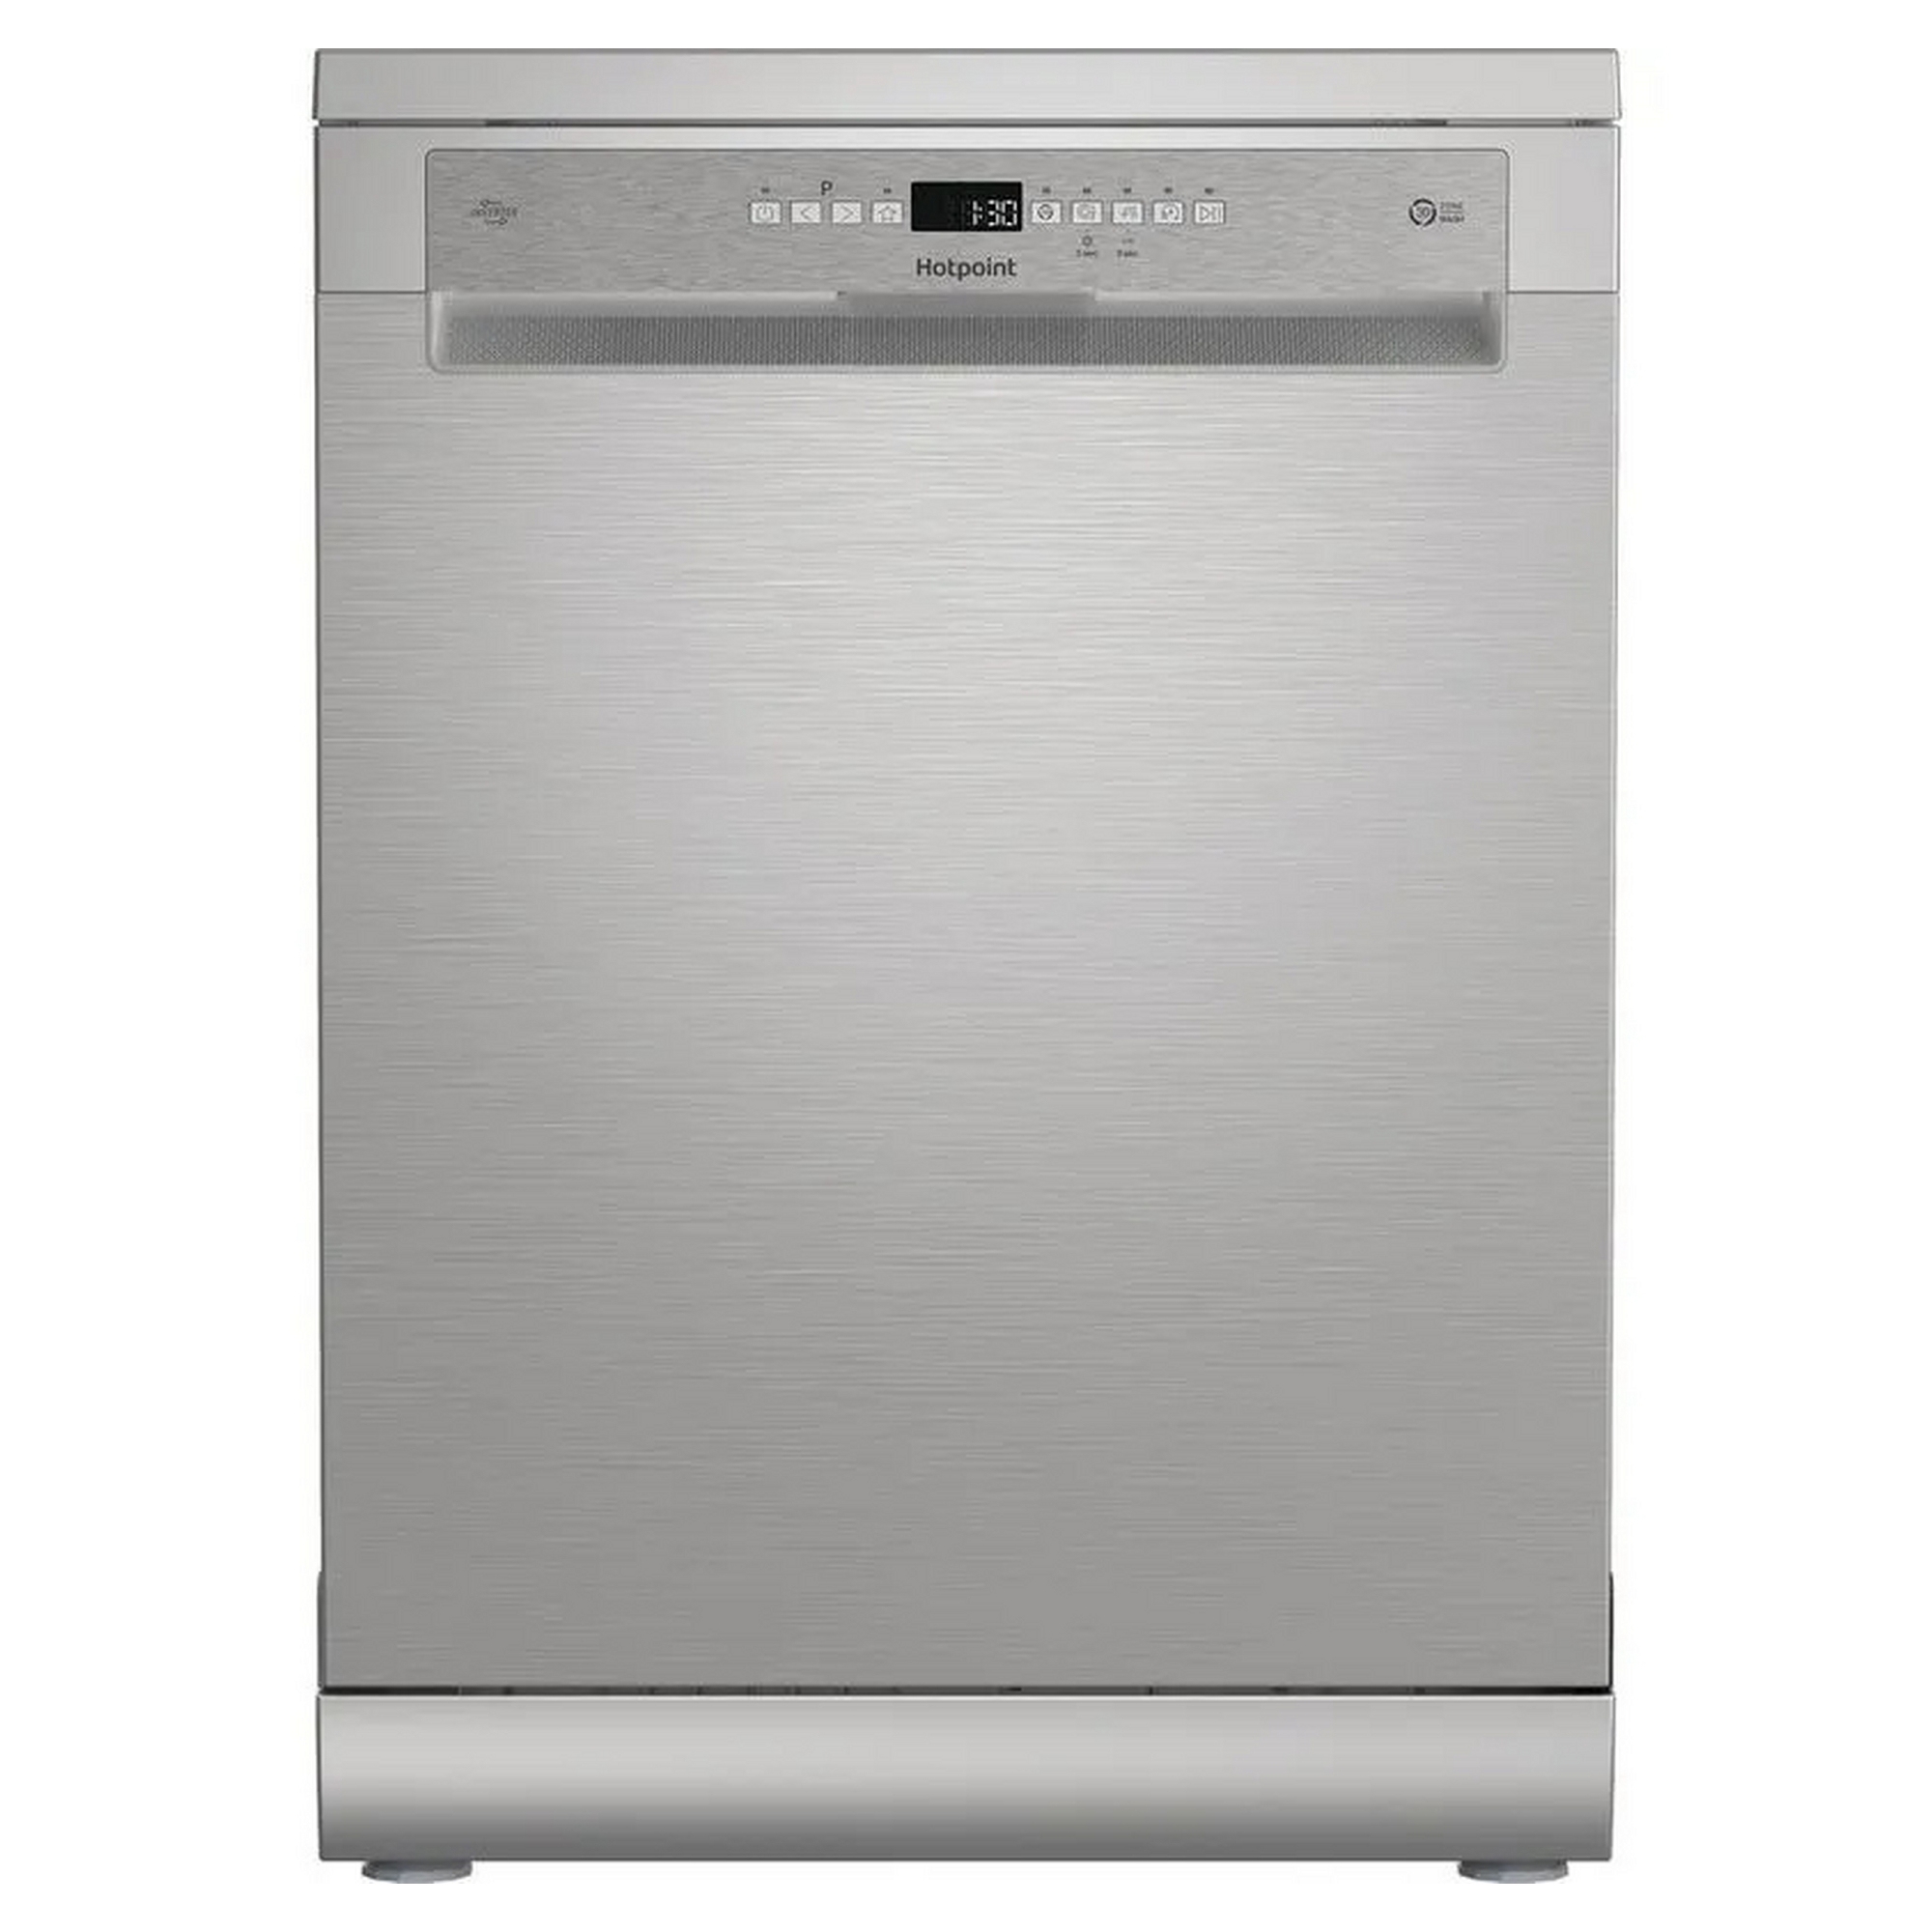
You can find a fantastic selection of dishwashers at Appliance City. From freestanding and semi integrated to fully integrated, we have dishwashers to suit every budget and style. With free delivery available to most UK addresses, buy your next dishwasher from Appliance City!