January 30, 2024
How to Install a Wine Cooler
It’s very easy to install a wine cooler in your home. There are some things you need to consider first, but then it’s a pretty straightforward process. In this nifty guide, we’re going to detail all the steps for how to install a wine cooler in your own kitchen.
Learn How To Install Your Sophisticated New Wine Cooler!
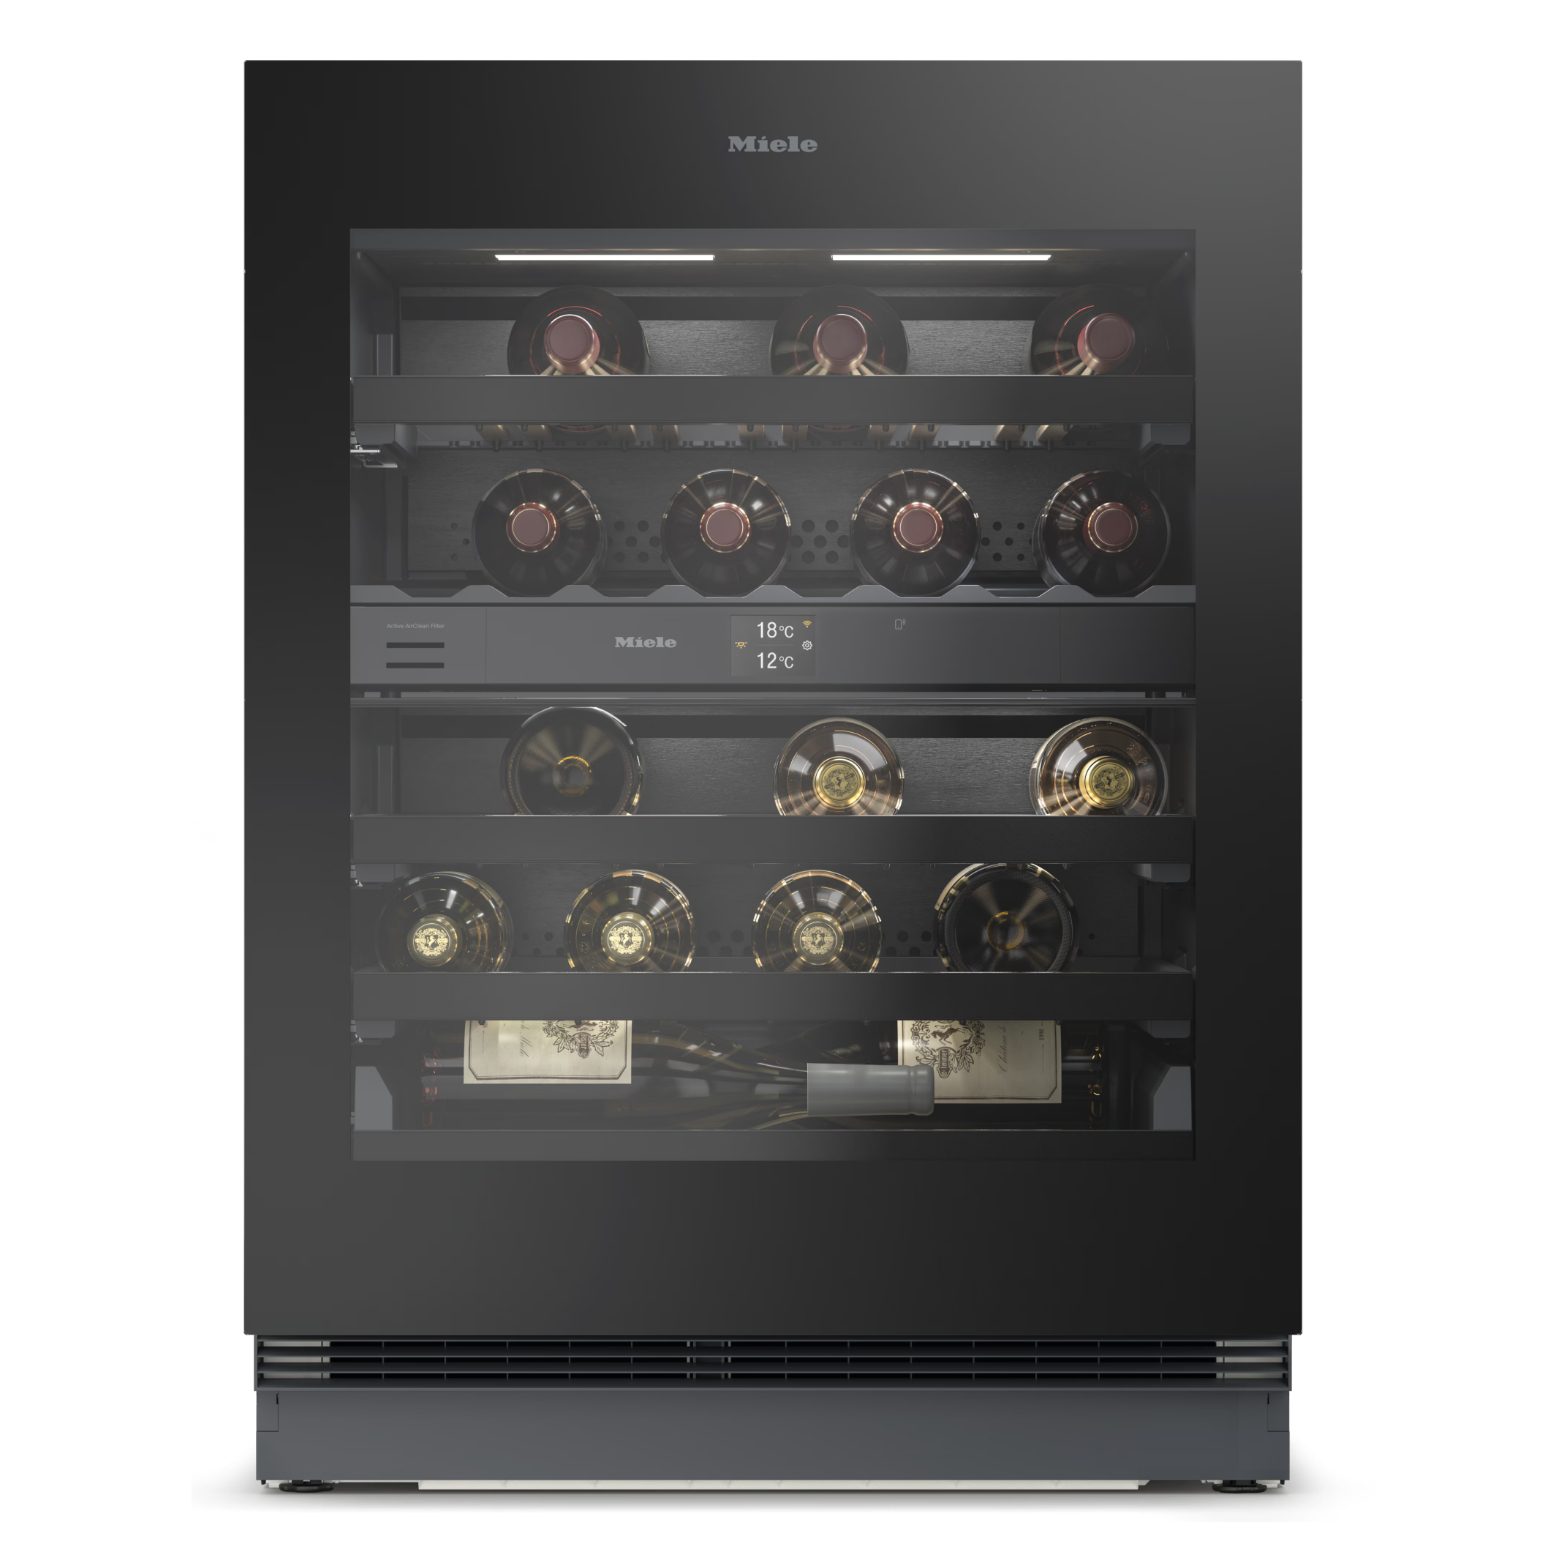
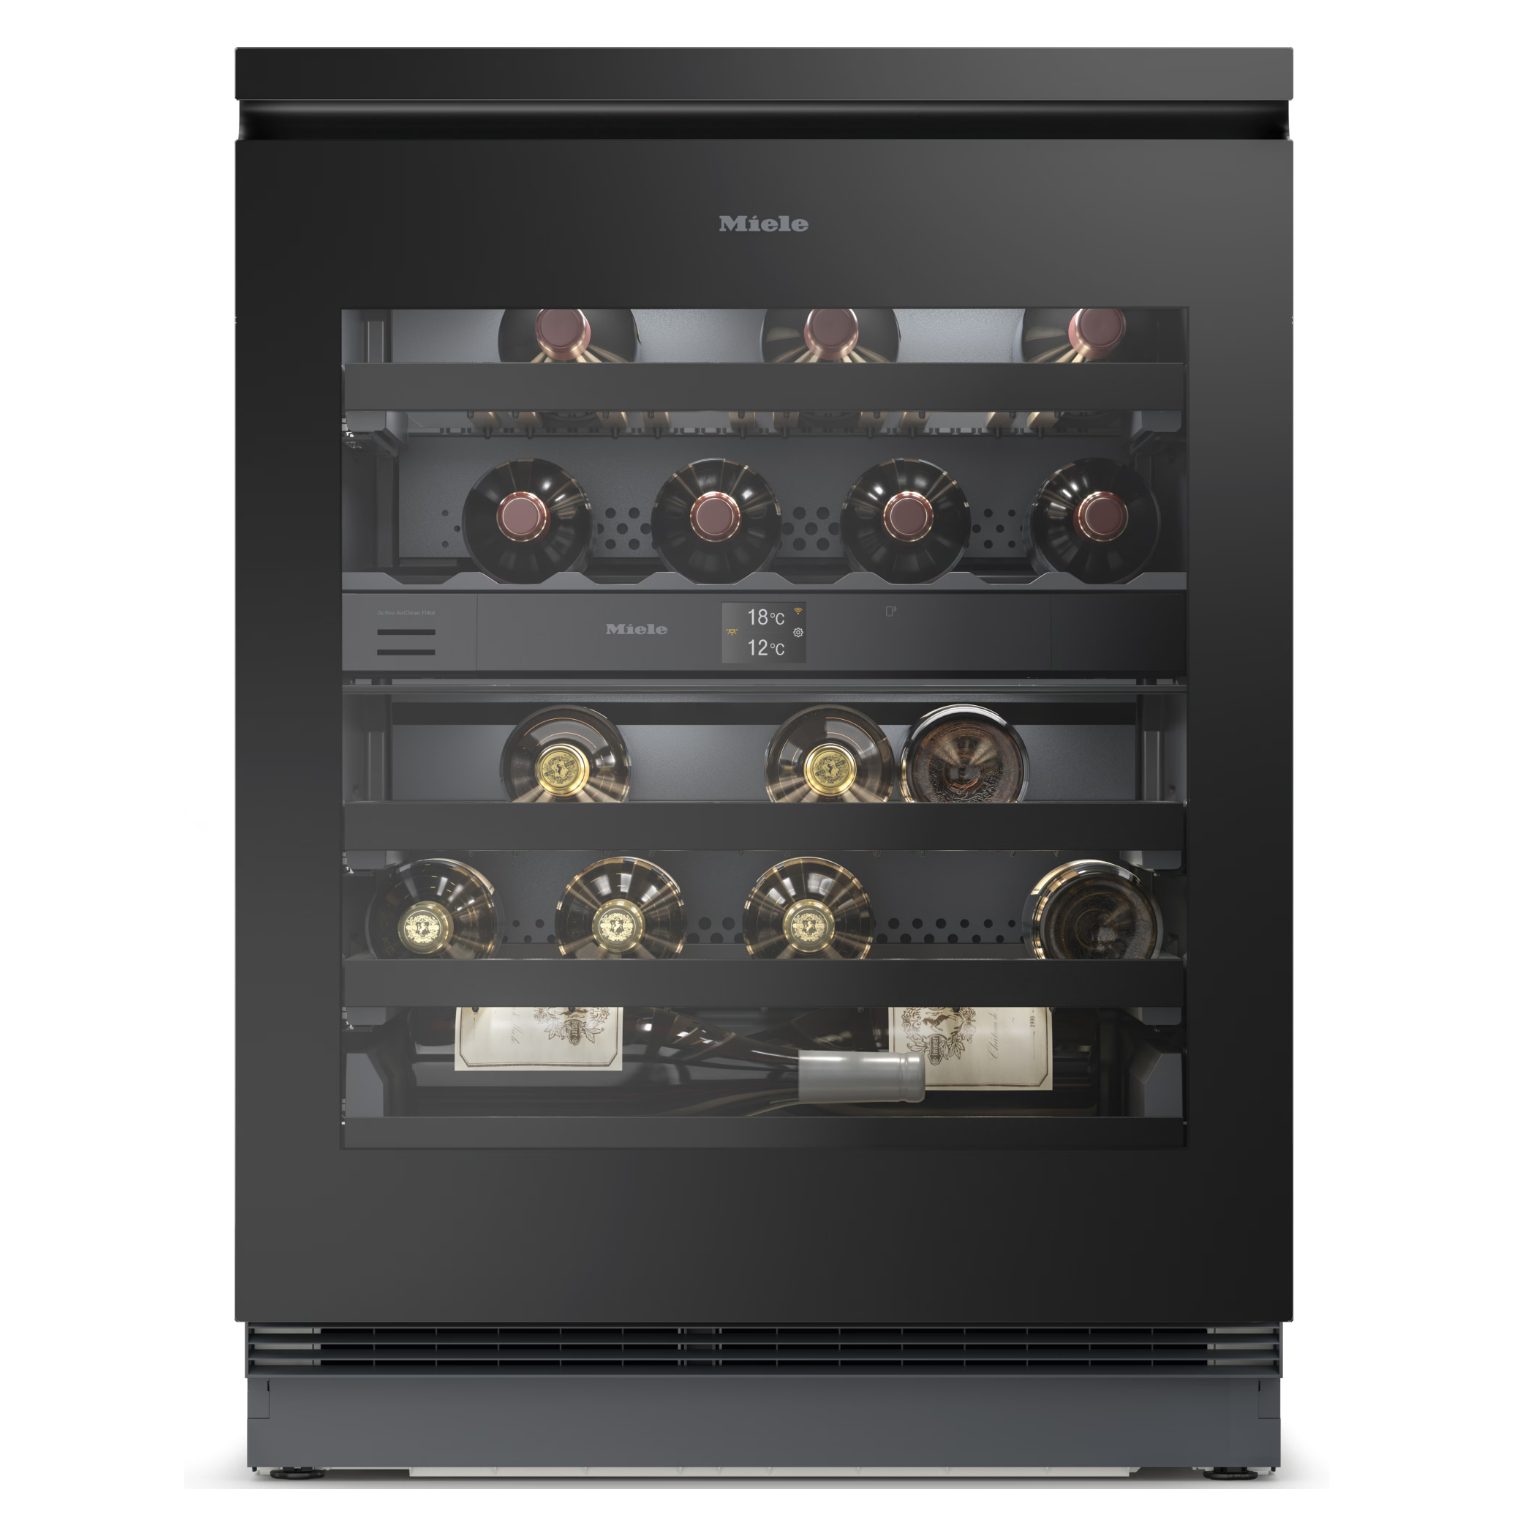
What Type of Wine Cooler Should You Choose?
It’s important to ensure that the wine cooler you have chosen is a good match for you, before we discuss installing it. One of the first things you need to consider is whether you go for a freestanding wine cooler, or an integrated one.
Here’s some information to help you best decide:
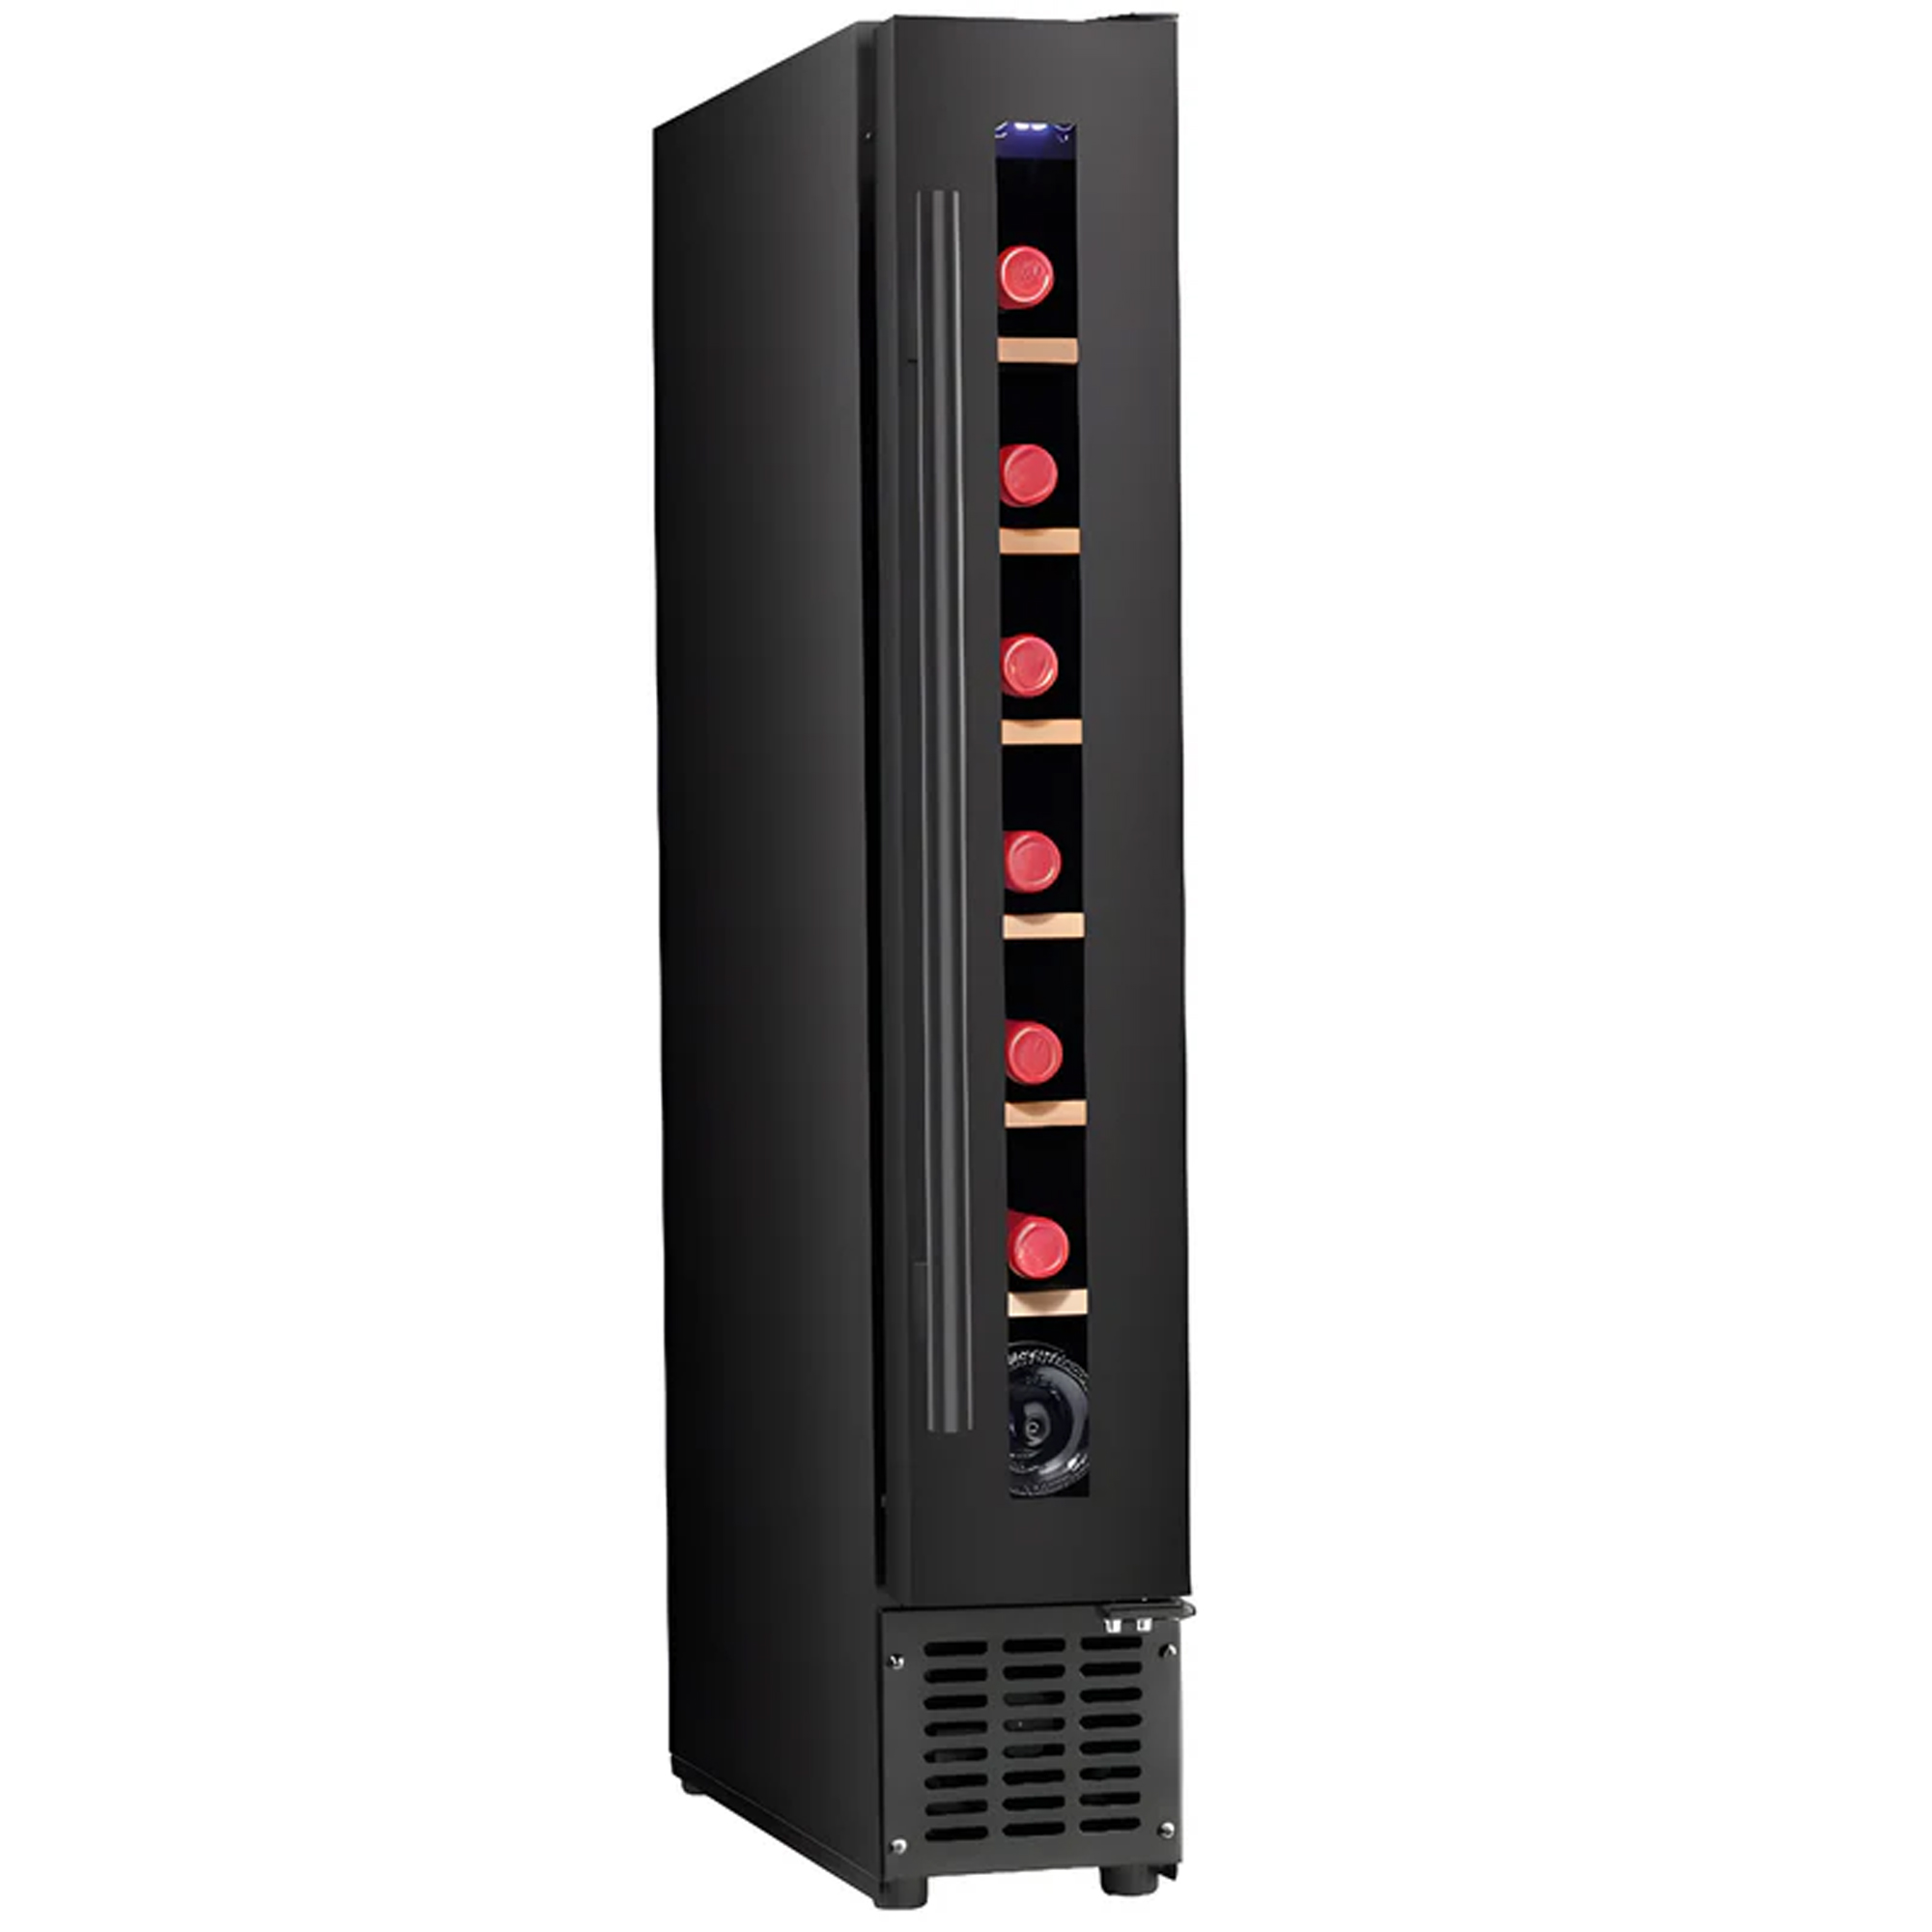
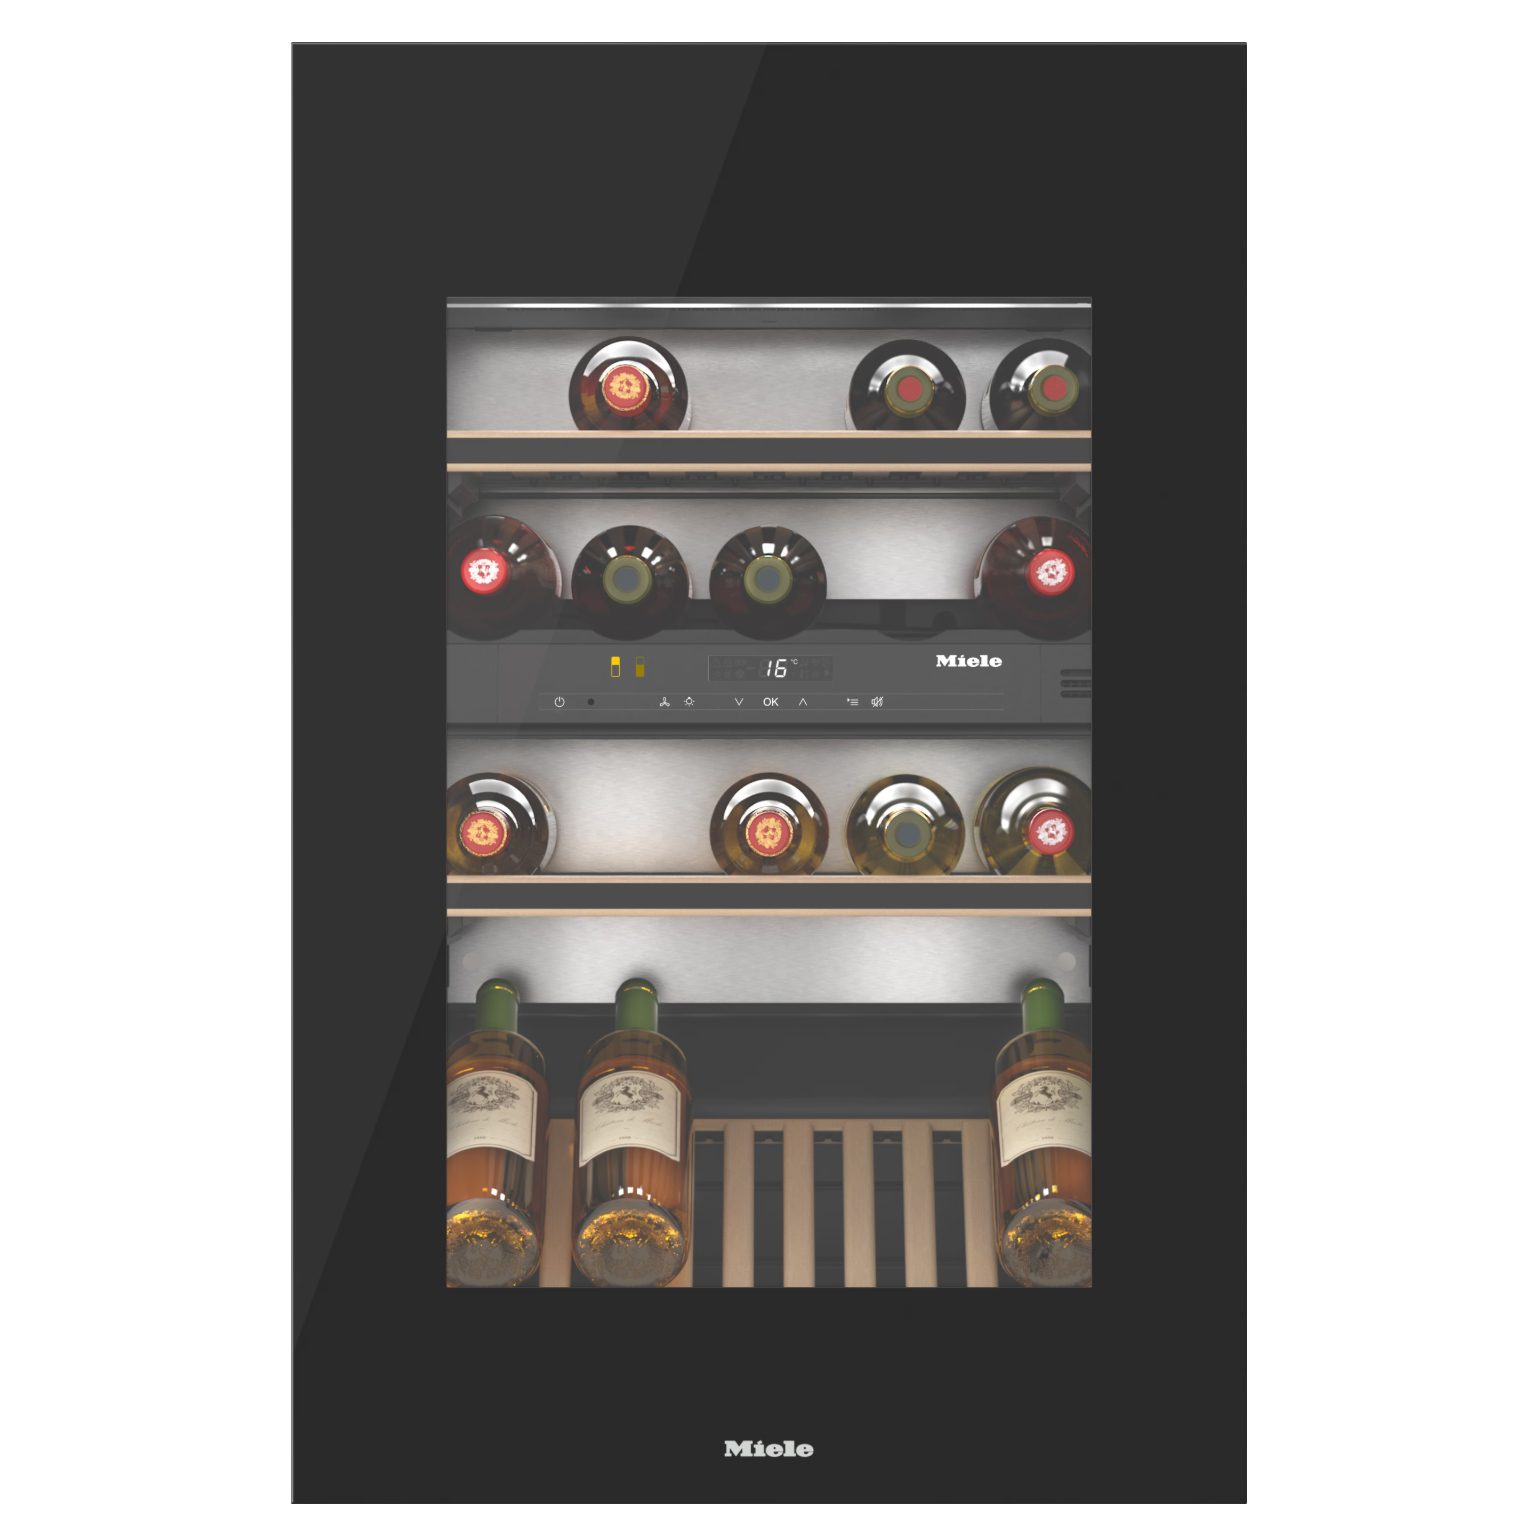
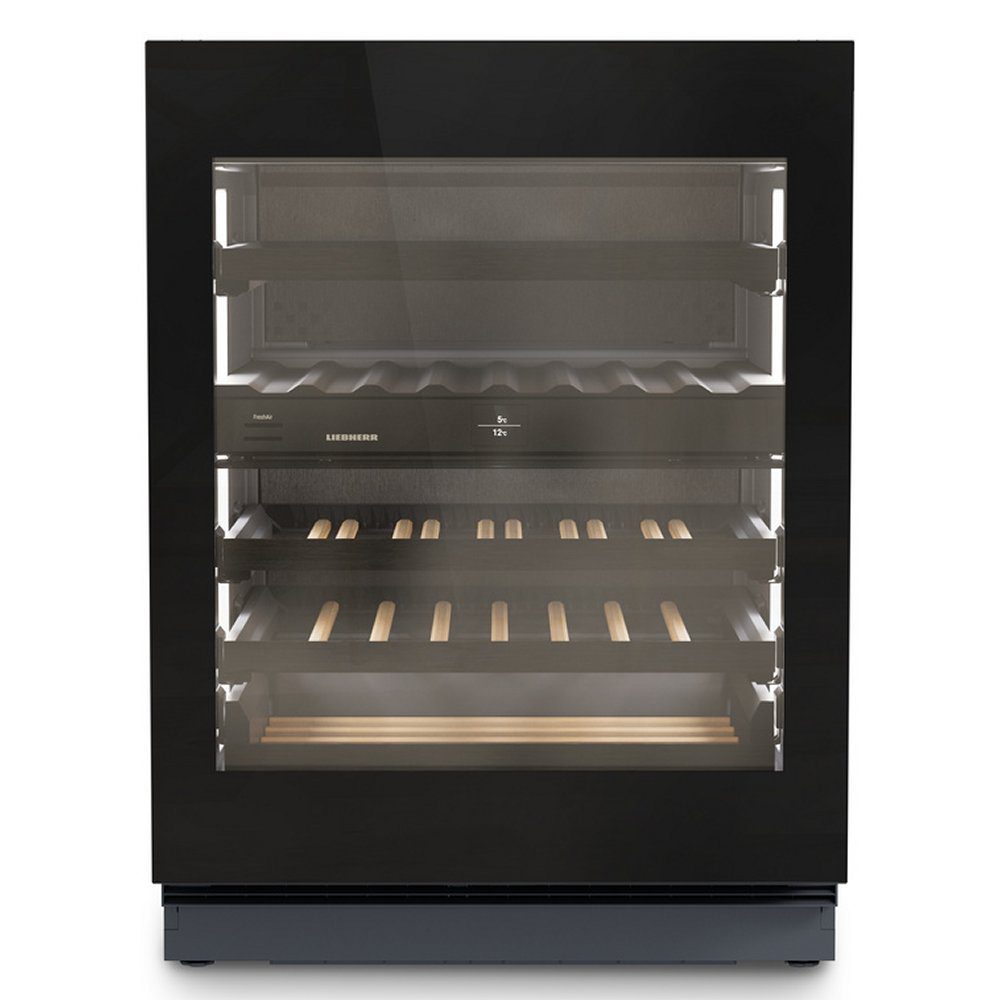
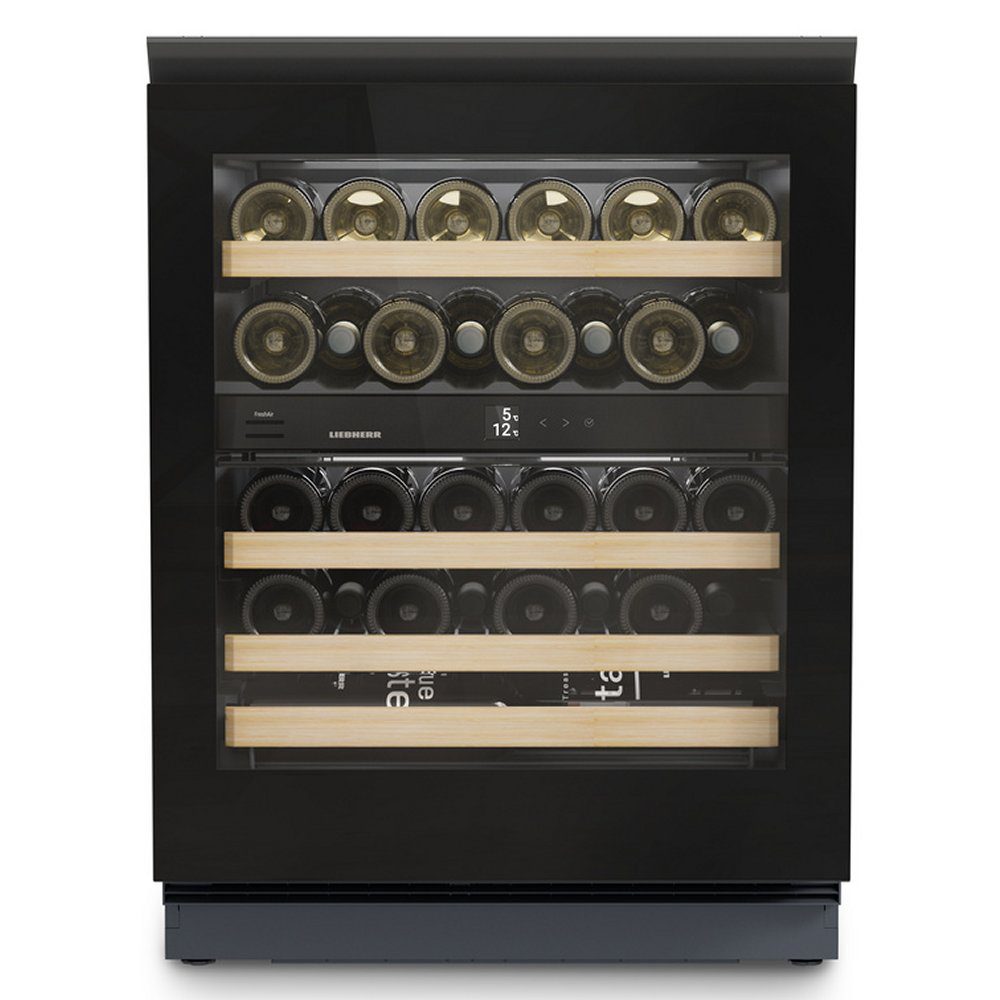
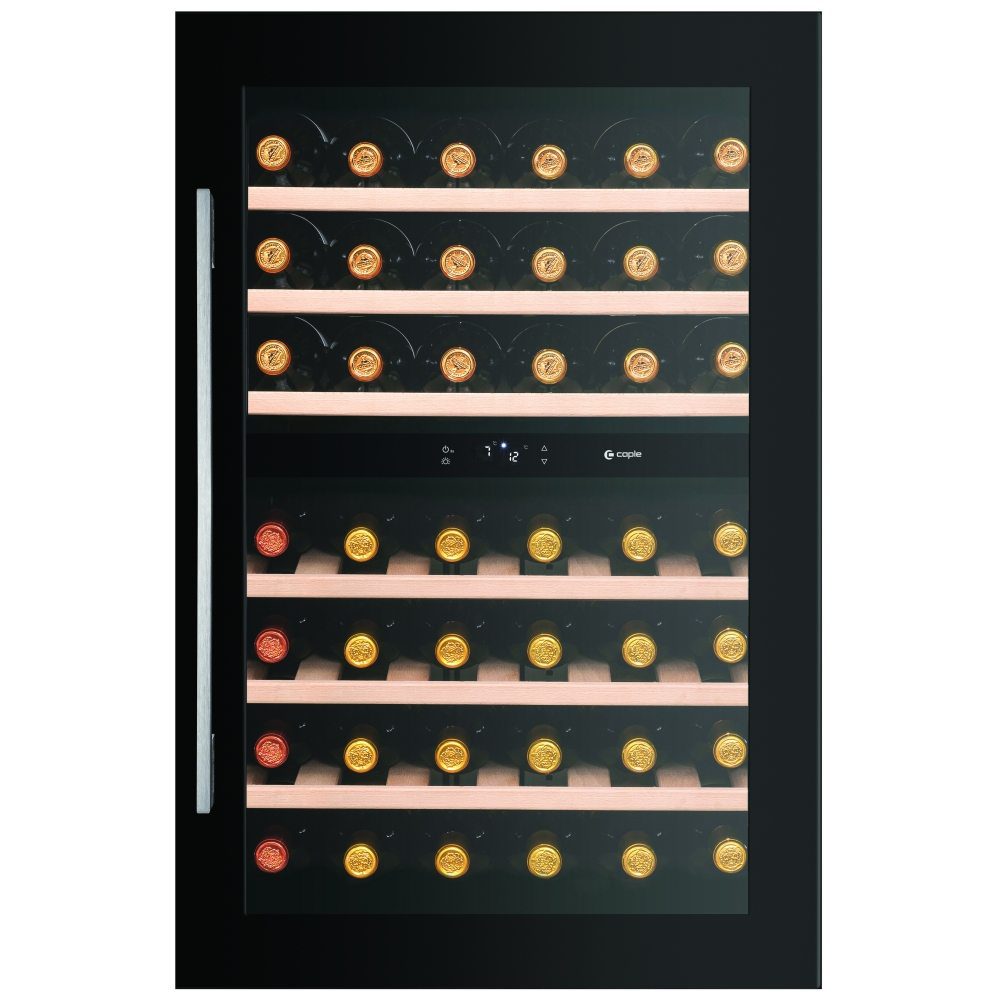
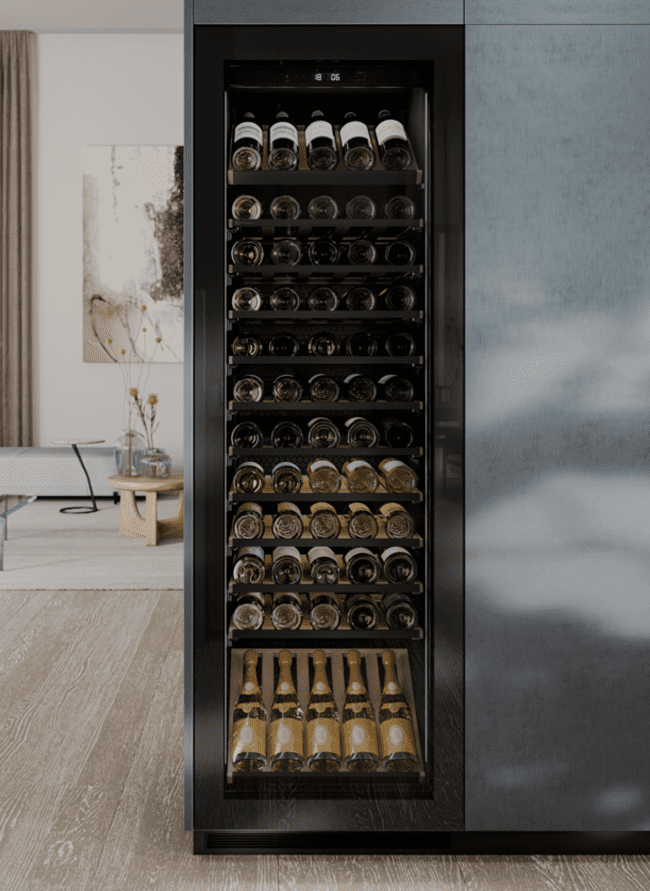
Think about whether you want an upright wine cooler, an under counter model, or a wine fridge with multiple temperature zones. This decision will depend on your current design, and what you want out of a wine cooler. Multiple temperature zones will allow you to store wine long term, and also serve it at the correct temperature. Remember to also consider the width, and where it will go in your home.
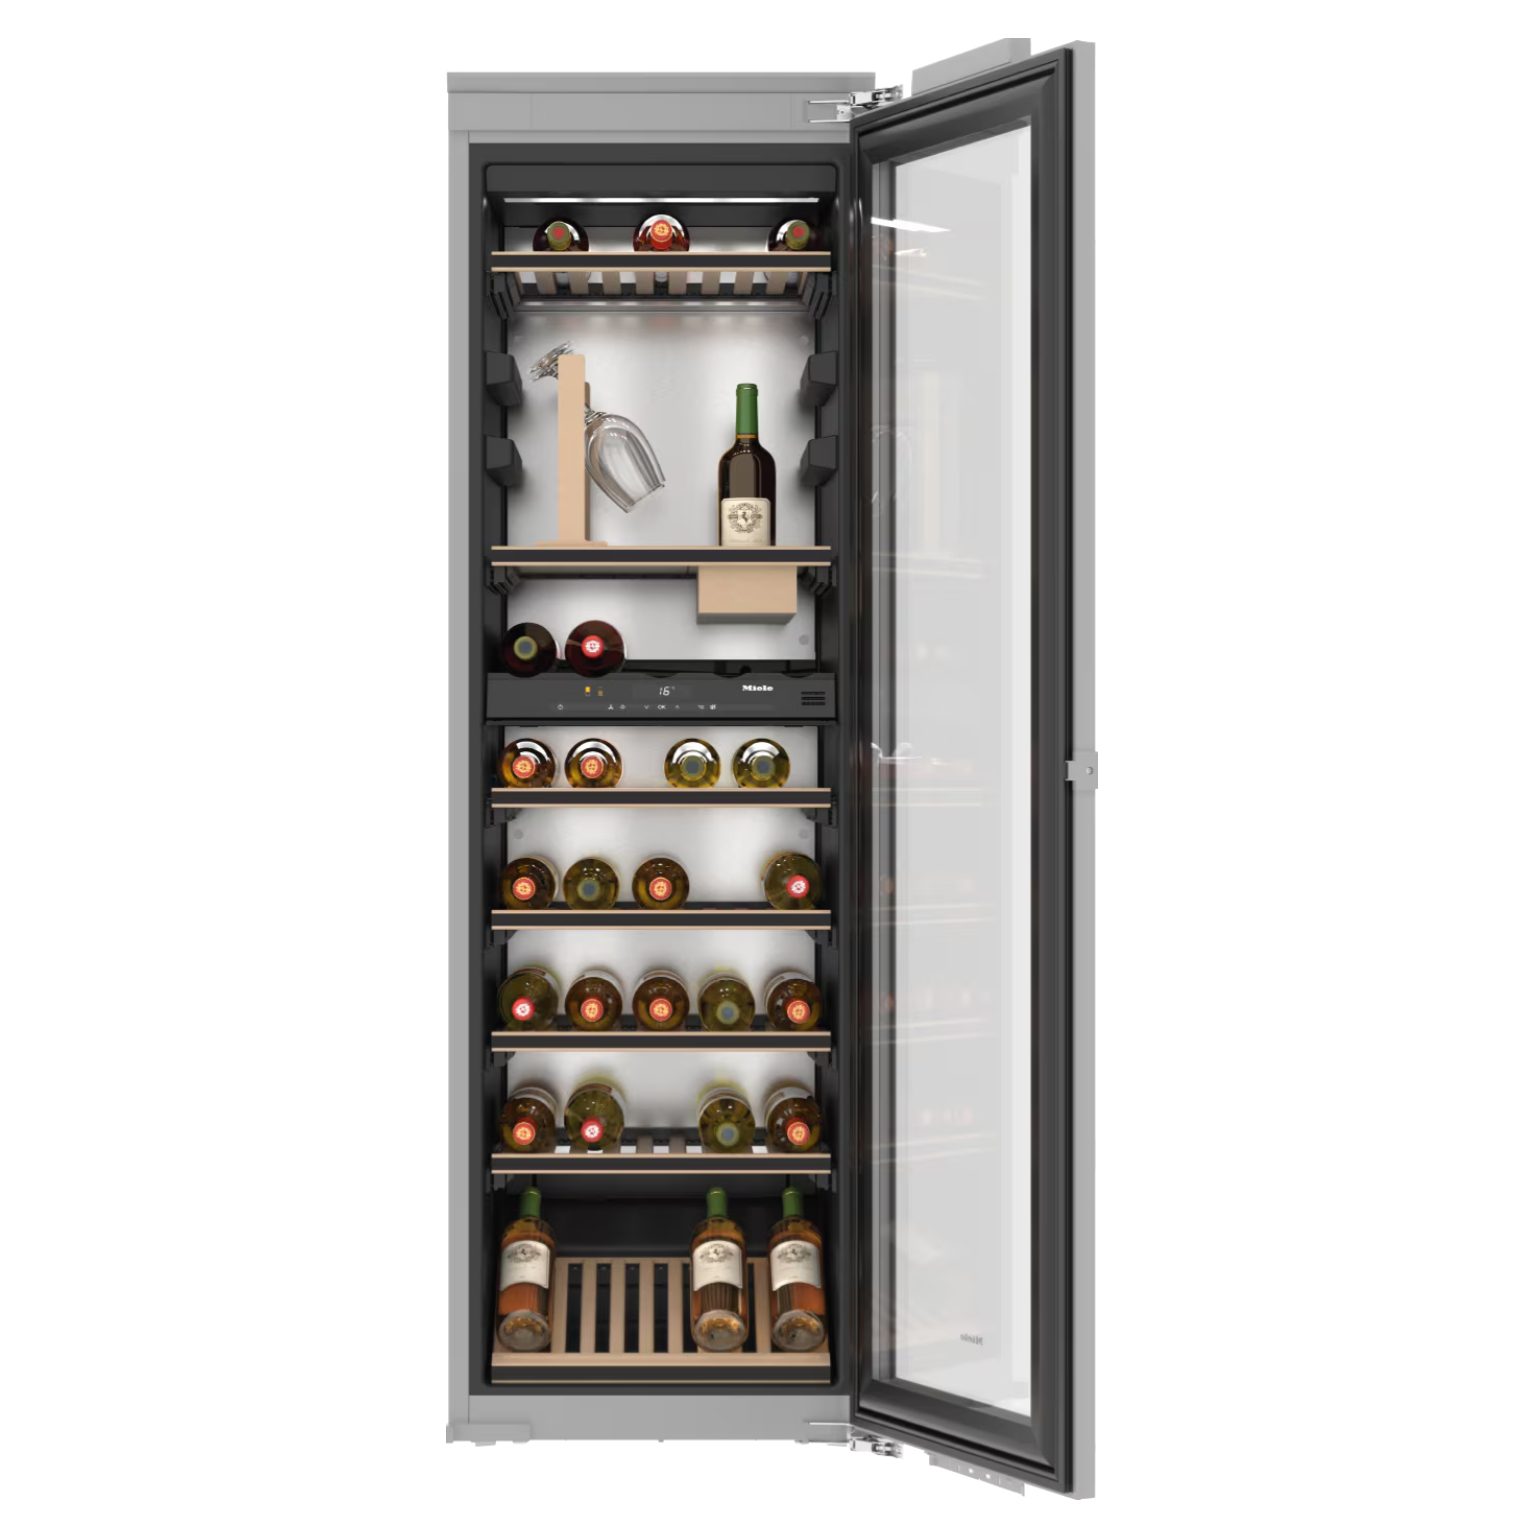
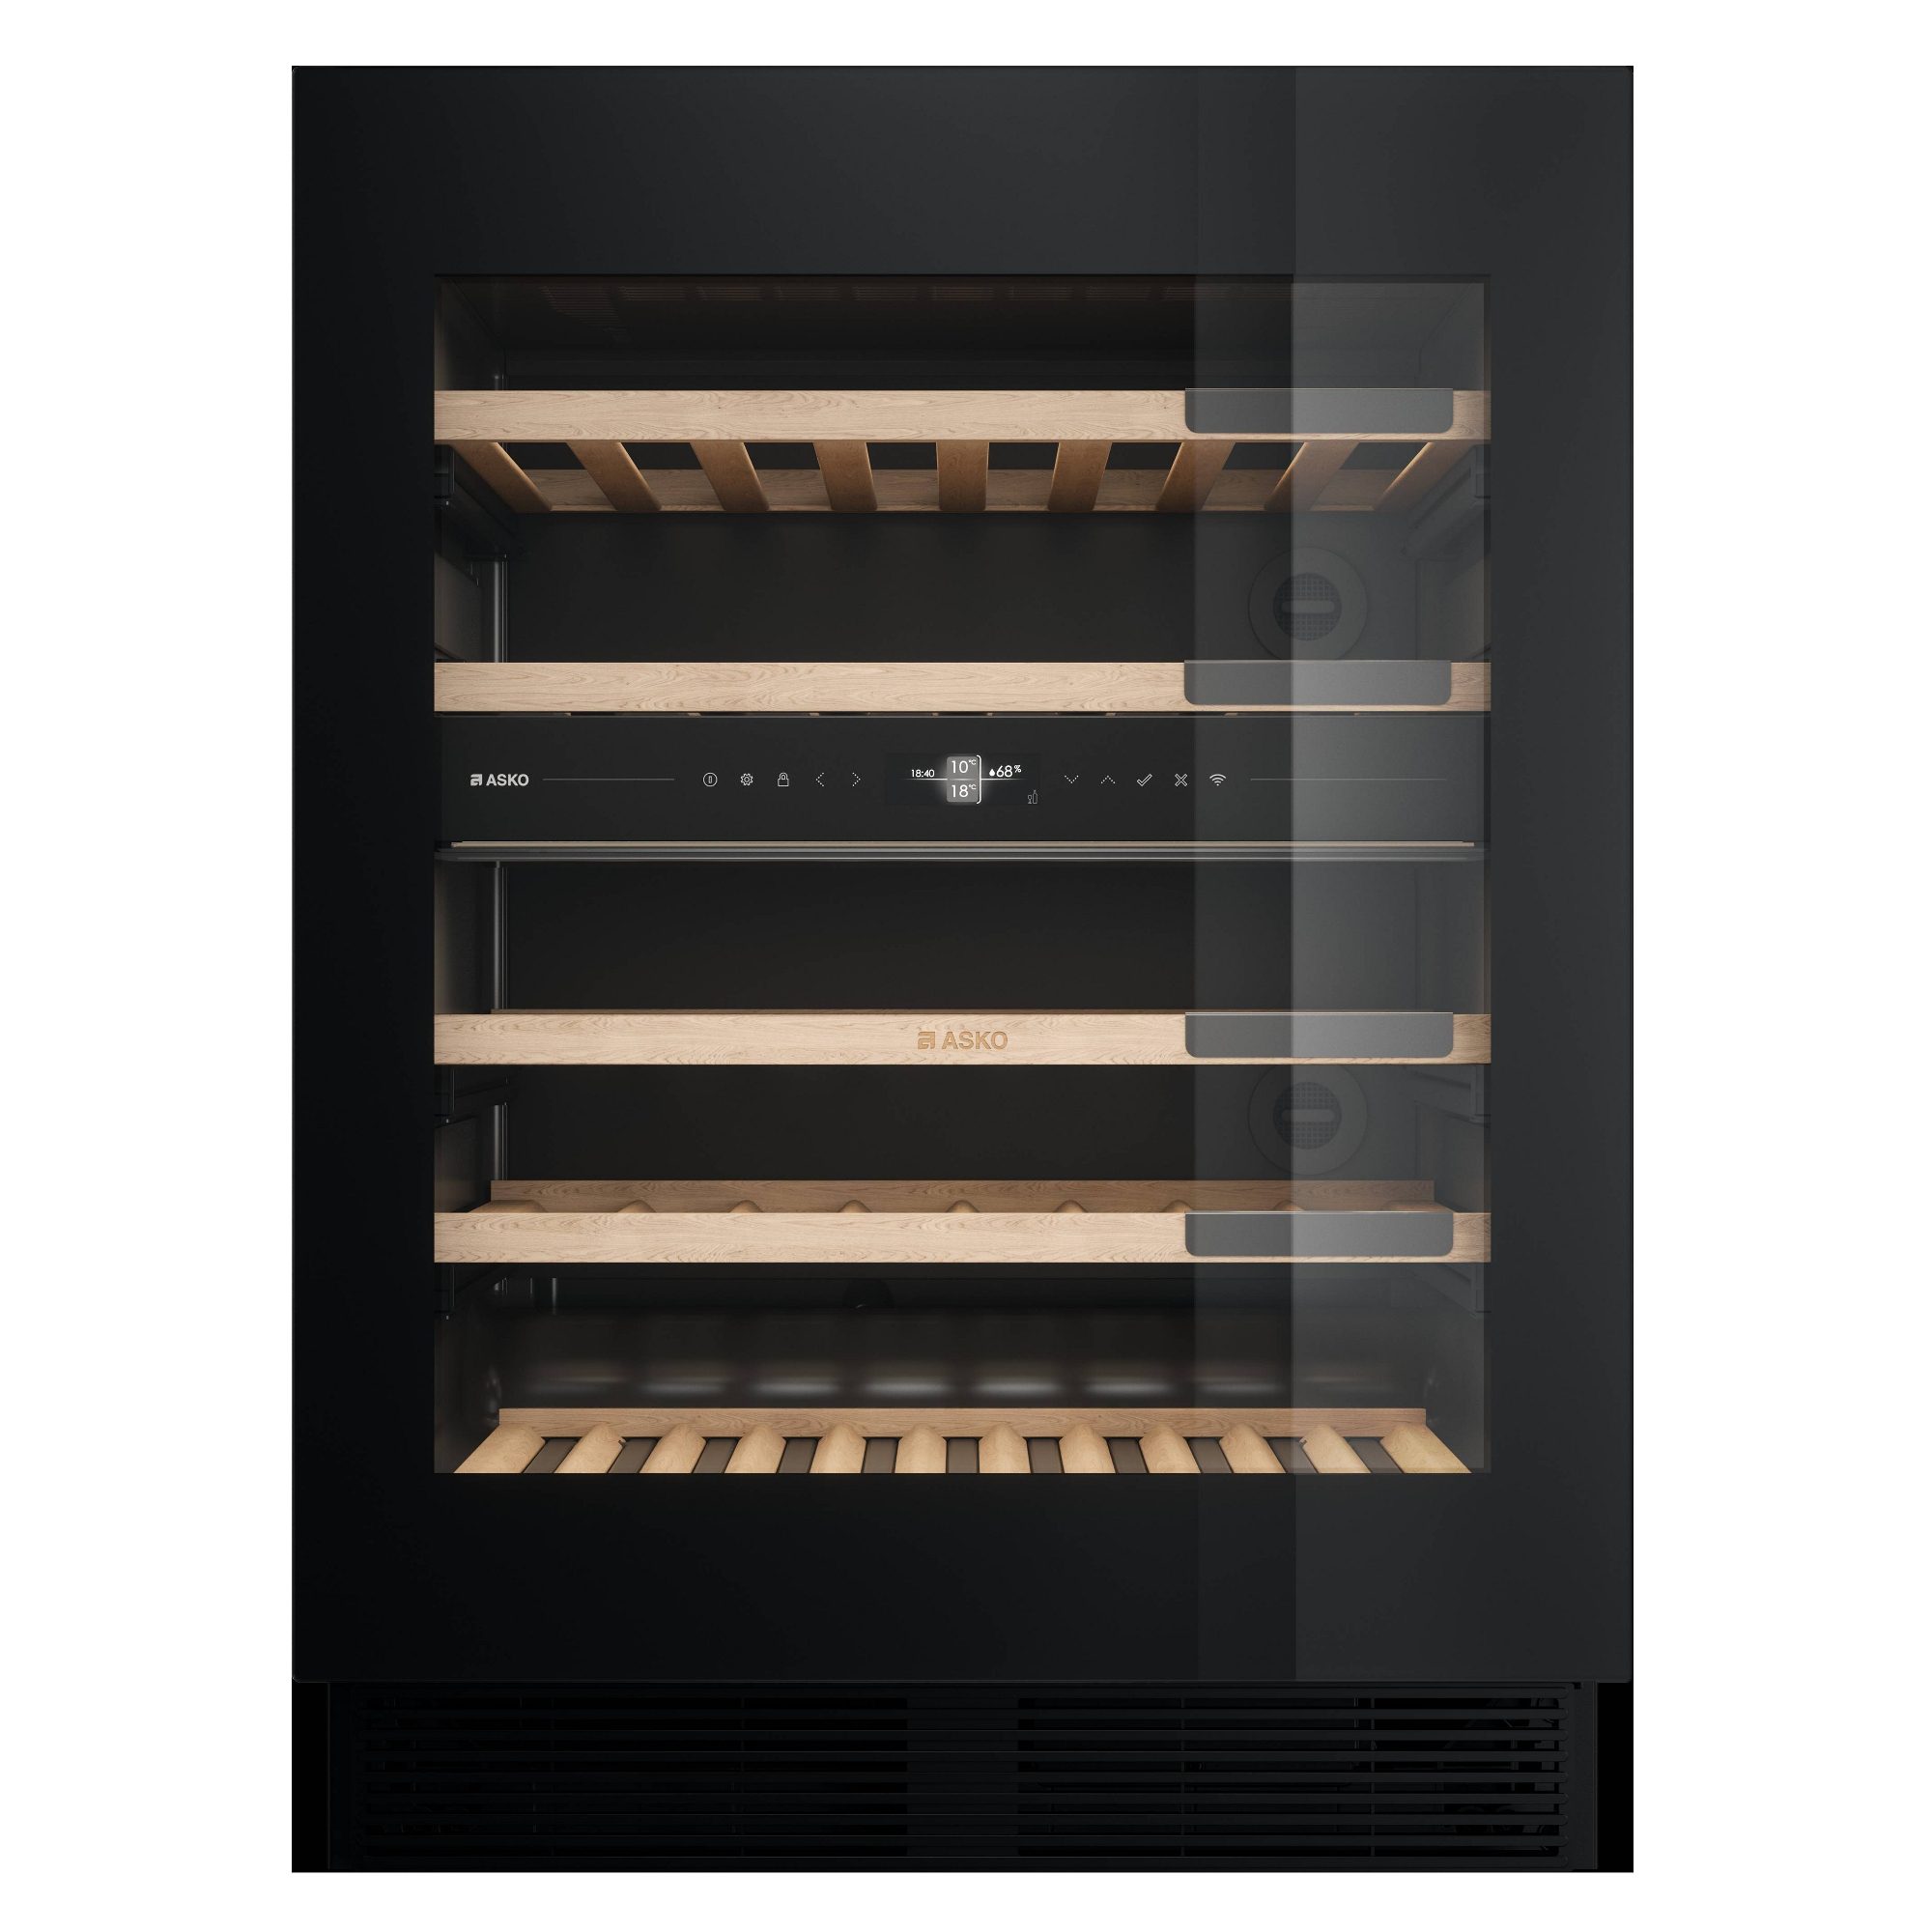
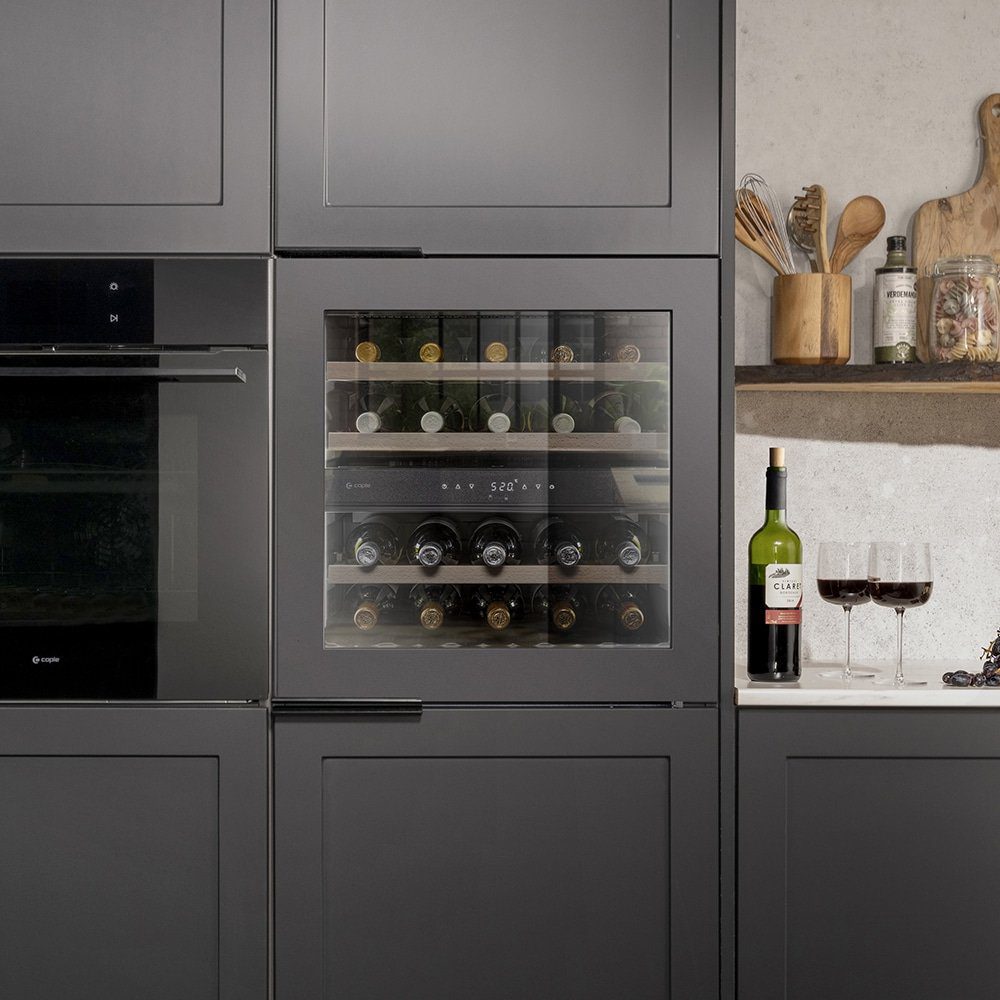
How Do You Install an Integrated Wine Cooler?
If you’ve opted for an integrated wine cooler, here are the steps you need to follow to install it. You need the following items:
- Spirit Level
- Scrap Wood - if wine cooler doesn’t have adjustable feet
- Tape Measure
- Manual for Wine Cooler
- Phillips Head Screwdriver
Follow these steps to get your built in wine cooler up and running:
-
Check your power supply. Make sure your wine cooler will be within reach of a power source. Try to avoid using an extension lead unless absolutely essential. This will also be discouraged by the maker of your model and could disqualify any warranties.
-
Make your measurements. Using your tape measure, measure out the space your wine cooler will be going in. Make sure there’s room to fully open the doors, and there’s some space for the cooler to ventilate. Many built in wine coolers will come with ventilation on the front, but you also need to make sure the side ventilation isn’t blocked and that it won’t overheat.
-
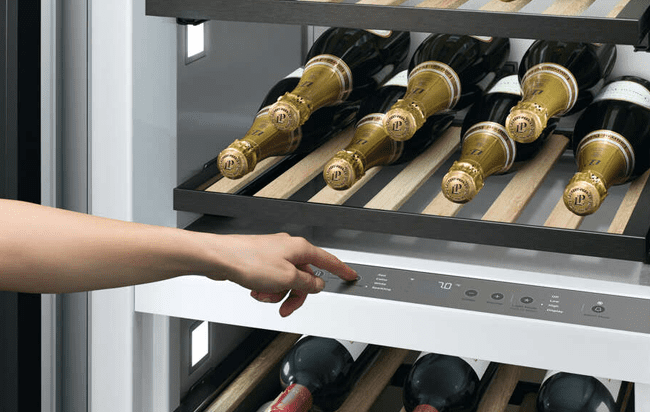
Carefully position your wine cooler into the space you have prepared. Plug it in but don’t switch it on. If your wine cooler has mounting plates, fasten these to the cabinet to secure it. Use your Phillips head screwdriver to do this.
-
Make sure the cooler is level. You don’t want bottles to roll in your cooler, so make sure that your shelves and storage are level inside the unit. If it isn’t level, there should be adjustable feet to the bottom of the unit. You can normally adjust these by hand, but consult the manual of your model to make sure you’re adjusting correctly.
-
Leave for two hours. The coolant inside the unit needs to settle after it has been moved, before using it. Let the gases settle for a couple of hours before switching it on.
There you have it! That’s all you need to do to get your built-in wine cooler up and running. You’ll only need to do some straightforward measuring, crewing and levelling.
Please exercise caution when moving the unit. Do not attempt to lift the cooler by yourself, and take care not to damage your flooring.
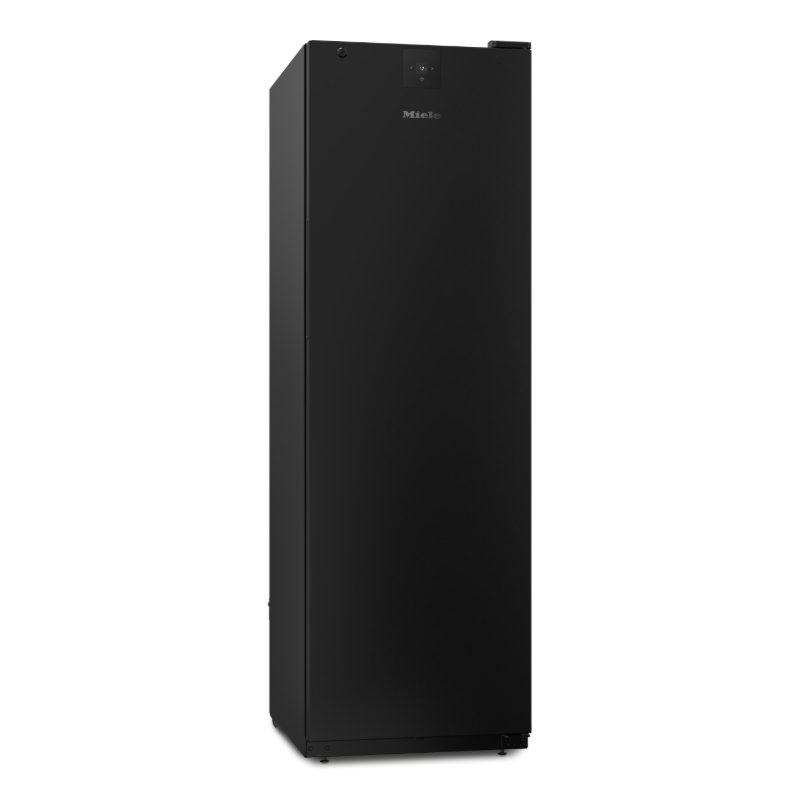
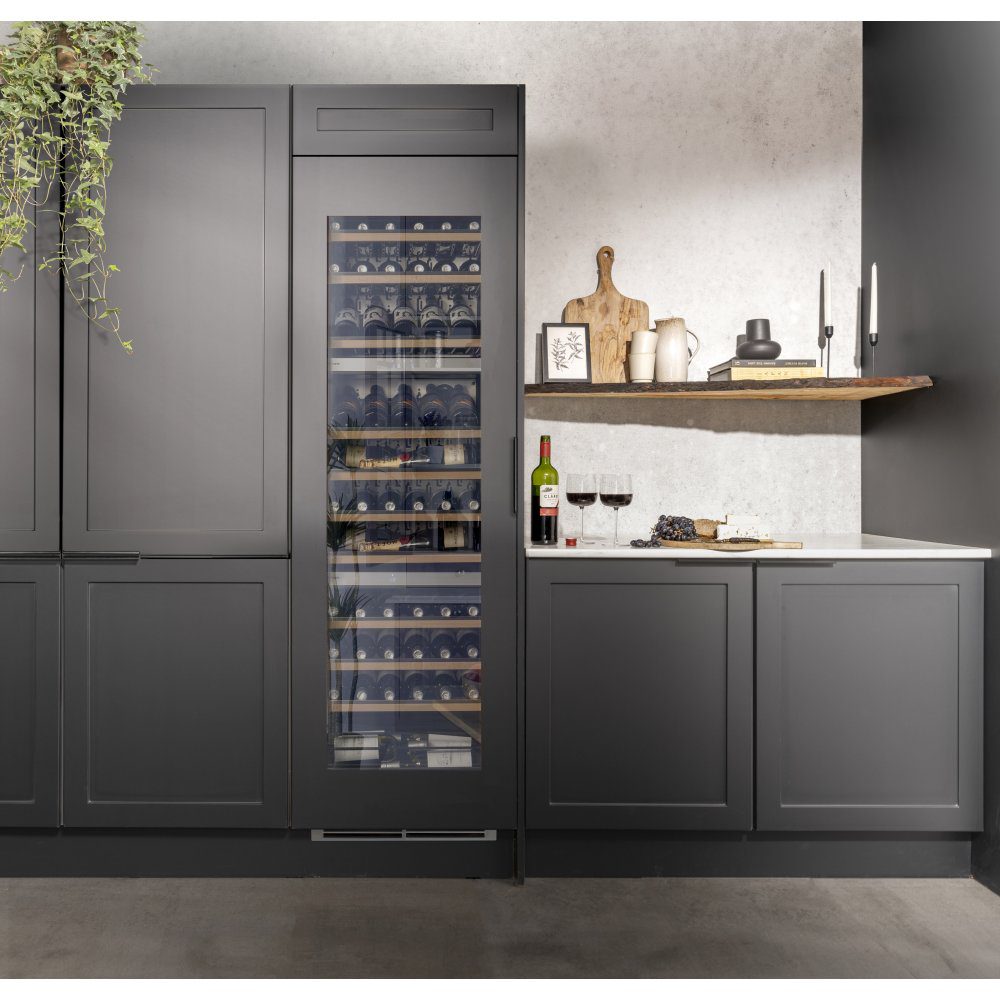
How Do You Install a Freestanding Wine Cooler?
You can install your freestanding wine cooler by following the exact same steps as above, except with less hassle. There’s no need to fasten any mounting plates. You simply move it to where you want it and plug it in.
If you’re installing an under counter wine fridge in your kitchen, and it’s not built in, then make sure you’ve allowed for ventilation. Freestanding models don’t always have front ventilation.
After installing your freestanding wine cooler, remember to leave it for 2 hours before turning it on. This allows the coolant to settle, so you won’t damage the internal workings.
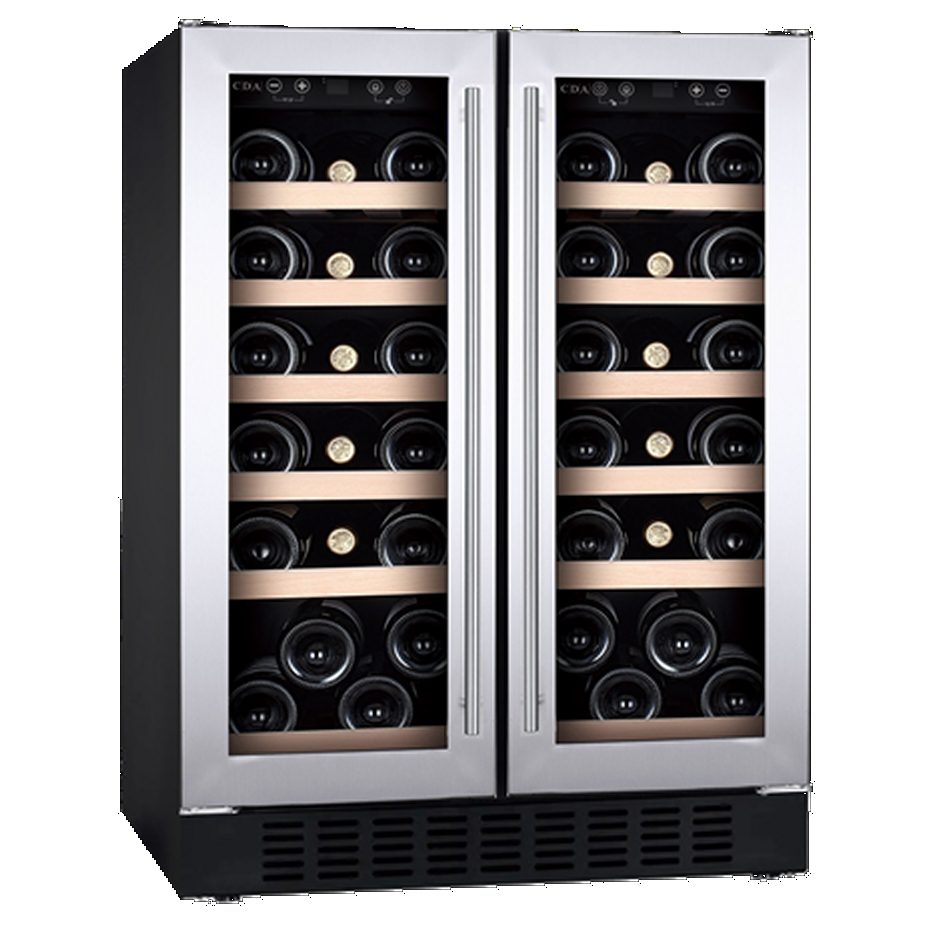
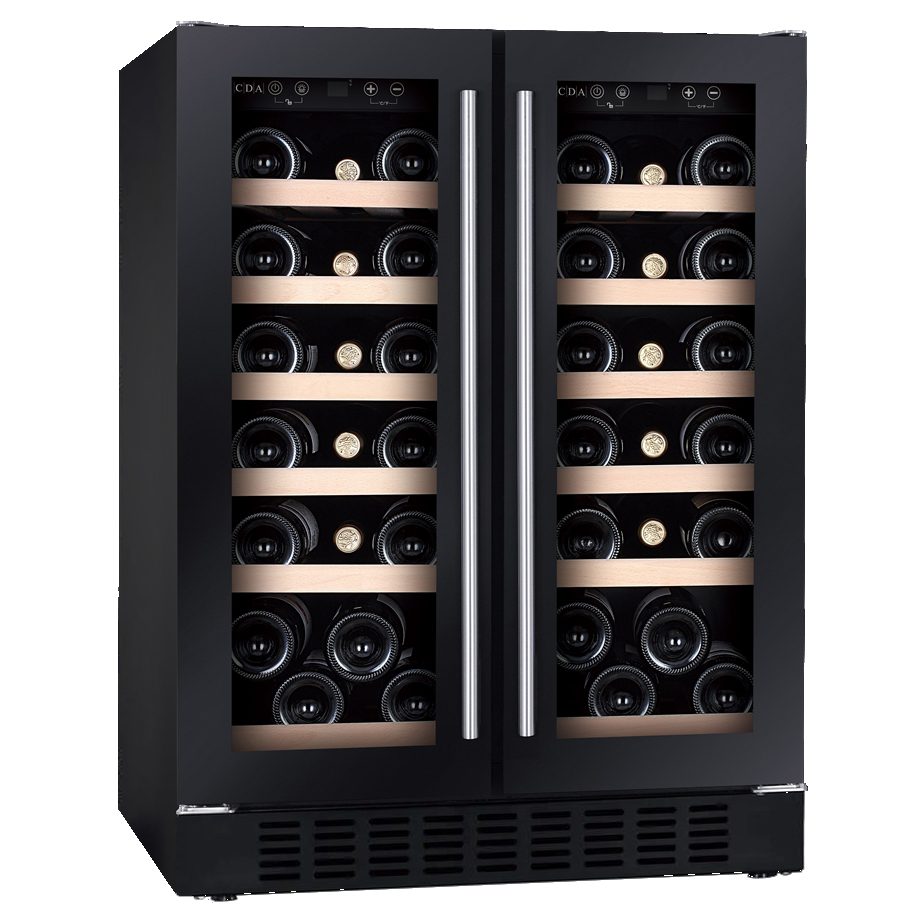
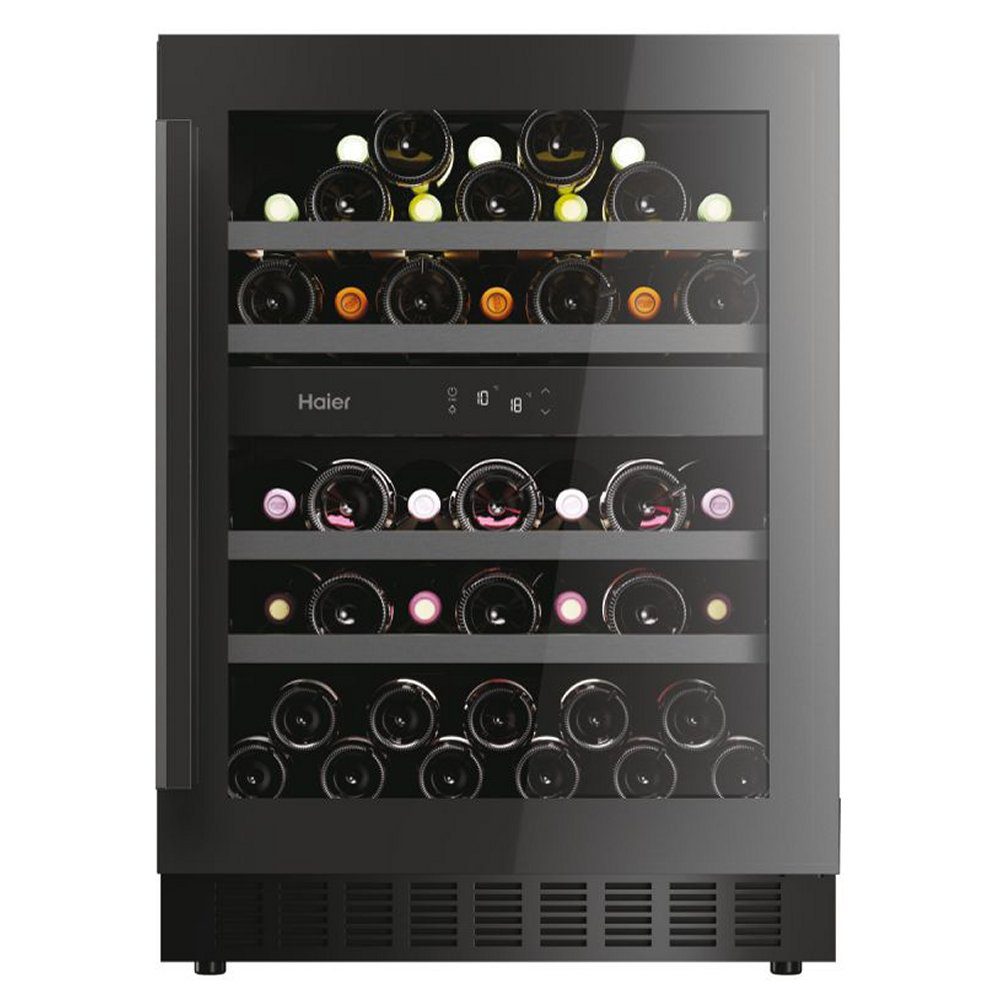
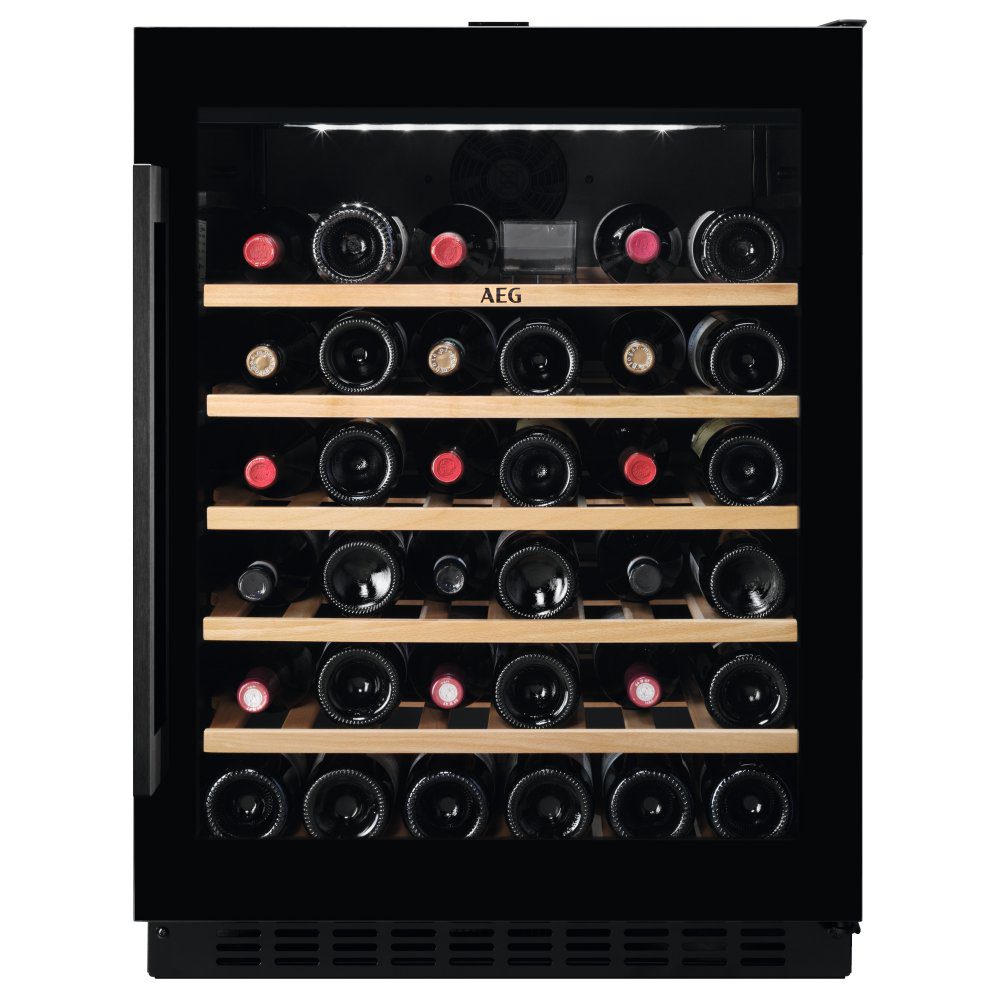
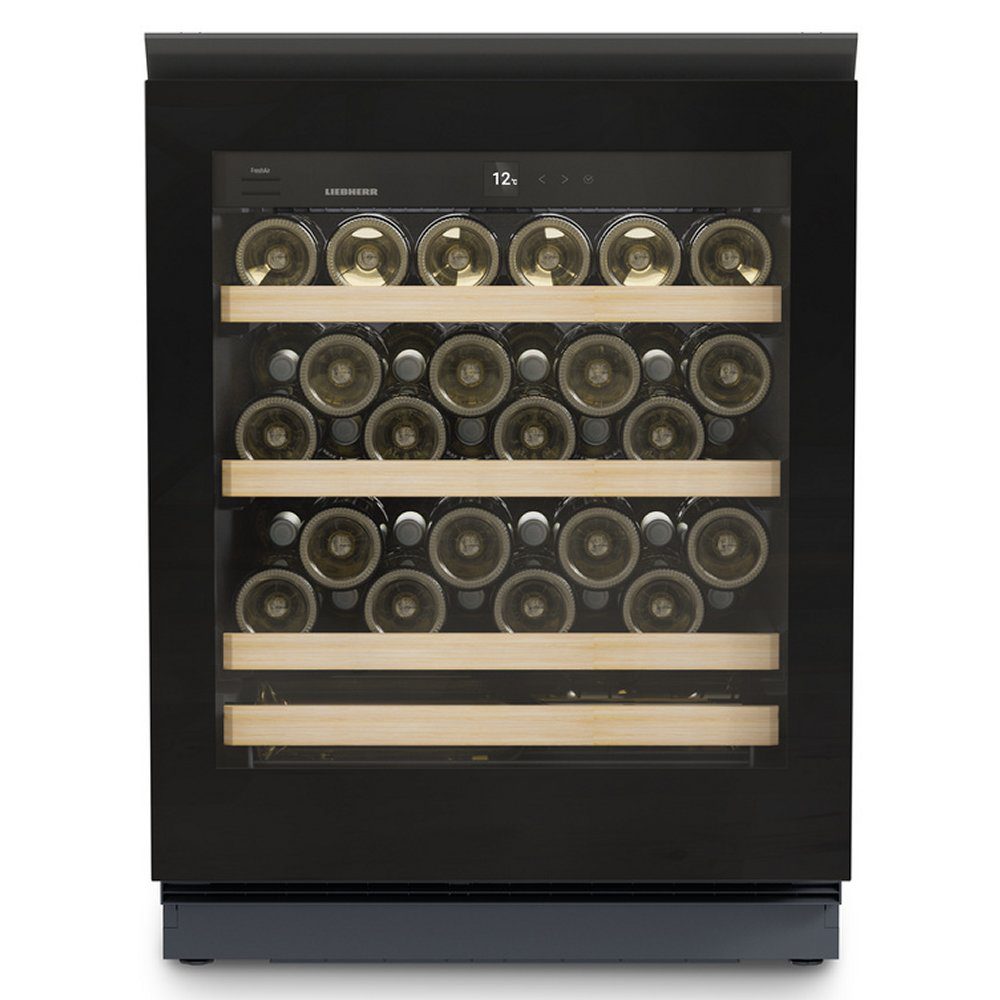
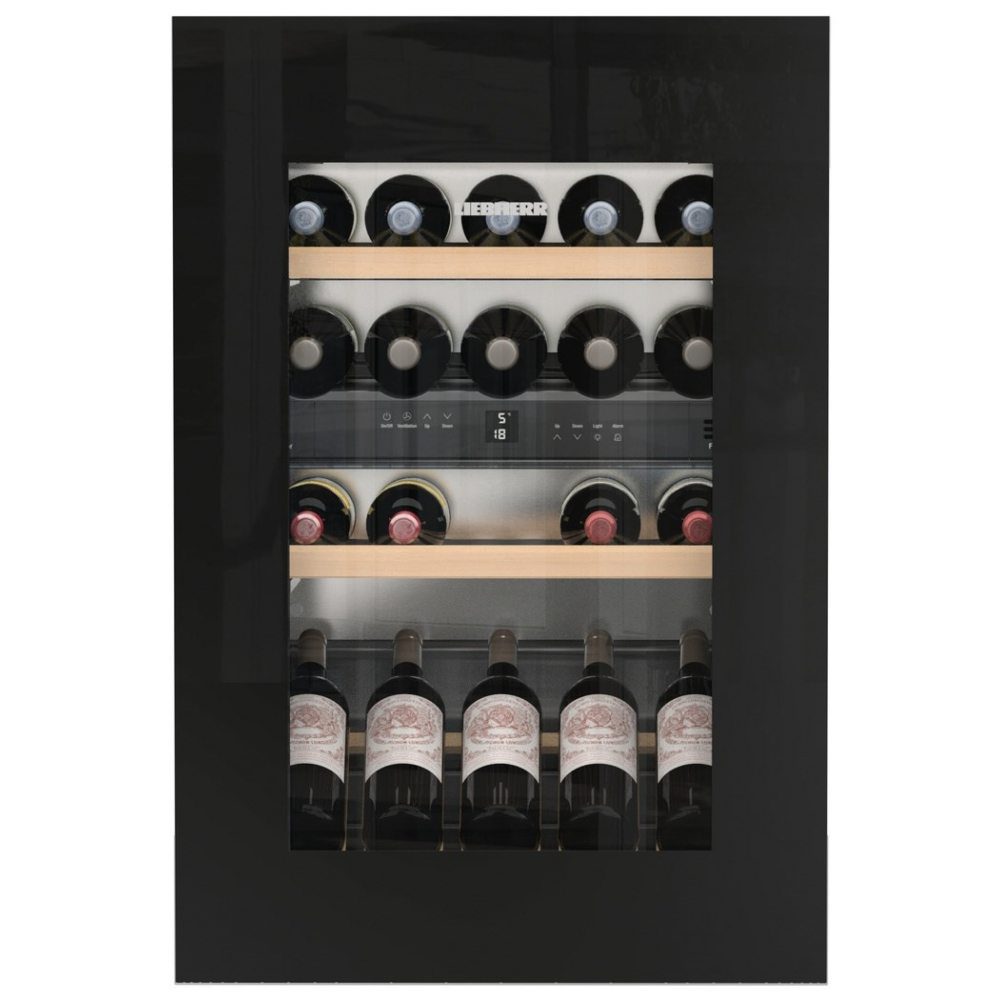
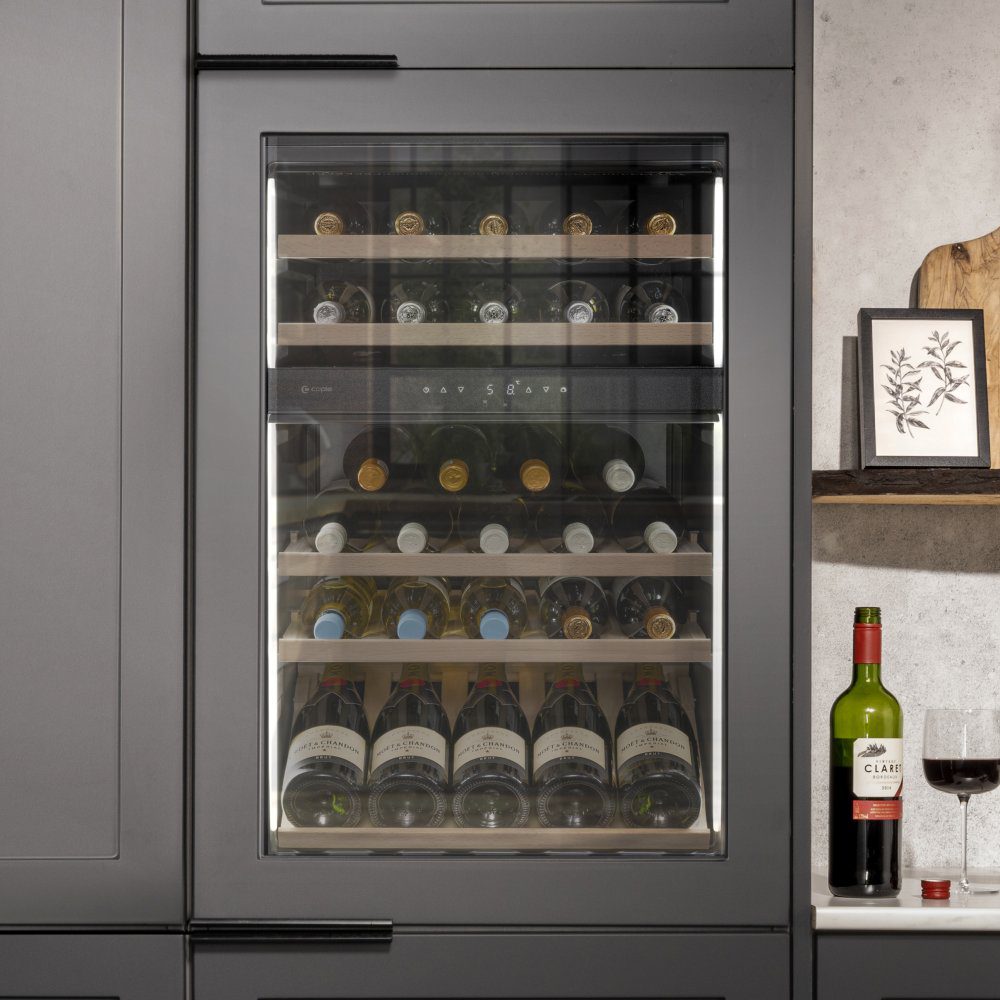
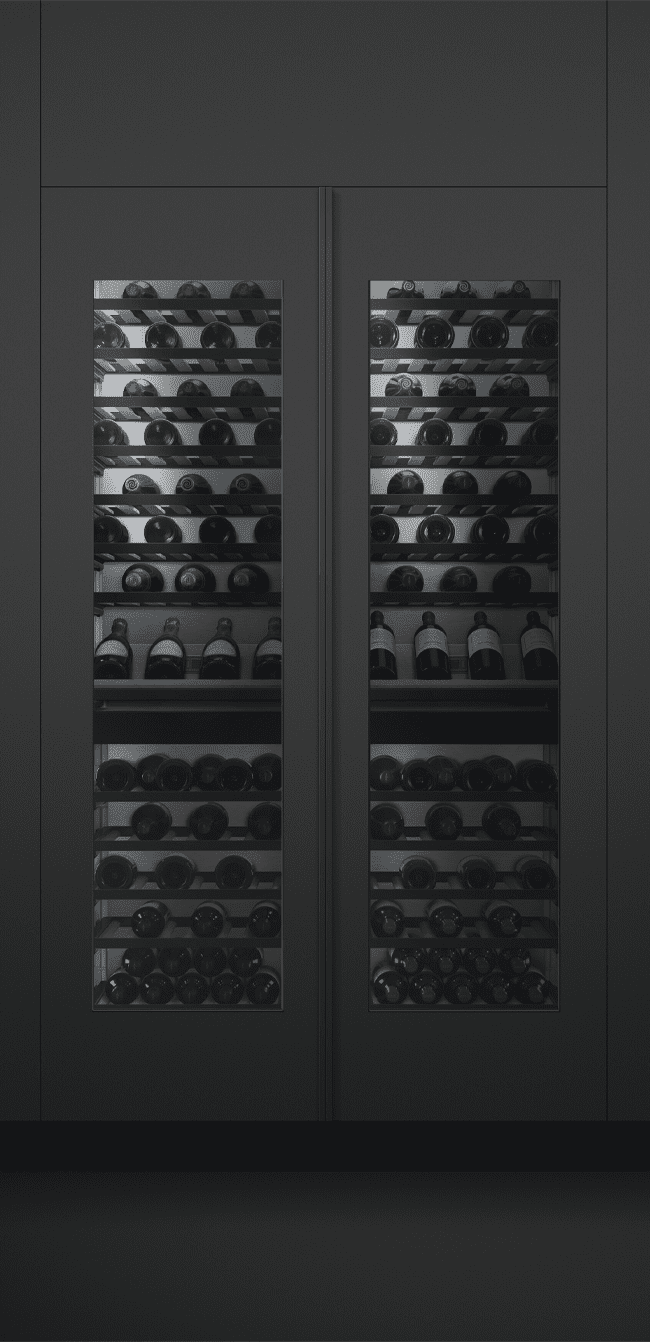
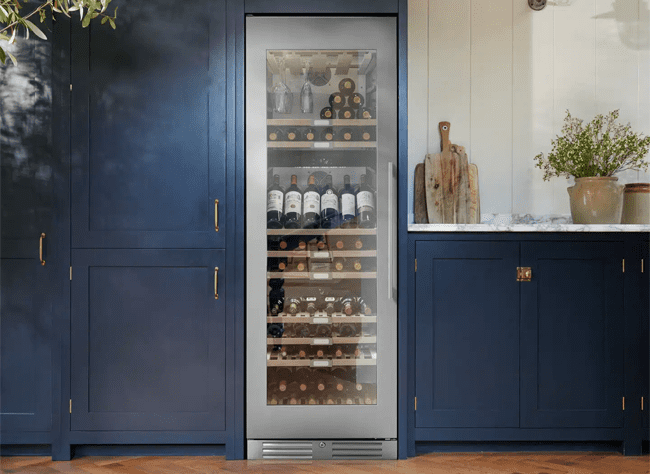
It’s important to ensure that the wine cooler you have chosen is a good match for you, before we discuss installing it. One of the first things you need to consider is whether you go for a freestanding wine cooler, or an integrated one. Here’s some information to help you best decide: The designs are very similar in terms of internal layout. You can choose different storage options such as wooden shelves or metal bottle racks to suit your collection. For more capacity, a freestanding wine cooler is usually best. Some freestanding models will store over 200 bottles, whilst integrated models tend to hold less than 100. A large wine cooler can also look stunning. If you’re limited on space, or want the freedom to change your mind, a freestanding model can be installed and moved anywhere. An integrated wine cooler will blend seamlessly with the design of your kitchen, if you have room for it, making it a sleek design feature. For instance an under counter wine fridge is easily installed into your existing cabinetry and makes a smart and stylish feature of the kitchen. You can also opt for a slimline wine cooler as narrow wine fridges will take up a lot less room than a large freestanding wine fridge. Think about whether you want an upright wine cooler, an under counter model, or a wine fridge with multiple temperature zones. This decision will depend on your current design, and what you want out of a wine cooler. Multiple temperature zones will allow you to store wine long term, and also serve it at the correct temperature. Remember to also consider the width, and where it will go in your home. There are three things to keep in mind when picking the installation location: Light – Try and keep your wine fridge out of direct sunlight. Some models come with glass that protects against UV rays, but this shouldn’t be your only countermeasure against the sun. Air flow – This only applies if you’re installing a built-in wine fridge, but your wine cooler needs a couple inches of space behind it, a couple more on top and an inch either side to work properly. Temperature – Placing your wine fridge next to your dishwasher, oven or in direct sunlight gives it more work to do to keep your bottle refrigerated. Once you’ve taken all these factors into consideration, you can then choose your wine fridge. Once you’ve chosen your wine cooler, you need to know how to install it.
Please exercise caution when moving the unit. Do not attempt to lift the cooler by yourself, and take care not to damage your flooring. If you’ve opted for a built-in wine cooler, here are the steps you need to follow to install it. You need the following items: Spirit Level Scrap Wood (if wine cooler doesn’t have adjustable feet) Tape Measure Manual for Wine Cooler Phillips Head Screwdriver Follow these steps to get your built in wine cooler up and running: Check your power supply. Make sure your wine cooler will be within reach of a power source. Try to avoid using an extension lead unless absolutely essential. This will also be discouraged by the maker of your model and could disqualify any warranties. Make your measurements. Using your tape measure, measure out the space your wine cooler will be going in. Make sure there’s room to fully open the doors and there’s some space for the cooler to ventilate. Many built in wine coolers will come with ventilation on the front but you also need to make sure the side ventilation isn’t blocked and that it won’t overheat. Carefully position your wine cooler into the space you have prepared. Plug it in but don’t switch it on. If your wine cooler has mounting plates, fasten these to the cabinet to secure it. Use your Phillips head screwdriver to do this. Make sure the cooler is level. You don’t want bottles to roll in your cooler, so make sure that your shelves and storage are level inside the unit. If it isn’t level, there should be adjustable feet to the bottom of the unit. You can normally adjust these by hand, but consult the manual of your model to make sure you’re adjusting correctly. Leave for two hours. The coolant inside the unit needs to settle after it has been moved, before using it. Let the gases settle for a couple of hours before switching it on. There you have it! That’s all you need to do to get your built-in wine cooler up and running.
You can install your freestanding wine cooler by following the exact same steps as above, except with less hassle. There’s no need to fasten any mounting plates. You simply move it to where you want it and plug it in. If you’re installing an under counter wine fridge in your kitchen, and it’s not built in, then make sure you’ve allowed for ventilation. Freestanding models don’t always have front ventilation.